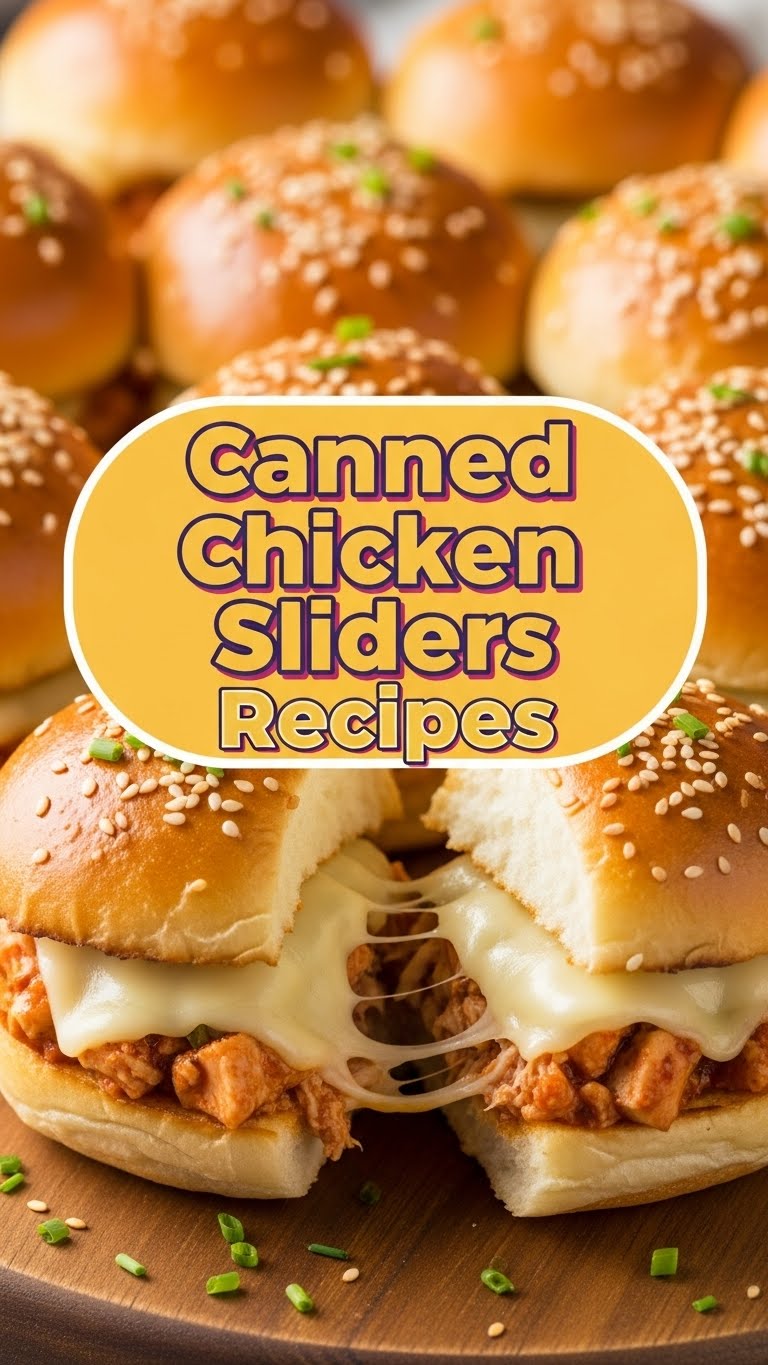
So, you just scrolled past another picture of a gourmet meal that took someone six hours and a small mortgage to create, and you thought, “Ugh, *too much effort*”? My friend, I feel you. Deeply. We all have those moments when our ambition for culinary greatness clashes spectacularly with our desire to just, you know, eat something delicious without turning into a sous chef for the evening. And that, my dear lazy-but-lovable foodie, is where our secret weapon comes in: **Canned Chicken Sliders.**
Why This Recipe is Awesome
Okay, I know what you’re thinking. “Canned chicken? Really, Jess?” And to that, I say, “YES, REALLY!” This isn’t just a recipe; it’s a **life hack wrapped in a slider bun**. Seriously, it’s:
- **Stupidly Easy:** If you can open a can and stir, you’re practically a Michelin-star chef with this one. I’m talking minimal chopping, zero fuss.
- **Budget-Friendly:** We’re talking pennies on the dollar compared to anything you’d order out. Your wallet will send you a thank-you note.
- **Lightning Fast:** From pantry to plate in less than 30 minutes. Perfect for those “oh crap, what’s for dinner?” emergencies or unexpected guests.
- **Deliciously Deceptive:** Folks will genuinely wonder if you slaved over some fancy slow-cooked chicken. Just smile mysteriously.
- **Highly Customizable:** Like a choose-your-own-adventure book, but with cheese. More on that later.
Honestly, it’s idiot-proof. Even I didn’t mess it up, and my kitchen has seen some things.
Ingredients You’ll Need
Gather ’round, fellow culinary geniuses. Here’s your simple shopping list for maximum deliciousness:
- **2 cans (12.5 oz each) Canned Chicken Breast in Water:** Drained *really* well. This is our star, don’t judge.
- **1 pack (12 count) Hawaiian Sweet Rolls:** The perfect sweet, soft cloud for our savory filling. Accept no substitutes (unless you *really* have to).
- **1 cup Shredded Cheese:** Mozzarella, cheddar, Colby Jack, Swiss… whatever melts your heart (and in your oven).
- **1/4 cup BBQ Sauce (your favorite kind):** A smoky, tangy hug for our chicken.
- **2 tbsp Mayonnaise:** Just a touch for creaminess and to bind everything.
- **1 tbsp Dijon Mustard:** Adds a little zing and depth. Trust me on this one.
- **1/2 small Red Onion (finely minced):** For a little crunch and bite, if you’re feeling fancy. Optional, but highly recommended.
- **For the Topping:**
- **4 tbsp Unsalted Butter (melted):** Because everything is better with butter.
- **1 tsp Garlic Powder:** Garlic makes friends with everything.
- **1/2 tsp Onion Powder:** More oniony goodness.
- **1 tsp Poppy Seeds or Sesame Seeds:** For that bakery-fresh, slightly fancy look. Also, a bit of texture!
- **1 tsp Dried Parsley (optional):** For a pop of color, to make it look less like you just pulled it out of a can.
Step-by-Step Instructions
- **Preheat & Prep:** First things first, get that oven to **350°F (175°C)**. While it’s warming up, grab your Hawaiian rolls. Don’t separate them! Slice the entire block of rolls in half horizontally, creating a top and bottom ‘slab’. Place the bottom half in a 9×13 inch baking dish.
- **Chicken Time!** In a medium bowl, combine your *well-drained* canned chicken, BBQ sauce, mayonnaise, Dijon mustard, and the minced red onion (if using). Mix it up until everything is evenly coated and looking mighty fine.
- **Layer it Up:** Spread your glorious chicken mixture evenly over the bottom half of the rolls in the baking dish. Don’t be shy; get it right to the edges.
- **Cheesy Does It:** Sprinkle that generous cup of shredded cheese over the chicken mixture. More cheese is always an acceptable life choice, **IMO**.
- **Top It Off:** Carefully place the top half of the Hawaiian rolls back on top of the cheese layer. It’s starting to look like a real meal now, isn’t it?
- **Butter Up!** In a small bowl, whisk together the melted butter, garlic powder, onion powder, poppy seeds (or sesame seeds), and dried parsley. Brush this mixture generously over the top of the rolls. Make sure to get all the nooks and crannies!
- **Bake Away!** Cover the baking dish loosely with aluminum foil. Bake for 15 minutes. Then, remove the foil and bake for another 5-10 minutes, or until the cheese is bubbly and melted, and the tops of the rolls are golden brown. **Keep an eye on ’em** so they don’t get too toasty!
- **Serve ‘Em Hot:** Once out of the oven, let them cool for just a minute or two. Then, slice them into individual sliders (or just hack away, I’m not judging) and serve immediately. Prepare for compliments!
Common Mistakes to Avoid
Nobody’s perfect, but we can avoid some pitfalls, right? Here are a few rookie errors to sidestep:
- **Not Draining the Chicken Properly:** This is a biggie. If your chicken isn’t *super dry*, your sliders will be soggy. And nobody wants a soggy slider. Squeeze that water out like you’re getting paid for it.
- **Forgetting to Preheat the Oven:** Rookie mistake! Always preheat. It ensures even cooking and that beautiful golden crust. Cold oven, sad sliders.
- **Over-Saucing the Chicken:** While tempting, too much liquid sauce can also lead to sogginess. Stick to the suggested amounts; you can always add more on the side later.
- **Burning the Tops:** Those sweet Hawaiian rolls can go from perfectly golden to charred in a blink. **Don’t skip the foil step**, and keep an eye on them once it’s off.
- **Not Brushing the Butter Topping:** This isn’t just for looks; that buttery, garlicky glaze adds a crucial layer of flavor and helps the buns crisp up nicely.
Alternatives & Substitutions
Feeling creative? Or just missing an ingredient? No stress! Here are some ideas to mix things up:
- **Different Cheeses:** Smoked provolone, pepper jack for a kick, or even some blue cheese crumbles if you’re feeling adventurous!
- **Sauce Swaps:** Not a BBQ fan? Try buffalo sauce for a spicy kick, a creamy ranch dressing, or even a honey mustard for something sweeter.
- **Add-ins for the Filling:**
- **Pickles:** A few finely chopped dill pickles add a lovely tang and crunch.
- **Jalapeños:** For a bit of heat, mix in some diced pickled jalapeños.
- **Bacon Bits:** Because, well, bacon. Duh.
- **Celery:** Finely diced celery adds a classic crunch, especially if you’re leaning towards a “chicken salad” vibe.
- **Bun Alternatives:** If Hawaiian rolls aren’t your jam (or you can’t find them), any soft slider bun will work. Mini potato rolls are another great option.
- **Make it Spicy:** A dash of cayenne pepper or a squeeze of sriracha into the chicken mixture will wake things up!
FAQ (Frequently Asked Questions)
Got questions? I’ve got answers (and probably a few jokes).
- **”Can I use fresh chicken instead of canned?”** Well, technically yes, but why are you making my life harder? If you *must*, cook and shred about 2 cups of chicken breast, then proceed. But the whole point here is *easy mode*, friend!
- **”Can I make these ahead of time?”** You can assemble them a few hours in advance and keep them covered in the fridge. Just add 5-10 minutes to the baking time. But honestly, they’re so fast, fresh is best.
- **”What if I don’t have poppy seeds?”** No biggie! Sesame seeds work great, or just skip ’em. The sliders will still be delicious, just slightly less fancy-looking. It’s all good.
- **”Can I use margarine instead of butter for the topping?”** Well, technically yes, but why hurt your soul like that? Butter just tastes better, **FYI**. But in a pinch, margarine will do the job.
- **”How long do leftovers last?”** If there *are* any leftovers (a big “if” in my house!), store them in an airtight container in the fridge for up to 2-3 days. Reheat gently in the oven or microwave.
- **”Are these good for a party?”** Um, yes! They’re like little flavor bombs of joy that disappear faster than a free sample at Costco. Make two batches!
Final Thoughts
So there you have it, folks! The humble canned chicken, elevated to slider superstar status. You’ve now got a secret weapon in your culinary arsenal for those moments when you want maximum deliciousness with minimum effort. Go forth, conquer your cravings, and impress absolutely everyone (or just yourself, which is equally important) with these ridiculously good, utterly simple Canned Chicken Sliders. You’ve earned this easy win! Now go make some magic!


