So, you’ve decided to embark on a quest for chocolatey goodness but also want to keep your sanity intact? Excellent choice, friend. This isn’t one of those “spend all day in the kitchen” recipes that makes you question all your life choices. Oh no. This is for when you want to impress without, you know, actually trying *that* hard. Let’s make some magic happen!
Why This Recipe is Awesome
Ever tried baking a cake that looked like it lost a fight with a whisk? Been there, bought the T-shirt. This recipe, however, is practically foolproof. Seriously, it’s so easy even my cat watched me make it without judging too much. It bakes up super moist, ridiculously chocolatey, and thanks to a few clever tricks, it comes out perfect every single time.
Plus, it’s chocolate. Do I really need to say more? It’s quick enough for a weeknight craving but impressive enough for a sneaky dinner party dessert. You’re basically a culinary genius with minimal effort. You’re welcome.
Ingredients You’ll Need
Gather your troops! Here’s what you’ll need for your chocolatey adventure:
For the Cake:
- 1 ½ cups (190g) All-Purpose Flour: The trusty foundation of all deliciousness.
- 1 ½ cups (300g) Granulated Sugar: Because life’s sweet, and so should your cake be.
- ¾ cup (65g) Unsweetened Cocoa Powder: The darker the better, for that deep chocolatey hug.
- 1 ½ tsp Baking Soda: Our little lift-off agent. Don’t skimp!
- 1 tsp Salt: Just a pinch, to make everything pop. Don’t worry, it won’t taste like the ocean.
- 2 Large Eggs: Our binding superheroes.
- ¾ cup (180ml) Milk: Liquid magic. Any kind works!
- ¼ cup (60ml) Vegetable Oil: For that lovely moist texture. Choose your weapon (or melted butter if you’re feeling fancy).
- 1 tsp Vanilla Extract: A dash of sophistication.
- ¾ cup (180ml) Hot Water or Coffee: The secret weapon for ultimate moistness and deep chocolate flavor! Coffee enhances chocolate like nothing else, trust me.
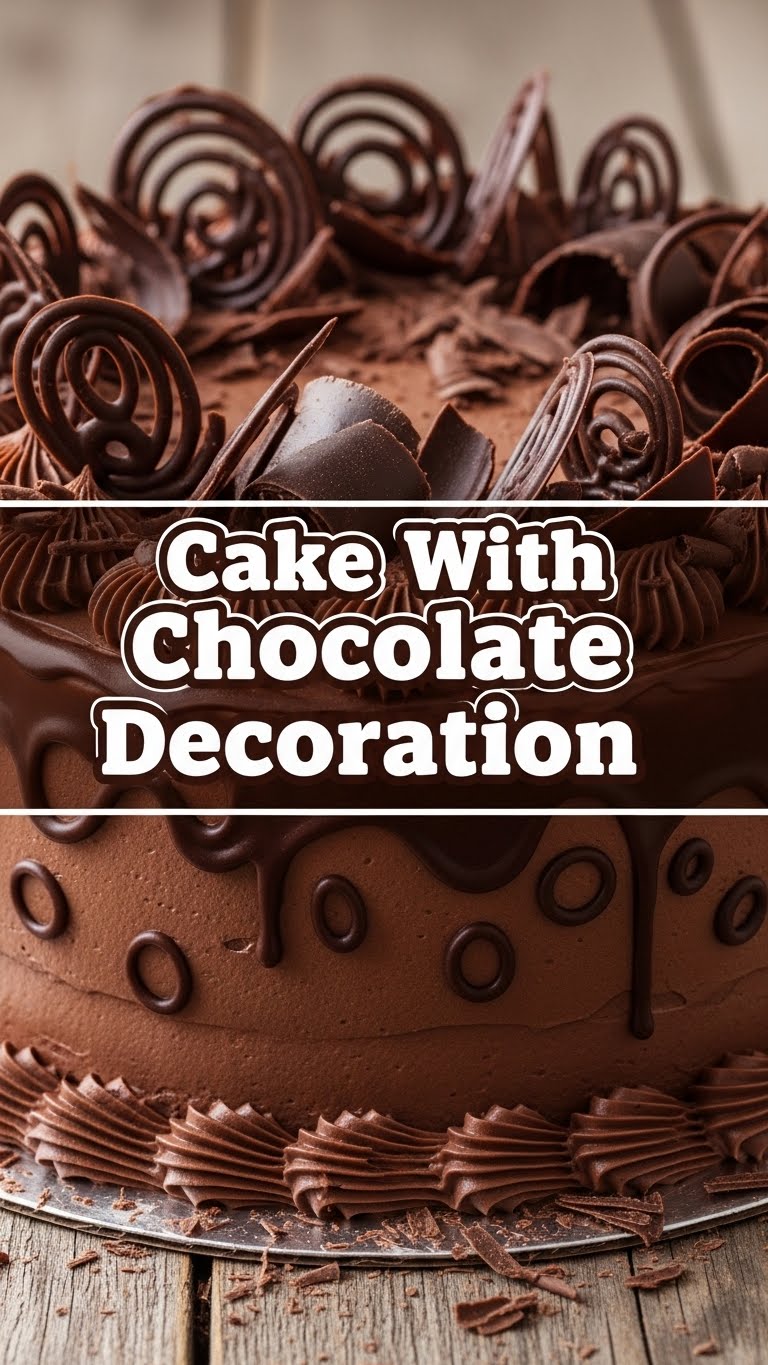
For the Chocolate Decoration (Simple Ganache):
- 1 cup (170g) Chocolate Chips or Chopped Bar: Go for quality, you deserve it. Dark or semi-sweet works best.
- ½ cup (120ml) Heavy Cream: The dream maker.
- Optional: 1 tbsp unsalted butter (for extra shine) and a pinch of salt.
Step-by-Step Instructions
Let’s get this show on the road! Follow these steps, and you’ll be a chocolate champion in no time.
- Preheat & Prep: Get that oven hot to 180°C (350°F). Grease and flour a 9-inch round cake pan (or spray with non-stick spray). No sticking allowed, we’re not baking for drama!
- Dry Mix: In a large bowl, whisk together the flour, sugar, cocoa powder, baking soda, and salt. Make sure there are no lumpy bits.
- Wet Mix: In a separate medium bowl, combine the eggs, milk, vegetable oil (or melted butter), and vanilla extract. Give it a good whisk until it’s all blended.
- Combine: Pour the wet ingredients into the dry ingredients. Mix with a spatula or whisk until *just combined*. Don’t overmix! Overmixing leads to a tough cake, and nobody wants that.
- Hot Liquid Boost: Carefully stir in the hot water or coffee. The batter will be quite thin, almost soupy, but trust the process. This is key for that amazing moist texture.
- Bake: Pour the gloriously thin batter into your prepared cake pan. Pop it in the oven and bake for 30-35 minutes, or until a wooden skewer or toothpick inserted into the center comes out clean.
- Cool Down: Let the cake cool in the pan for about 10 minutes. Then, gently invert it onto a wire rack to cool completely. This is crucial for frosting, so no cheating!
- Make the Ganache: While the cake is cooling (completely, remember?), place your chocolate chips or chopped chocolate in a heatproof bowl.
- Heat Cream: Gently heat the heavy cream in a small saucepan over medium heat until it just begins to simmer around the edges (don’t let it boil vigorously!).
- Melt Magic: Pour the hot cream over the chocolate. Let it sit for 5 minutes without stirring. This gives the chocolate time to melt properly.
- Whisk & Decorate: After 5 minutes, whisk the mixture until it’s smooth, glossy, and utterly irresistible. If using, stir in the butter and salt. Let it cool slightly to a spreadable consistency, then pour or spread it over your *fully cooled* cake. Get creative with swirls or just let it drip down the sides for a rustic look!
Common Mistakes to Avoid
Don’t fall into these common baking traps! Learn from my past (many) errors:
- Not preheating the oven: Rookie mistake. Your cake needs a warm welcome to rise properly. A cold oven equals a sad, flat cake.
- Overmixing the batter: I cannot stress this enough. A tough cake is a sad cake. Mix just until combined, seriously. As soon as you see no more dry streaks of flour, stop.
- Opening the oven door too early: Patience, grasshopper! Your cake will deflate faster than my enthusiasm for Mondays if you peek too soon. Wait until at least 25 minutes have passed.
- Frosting a warm cake: Unless you’re going for a ‘chocolate soup’ look (which can be fun, but not for this!), let that cake cool completely. No shortcuts here, folks.
- Not measuring properly: Baking is a science, not a suggestion. Eyeballing it might work for pasta, but not for cake. FYI, get those measuring cups and spoons out!
Alternatives & Substitutions
Life’s about options, right? Here are a few ways to tweak this recipe to your heart’s content:
- Flour: All-purpose is your best bet, but you can totally try a gluten-free all-purpose blend if that’s your jam. Just ensure it has xanthan gum for structure.
- Oil vs. Butter: Vegetable oil makes it super moist, hands down. Melted butter adds a richer flavor, but sometimes sacrifices a touch of that moistness. Your call, rockstar. IMO, for this specific recipe, oil wins for texture.
- Hot Water vs. Coffee: Coffee really enhances the chocolate flavor without making it taste like coffee, swear! But hot water works just fine if you’re not a coffee person or just don’t have any on hand.
- Decorations: Don’t have heavy cream for ganache? A simple chocolate buttercream (butter, powdered sugar, cocoa powder, milk) works wonders! Or, if you’re feeling minimalist, just dust with powdered sugar.
- Add-ins: Throw in some chocolate chips (mini or regular!), chopped nuts, or even a dash of espresso powder into the batter for extra oomph.
FAQ (Frequently Asked Questions)
Got questions? I’ve got (casual and humorous) answers!
- Can I make this dairy-free? Absolutely! Use plant-based milk (almond, soy, oat all work great), oil, and dairy-free chocolate chips. Easy peasy.
- My cake sank in the middle, help! Oh no! Did you open the oven too soon? Or maybe overmix? Or did your baking soda/powder expire? Check those dates – they lose potency over time!
- How long does it keep? Covered tightly, at room temperature for 2-3 days. Or in the fridge for up to a week. If it lasts that long, I’m genuinely impressed with your self-control.
- Can I make cupcakes instead? Yep! Pour the batter into cupcake liners, filling them about two-thirds full. Reduce baking time to 18-22 minutes. Keep an eye on them with the toothpick test!
- What if my ganache is too thick/thin? Too thick? Add a tiny splash of warm cream (like ½ teaspoon at a time) and whisk. Too thin? Chill for 10-15 minutes, whisk, and repeat until perfect.
- Can I use margarine instead of butter? Well, technically yes, but why hurt your soul like that? Butter just tastes better, let’s be real. If you’re using it in the ganache, definitely go for butter!
Final Thoughts
See? I told you it wasn’t rocket science! You’ve just whipped up a delicious, chocolatey masterpiece without breaking a sweat (or a bank account). Now go impress someone—or more importantly, yourself—with your new culinary skills. You’ve earned it, you magnificent baker, you! Enjoy every single, glorious bite. You deserve it.


