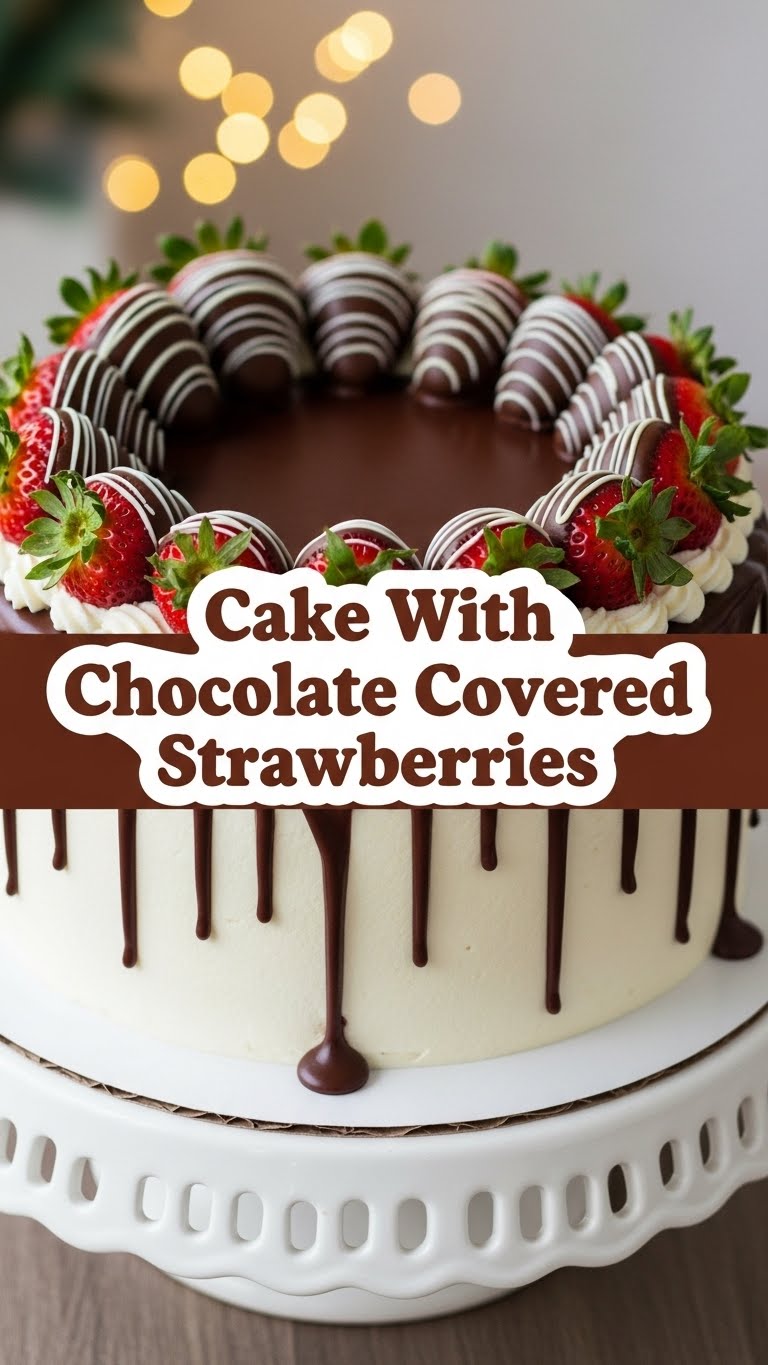
So, you’ve scrolled past one too many glorious dessert photos on Instagram, and now your sweet tooth is screaming for attention, but the thought of a complicated recipe makes you want to curl up in a ball and cry? Been there, done that, got the stained apron. What if I told you we could whip up something that looks like it came straight from a fancy patisserie, but is actually, wait for it… super chill to make? Yep, we’re talking about a dreamy cake adorned with chocolate-covered strawberries. It’s basically edible art that won’t make you question all your life choices in the kitchen.
Why This Recipe is Awesome
Okay, let’s be real. This isn’t just a recipe; it’s a cheat code to looking like a culinary genius without actually being one. Why is it awesome? First, it’s a total crowd-pleaser. Who says no to chocolate, cake, and strawberries? No one you want to be friends with, that’s who. Second, it’s deceptively simple. We’re talking minimal stress, maximum “wow” factor. **Seriously, if I can do it without setting off the smoke detector, you totally can too.** It’s perfect for birthdays, anniversaries, Tuesdays, or just when you need a little (okay, a lot) of self-love in cake form. Plus, it just *looks* fancy. You get all the bragging rights for half the effort. Score!
Ingredients You’ll Need
Gather your troops! Here’s what you’ll need to make this magic happen:
- For the Cake (let’s keep it simple, shall we?):
- 1 ½ cups all-purpose flour (the basic stuff, nothing fancy)
- 1 ½ cups granulated sugar (because life’s too short for unsweetened cake)
- ¾ cup unsweetened cocoa powder (the darker, the better, IMO)
- 1 ½ teaspoons baking soda (the fizz-maker)
- ¾ teaspoon baking powder (its trusty sidekick)
- ¾ teaspoon salt (don’t skip this, it makes everything taste better!)
- ¾ cup buttermilk (or regular milk + a splash of vinegar/lemon juice, let it sit for 5 mins – ta-da, buttermilk!)
- 3 large eggs (from happy chickens, hopefully)
- ¾ cup vegetable oil (or any neutral oil you have lying around)
- 1 ½ teaspoons vanilla extract (the MVP of baking flavors)
- ¾ cup hot water or coffee (activates the cocoa, makes it super rich!)
- For the Frosting (the fluffy cloud of deliciousness):
- 1 cup (2 sticks) unsalted butter, softened (room temp is key, don’t be a hero trying to beat cold butter)
- 3-4 cups powdered sugar (sifted, unless you like lumps, weirdo)
- ½ cup unsweetened cocoa powder (again, for that chocolatey punch)
- ½ teaspoon vanilla extract (more vanilla, always)
- ¼ cup heavy cream (or milk, if you’re feeling less decadent)
- Pinch of salt (balances the sweetness)
- For the Chocolate Covered Strawberries (the bling!):
- 1 lb fresh strawberries (the prettier, the better, obviously)
- 1 ½ cups good quality melting chocolate (milk, dark, semi-sweet – your call, but a good quality chocolate melts smoother)
- 1 tablespoon coconut oil or shortening (optional, but helps make it super smooth and shiny!)
Step-by-Step Instructions
- Get Ready, Get Set: Preheat your oven to 350°F (175°C). Grease and flour two 8 or 9-inch round cake pans. Or, you know, line them with parchment paper if you’re fancy.
- Dry Mix It Up: In a large bowl, whisk together the flour, sugar, cocoa powder, baking soda, baking powder, and salt. Make sure there are no lumpy surprises!
- Wet and Wild: In another bowl, whisk the buttermilk, eggs, oil, and vanilla extract until well combined.
- Combine the Powers: Pour the wet ingredients into the dry ingredients. Mix on low speed (or by hand) until just combined. Don’t overmix, unless you like tough cake!
- The Magic Hot Liquid: Carefully stir in the hot water or coffee. The batter will be thin, don’t panic! This is what makes it moist and rich.
- Bake It Baby: Divide the batter evenly between your prepared pans. Bake for 30-35 minutes, or until a toothpick inserted into the center comes out clean.
- Cool Down: Let the cakes cool in the pans for about 10 minutes, then carefully invert them onto a wire rack to cool completely. **Patience is a virtue here; don’t try to frost a warm cake unless you want a melty mess.**
- Frosting Time! While the cakes cool, beat the softened butter until creamy. Add the sifted powdered sugar and cocoa powder gradually, beating until combined. Stir in vanilla, salt, and heavy cream until light and fluffy. Add more sugar or cream until you hit your desired consistency.
- Chocolate Dipping Party: Wash and thoroughly dry your strawberries. In a microwave-safe bowl, melt your chocolate with the coconut oil/shortening in 30-second intervals, stirring in between, until smooth. Dip each strawberry halfway into the melted chocolate, letting any excess drip off. Place them on a parchment-lined baking sheet to set. You can pop them in the fridge for a quick chill.
- Assemble Your Masterpiece: Once cakes are completely cool, level them if needed. Place one cake layer on your serving plate. Spread a generous layer of frosting. Top with the second cake layer, then frost the top and sides of the entire cake.
- The Grand Finale: Arrange your gorgeous chocolate-covered strawberries artistically on top of the cake. Voila! You’re a dessert superstar!
Common Mistakes to Avoid
Look, we all make mistakes. It’s part of the journey. But let’s try to avoid these rookie errors, shall we?
- Not Preheating the Oven: Seriously, this isn’t a suggestion. It’s a requirement. Your cake needs that consistent heat from the start. Thinking you can skip this step is just setting yourself up for disappointment.
- Overmixing the Batter: You want to mix until just combined, not until your arm hurts. Overmixing develops the gluten too much, giving you a tough, dense cake. We want light and fluffy, not a hockey puck!
- Frosting a Warm Cake: This is probably the most common mistake. Warm cake + frosting = sad, soupy disaster. **Let your cake layers cool completely. I mean COMPLETELY.** Go binge-watch something, paint your nails, do literally anything else until those cakes are cold.
- Wet Strawberries for Dipping: Water and melted chocolate are sworn enemies. Make sure your strawberries are bone dry before dipping, otherwise, your chocolate will seize up and become a grainy mess. Trust me on this.
- Skimping on Good Chocolate: Using cheap chocolate for dipping might save a few bucks, but it won’t melt smoothly or taste as good. Invest in decent melting chocolate; your taste buds (and your sanity) will thank you.
Alternatives & Substitutions
Feeling adventurous? Or maybe you just ran out of something? No worries, I got you!
- Cake Mix Enthusiast? If baking from scratch feels like too much, grab a good quality chocolate cake mix! Seriously, no judgment here. Follow the box instructions, then jump straight to the frosting and strawberry fun. It’s a huge time-saver and still tastes amazing.
- Different Frosting Flavor? Not a fan of chocolate frosting? Gasp! (Just kidding… mostly). You can totally go with a classic vanilla buttercream, cream cheese frosting, or even a raspberry buttercream to complement the strawberries. Be bold!
- No Buttermilk? As mentioned in the ingredients, a quick DIY buttermilk works wonders: just add 1 tablespoon of white vinegar or lemon juice to a measuring cup, then fill to the ¾ cup line with regular milk. Let it sit for 5 minutes. Boom, instant buttermilk!
- Other Fruits? While chocolate-covered strawberries are the star, you could totally experiment. Raspberries, cherries, or even orange slices (dipped in chocolate too!) could be fun. But, come on, strawberries are superior. Just sayin’.
- Dark vs. Milk Chocolate: For the dipped strawberries, use whatever chocolate makes your heart sing! Dark chocolate gives a sophisticated bitterness, while milk chocolate is pure comforting sweetness. Semi-sweet is a happy medium.
FAQ (Frequently Asked Questions)
- Can I make the cake layers ahead of time?
- Oh, for sure! You can bake the cake layers up to 2-3 days in advance. Once completely cool, wrap them tightly in plastic wrap and store at room temperature. Some people even freeze them for a week or two! Just thaw before frosting.
- How should I store the finished cake?
- Since it has fresh fruit and buttercream, it’s best stored in an airtight container in the refrigerator. It’ll keep well for 3-4 days. Just let it come closer to room temperature for about 30 minutes before serving for the best flavor and texture.
- My chocolate seized up when I melted it! What did I do wrong?
- Uh oh! This usually happens if even a tiny drop of water gets into your melted chocolate, or if it gets overheated. **Make sure your bowl and utensils are completely dry**, and melt gently in short bursts, stirring often. If it does seize, sometimes adding a teaspoon of vegetable oil or shortening (or even hot cream for ganache) can save it, but no promises!
- Can I use frozen strawberries?
- For the cake batter? Sure, thaw them first. For dipping? **Hard no.** Frozen strawberries release too much water when they thaw, making them impossible to dip properly without a melty mess. Stick to fresh for the décor!
- Do I have to sift the powdered sugar for the frosting?
- Well, technically no, but why hurt your frosting like that? Sifting helps remove lumps and makes your frosting super smooth and creamy. If you skip it, you might end up with little sugar granules that are less than pleasant. Your choice, but I’m team sifting, FYI!
Final Thoughts
There you have it, folks! A show-stopping, palate-pleasing cake that looks way more complicated than it actually is. You just whipped up something gorgeous, delicious, and probably Instagram-worthy. Now go impress someone – your partner, your family, your dog, or even just your fabulous self – with your new culinary skills. You’ve earned every single bite of this chocolatey strawberry goodness. Go on, pat yourself on the back, you rockstar! And maybe, just maybe, save me a slice?


