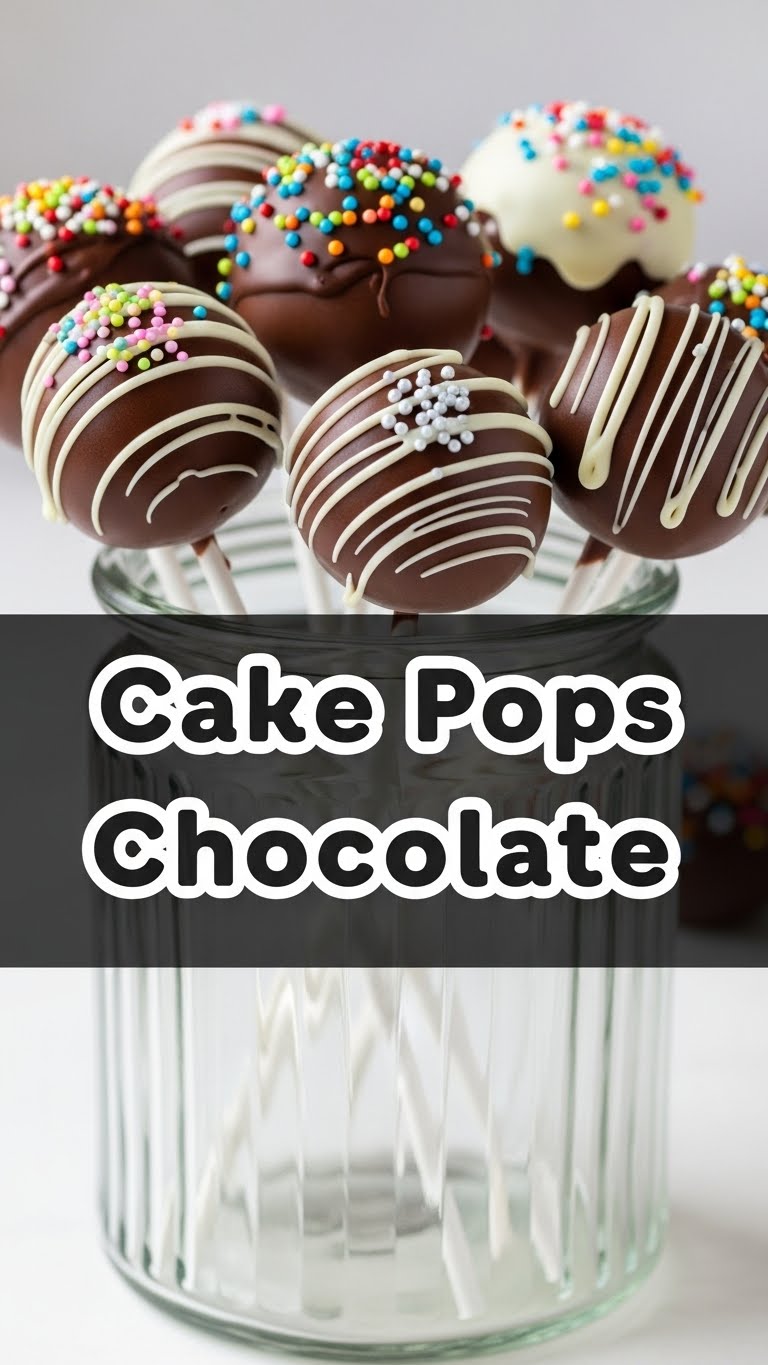
So, you’re eyeing something delicious, Instagram-worthy, and relatively low-effort to make, huh? You’ve come to the right place, my friend. Forget those overly complicated desserts that demand your firstborn and a culinary degree. Today, we’re diving into the glorious world of **Chocolate Cake Pops** – the kind of treat that screams “I’m fancy!” but whispers “I mostly used a box mix.” 😉
Why This Recipe is Awesome
Let’s be real: this recipe is your new best friend for several reasons. First off, it’s pretty much **idiot-proof**. And I say that with love, speaking from personal experience. You don’t need to be a Michelin-star chef; you just need to know how to follow directions… mostly. Secondly, cake pops are adorable! They’re like tiny, handheld bundles of joy that make everyone smile. Perfect for parties, gifts, or just eating five in a row while binge-watching your favorite show (no judgment here, we’ve all been there). Plus, they taste ridiculously good – a moist, rich cake interior wrapped in a decadent chocolate shell. What’s not to love?
Ingredients You’ll Need
Get ready to assemble your arsenal of deliciousness. You probably have most of these lurking in your pantry already, FYI.
- **1 box chocolate cake mix:** Because who has time for scratch baking on a Tuesday?
- **Ingredients listed on cake mix box:** Usually eggs, oil, and water. Follow their lead, they know best.
- **1 can (16 oz) chocolate frosting:** Your secret weapon for moistness and binding power. Don’t cheap out on flavor here!
- **12 oz chocolate candy melts or good quality chocolate chips:** This will be their glorious chocolatey coat. Get some decent stuff for optimal dipping.
- **Lollipop sticks (4-inch):** So they actually look like “pops” and not just sad chocolate balls.
- **Sprinkles, chopped nuts, or other fun decorations:** Because life’s too short for boring cake pops.
- **Styrofoam block or a heavy mug:** For holding your masterpieces upright while they set.
Step-by-Step Instructions
Alright, let’s get down to business. Follow these steps, and you’ll be a cake pop pro in no time!
- **Bake Your Cake:** Prepare the cake mix according to the package directions. Pour it into a greased 9×13 inch pan and bake until a toothpick inserted into the center comes out clean. Let it cool completely. Seriously, **let it cool completely**, or things will get messy.
- **Crumble It Up:** Once cool, grab a large bowl. Crumble the entire cake into fine crumbs. Your hands are the best tools for this – feel free to get a little primal.
- **Mix in the Frosting:** Add about two-thirds of the can of chocolate frosting to the cake crumbs. Start mixing with your hands (yes, again!). You’re looking for a dough-like consistency that holds together when you squeeze it. Add more frosting, a tablespoon at a time, if it’s too crumbly.
- **Roll into Balls:** Scoop out tablespoon-sized portions and roll them into compact, smooth balls. Aim for golf ball-ish size. Place them on a parchment-lined baking sheet.
- **Chill Out:** Pop those cake balls into the fridge for at least 30 minutes. This is a **critical step** for stability!
- **Melt the Chocolate:** While your balls are chilling, melt your candy melts or chocolate chips. You can do this in a microwave-safe bowl in 30-second intervals, stirring in between, or use a double boiler. Make sure it’s smooth and fluid.
- **Dip and Stick:** Take your chilled cake balls out. Dip the tip of each lollipop stick about half an inch into the melted chocolate, then immediately insert it into the center of a cake ball. This acts as a “glue” to hold the stick in place.
- **Full Chocolate Dip:** Once all sticks are in place, let them chill for another 5-10 minutes to set the chocolate “glue.” Then, holding a cake pop by its stick, dip the entire cake ball into the melted chocolate. Gently tap off any excess chocolate.
- **Decorate:** Immediately after dipping, sprinkle on your chosen decorations before the chocolate sets.
- **Set Them Up:** Insert the finished cake pops into a styrofoam block or a sturdy mug to allow the chocolate to fully set. Let them sit at room temperature or in the fridge until firm.
Common Mistakes to Avoid
Nobody’s perfect, but we can avoid some common pitfalls, right? Listen up!
- **Too Much Frosting:** This is the number one culprit for droopy, sad cake pops that slide right off the stick. Add it gradually! Your mixture should be firm, not sticky or gooey.
- **Not Chilling Enough:** Impatience is your enemy here. If the cake balls aren’t properly chilled, they’ll fall apart when you try to dip them, or they’ll be too soft for the stick to hold. Rookie mistake!
- **Overheating Your Chocolate:** Melted chocolate, especially candy melts, can seize up and become a lumpy, unusable mess if it gets too hot. Melt it slowly and gently!
- **Rushing the “Glue” Step:** That little dab of chocolate on the stick is important. Give it a minute to set before dipping the whole pop; otherwise, you’re asking for trouble.
Alternatives & Substitutions
Feeling adventurous? Or just don’t have exactly what the recipe calls for? No worries, we can totally improvise.
- **Cake Flavor:** While we’re going chocolate today, feel free to use any cake mix! Vanilla, red velvet, lemon – they all work wonderfully. Just match your frosting to keep the flavor profile harmonious.
- **Frosting:** Cream cheese frosting is divine if you want a tangier twist. Peanut butter frosting? Mind-blowing. You can even make your own if you’re feeling ambitious (though, IMO, canned is king for convenience here).
- **Dipping Chocolate:** White chocolate candy melts are fantastic for a contrasting look or for coloring with food-safe dyes. Dark chocolate, milk chocolate, or even a mix can be used.
- **Decorations:** Get creative! Crushed Oreos, coconut flakes, finely chopped nuts, edible glitter, mini chocolate chips, or even a drizzle of contrasting chocolate.
- **Leftover Cake:** If you have actual leftover cake (what’s that, even?), you can absolutely use it instead of a box mix! Just make sure it’s not too dry.
FAQ (Frequently Asked Questions)
Got questions? I’ve got answers! (Mostly.)
- **Can I make cake pops ahead of time?** Absolutely! You can make the cake balls and store them in an airtight container in the fridge for up to a week. Once dipped, they’ll last about 3-4 days at room temperature or longer in the fridge.
- **Why are my cake pops falling off the stick?** Ah, the dreaded pop drop! This usually means your cake balls weren’t chilled enough, or you used too much frosting making them too soft. Make sure your chocolate “glue” is set, too.
- **My dipping chocolate is too thick to work with! What do I do?** Don’t panic! Add a teaspoon of shortening, coconut oil, or a neutral oil (like vegetable oil) to your melted chocolate and stir until smooth. It thins it out beautifully.
- **Do I *have* to use lollipop sticks?** Nah, you rebel! You can totally make them into cake balls without sticks, place them in mini cupcake liners, or even use mini forks for a cute presentation.
- **How do I get a smooth chocolate coating without lumps?** Ensure your chocolate is melted slowly and stirred consistently. Also, make sure your cake balls are smooth before dipping; any bumps will show through!
- **Can I use homemade cake and frosting?** Yes, you absolutely can! If you’re feeling extra fancy and have the time, homemade always tastes amazing. Just ensure your homemade cake is moist and the frosting isn’t too runny.
Final Thoughts
Phew! You made it. You’re now equipped with the knowledge to create your very own batch of delightful Chocolate Cake Pops. They might seem a little finicky at first, but once you get the hang of it, you’ll be whipping these out like a pro. So go forth, bake, dip, decorate, and most importantly, enjoy every single bite. You’ve earned it!


