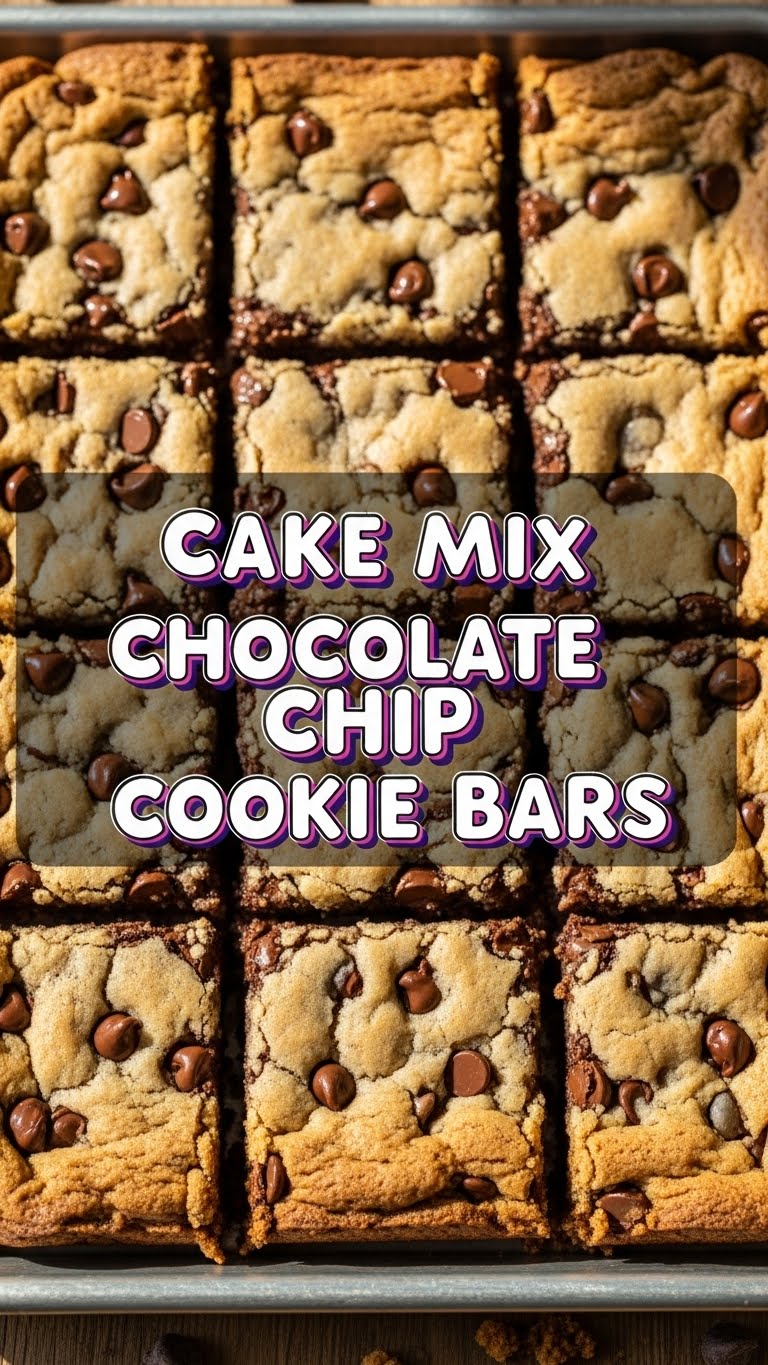
So you’re craving something tasty but too lazy to spend forever in the kitchen, huh? Same, friend, same. We’ve all been there – staring into the abyss of an empty snack cupboard, wondering if ordering takeout is a personality trait. But what if I told you there’s a magical, almost criminally easy way to get warm, gooey, chocolate-chip-packed deliciousness into your face with minimal effort? Enter: Cake Mix Chocolate Chip Cookie Bars. Your new best friend.
Why This Recipe is Awesome
First off, it’s basically alchemy. You take a humble box of cake mix and transform it into cookie bar gold. How cool is that? Plus, it’s ridiculously fast. We’re talking “Netflix episode intro” quick. This recipe is also **super forgiving**, so even if you usually burn toast, you’re probably going to nail this. Trust me, I’m not known for my delicate touch in the kitchen, and these bars turn out perfectly every single time. It’s an **idiot-proof** recipe, even *I* didn’t mess it up. Your friends will think you slaved away for hours, and you can just smile enigmatically, knowing your secret weapon is a box of Betty Crocker.
Ingredients You’ll Need
- 1 box (15.25 oz) Yellow or Devil’s Food Cake Mix: Your secret weapon! Don’t overthink it. Any brand works.
- ½ cup (1 stick) unsalted butter, melted: Because everything is better with butter. *Everything.*
- 2 large eggs: The glue that holds our delicious dreams together.
- 1 tsp vanilla extract (optional but highly recommended): Adds that extra “oomph.” Don’t skip it if you have it!
- 1 cup chocolate chips: Or more! Let’s be real, are there ever *enough* chocolate chips? (No, the answer is no.)
Step-by-Step Instructions
Preheat & Prep: First things first, get your oven ready. Set it to 350°F (175°C). While it’s heating up, grab a 9×13 inch baking pan and line it with parchment paper, leaving a little overhang on the sides. This makes lifting the bars out a breeze, and cleanup? What cleanup?!
Mix the Magic: In a large bowl, combine your cake mix, melted butter, eggs, and vanilla extract (if you’re feeling fancy). Stir it all together until it forms a thick, somewhat sticky dough. Don’t overmix! Just combine until there are no dry spots.
Fold in the Fun: Now, for the best part: gently fold in those glorious chocolate chips. Use a spatula for this. Distribute them evenly, or just dump them in – your call, I’m not judging.
Press & Bake: Press the dough evenly into your prepared baking pan. It might be a bit sticky, so use slightly damp hands or a greased spatula to get it nice and flat. Pop it into your preheated oven and bake for 20-25 minutes.
Cool & Devour: The bars are done when the edges are lightly golden and a toothpick inserted into the center comes out with moist crumbs (not wet batter!). Let them cool completely in the pan before lifting them out using the parchment paper handles. Slice ’em up and prepare for pure bliss.
Common Mistakes to Avoid
- Thinking you don’t need to preheat the oven: Rookie mistake! Your oven needs to be at the correct temperature from the start for even baking. Don’t rush it.
- Overmixing the dough: Once everything’s just combined, stop! Overmixing can lead to tougher bars, and who wants a tough cookie bar? Nobody.
- Overbaking: Keep an eye on those bars! Baking too long will result in dry, crumbly sadness instead of gooey deliciousness. They should look slightly underdone in the center when you pull them out; they’ll set as they cool.
- Not lining the pan with parchment paper: You *could* just grease it, but then you’ll be prying stuck bars out like a caveman. **Parchment paper is your best friend here, trust me.**
Alternatives & Substitutions
- Chocolate Chip Swap: Not a fan of semi-sweet? Go wild! White chocolate chips, dark chocolate chunks, peanut butter chips – mix and match! Or throw in some M&Ms for a fun pop of color.
- Cake Mix Mania: While yellow or devil’s food are classics, don’t be afraid to experiment. A funfetti cake mix would make super festive bars, or try a red velvet for a dramatic twist! Just be aware the flavor profile will change, obvs.
- Add-ins: Feeling extra? Stir in ½ cup of chopped nuts (pecans or walnuts are great), shredded coconut, or even a sprinkle of sea salt on top before baking to really elevate the flavor game.
- Butter vs. Oil: You could use vegetable oil instead of butter, but honestly, butter just gives them a richer flavor. IMO, it’s worth the extra step of melting.
FAQ (Frequently Asked Questions)
- Can I use any brand of cake mix? Absolutely! Any standard 15.25 oz box will work. Go with your fave!
- What if I don’t have parchment paper? Well, you *could* just grease and flour the pan really well, but it’s a higher risk of sticking. Seriously, invest in some parchment paper; your future self will thank you.
- My dough is super sticky, is that normal? Yep, totally normal! Cake mix dough can be a bit gooey. Slightly damp hands or a greased spatula will help you spread it out.
- How do I store these magical bars? Keep them in an airtight container at room temperature for up to 3-4 days. If they last that long, you have incredible self-control!
- Can I freeze them? You bet! Wrap individual bars tightly in plastic wrap, then place them in a freezer-safe bag for up to 2-3 months. Thaw at room temp or give them a quick zap in the microwave for a warm treat.
- Can I halve the recipe? Sure thing! Use an 8×8 inch pan and half of all the ingredients. Baking time might be slightly shorter, so keep an eye on it.
- Is it okay to eat the raw dough? While delicious, raw eggs carry a risk of salmonella. So, while tempting, it’s probably best to wait for them to bake. Self-control, my friend!
Final Thoughts
See? I told you it was easy! You just whipped up a batch of deliciousness with minimal fuss, and now your kitchen smells like a bakery (without all the early mornings and flour explosions). Go ahead, impress your friends, bribe your kids, or just hoard them all for yourself – you’ve earned it! Now go forth and conquer those cravings, you baking superstar!


