“`html
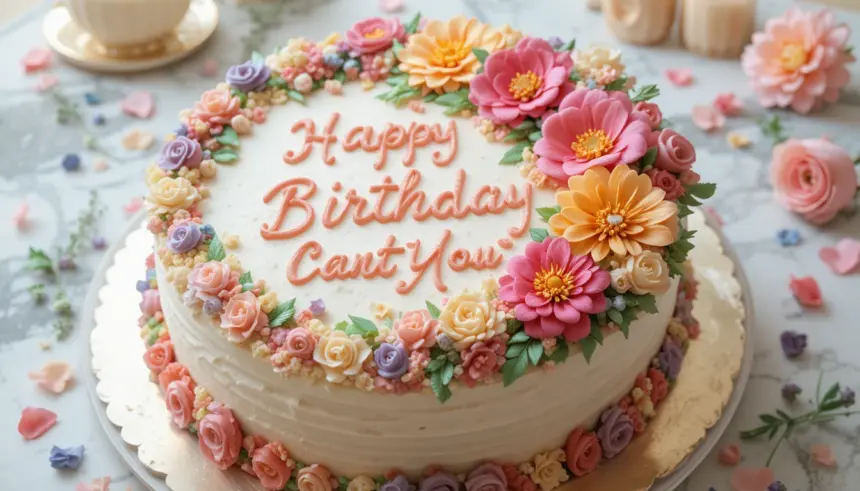
Cake Flowers Birthday: Because Pretty & Delicious Should Be Easy!
So, you’ve got a birthday coming up, and the thought of baking a Pinterest-worthy cake is making you sweat more than a marathon runner in July? Relax, friend. We’re about to embark on a journey to cake flower glory, and I promise, it’s more “easy peasy” than “stress induced meltdown.” Let’s get those hands (and maybe your kitchen counter) a little floured!
Why This Recipe is Awesome (Seriously, it’s Foolproof!)
Let’s be real. Who has time to meticulously pipe intricate rose petals that look like they were sculpted by a tiny, edible Michelangelo? Not us! This cake flower recipe is designed for maximum impact with minimal fuss. It’s basically cheating your way to a stunning centerpiece, and I’m totally here for it. Plus, it tastes ridiculously good. It’s the kind of cake that makes people say, “Wow, you MADE this?!” and you can just wink knowingly.
Ingredients You’ll Need (No Fancy Schmancy Stuff Required)
- Your favorite cake mix: Yep, box mix is our bestie here. Chocolate, vanilla, red velvet – go wild!
- Eggs, oil, water: Whatever the box tells you. Don’t question the box; it knows.
- Buttercream frosting: Store-bought or homemade, we’re not judging. Just make sure you have plenty!
- Food coloring: Pink, red, yellow, purple – the more, the merrier! Gel food coloring is your friend for vibrant colors.
- Plastic bags: Ziploc or any sturdy plastic bags will do.
- Scissors: For snipping those fancy bag tips.
- A toothpick or skewer: For… well, you’ll see!
Step-by-Step Instructions (Get Ready to Bloom!)
- Bake your cake according to the box directions. While it’s doing its thing in the oven, **preheat your oven to the temperature specified on the box. Seriously, don’t skip this!**
- Once your cake is baked and cooled (patience, grasshopper!), it’s time to get frosting-happy. Divide your buttercream into as many bowls as you have colors. Add a few drops of food coloring to each bowl and mix until you have those gorgeous hues.
- Now for the magic! Fill your plastic bags with a dollop of frosting. **Twist the top of the bag tightly** to keep that frosting from staging a delicious escape.
- Snip off a tiny corner of each bag with your scissors. Don’t go crazy; a small opening is what you want for delicate petals.
- Here comes the fun part! Grab your toothpick or skewer. Dip the tip into the frosting in your bag, creating a little blob. This will be the center of your flower.
- Now, using your bag with the snipped corner, **gently squeeze and pull away from the center** to create petal shapes around your initial blob. Think of it as drawing with frosting! Repeat this all over your cake, creating a beautiful floral explosion. Don’t aim for perfection; imperfectly perfect is the goal here.
Common Mistakes to Avoid (Don’t Be That Guy!)
- Frosting too warm: If your frosting is melty, your flowers will be sad, droopy messes. Keep it cool!
- Bag opening too big: You’ll end up with giant frosting blobs instead of delicate petals. Start small!
- Skipping the preheating: We already covered this, but it bears repeating. It’s the foundation of cake success.
- Not enough frosting colors: Why have one flower when you can have a whole bouquet? More colors = more wow!
Alternatives & Substitutions (Because Life Happens)
Can’t find food coloring? Get creative! You can swirl melted white chocolate with a tiny bit of fruit puree for subtle color and flavor. No plastic bags? Use parchment paper, roll it into a cone, and snip the tip. It’s a little messier, but totally doable. If you’re feeling extra fancy and have a piping bag, go for it, but honestly, the plastic bag method is my secret weapon.
FAQ (Because I Know You’re Wondering)
Can I use Cool Whip instead of buttercream? Well, technically you *could*, but it’s a bit like putting ketchup on a gourmet steak. It might work in a pinch, but the texture and flavor won’t be quite the same. Stick with buttercream for the best results!
My frosting is too stiff! What do I do? Add a *tiny* bit of milk or cream, like, a teaspoon at a time, and mix it in. Don’t go overboard, or you’ll have soup!
My flowers look lopsided. Help! Embrace the chaos! Rustic charm is in, darling. Seriously, no one expects a perfectly symmetrical garden on a cake.
Can I make these flowers ahead of time? You can pipe frosting flowers onto parchment paper and freeze them! Once solid, peel them off and store them in an airtight container in the freezer. Then, just place them on your frosted cake when you’re ready. Genius, right?
What if my cake is already frosted? Can I still add flowers? Absolutely! As long as your base frosting is chilled and firm, you can go to town adding your beautiful cake flowers.
Final Thoughts
There you have it! A cake that’s as pretty as a picture and as easy as… well, as easy as ordering pizza, but way more rewarding. Now go impress someone – or yourself – with your new culinary skills. You’ve earned it! Happy baking and even happier celebrating!
“`
