Ever stared at a plain chocolate cake and thought, “You’re delicious, but you could be… *more*?” Me too! Let’s face it, sometimes you bake a gorgeous chocolate masterpiece, and then it just sits there, looking all humble. We’re here to fix that without needing a culinary degree or a trust fund for fancy tools. Get ready to turn that chocolate canvas into a showstopper, even if your artistic skills peak at stick figures.
Why These Decorating Ideas Are Awesome
Because nobody wants a boring cake, right? These ideas are simple, look ridiculously impressive, and won’t require you to sell a kidney for obscure decorating gadgets. The best part? They’re all about chocolate on chocolate, which, let’s be honest, is peak dessert performance. We’re talking maximum impact with minimal fuss. Plus, they’re practically idiot-proof. Seriously, if I can do it without making a total mess (mostly), so can you. It’s about enhancing, not over-complicating. Effortless elegance, my friend.
Ingredients You’ll Need (for Decorating, of Course!)
Think of these as your art supplies. You’re already rocking a chocolate cake, so let’s get it dressed up.
- **A Baked Chocolate Cake:** Obviously. Chilled is even better for decorating, trust me.
- **Chocolate Ganache:** (Equal parts heavy cream & chocolate chips/chopped chocolate). Because why just *eat* chocolate when you can *drown* your cake in it?
- **Cocoa Powder:** For dusting, because it looks fancy AF with zero effort.
- **Chocolate Shavings or Curls:** Looks super professional, but it’s just scraping chocolate. Shhh, don’t tell anyone!
- **Fresh Berries (Strawberries, Raspberries):** For a pop of color, some freshness, and to make it look like you put in more effort than you did.
- **Sprinkles (Optional but Recommended):** Because sprinkles make everything a party, even a Tuesday.
- **Piping Bag & Star Tip (Optional):** Or just a trusty Ziploc bag with the corner snipped. We’re not judging your DIY spirit.
- **Icing Spatula or Offset Spatula:** Your cake’s best friend for smooth moves and effortless spreading.
Step-by-Step Instructions for Your Masterpiece
Alright, let’s turn that delicious brown blob into a work of art. Pick one, or mix and match! This isn’t rocket science, it’s cake science.
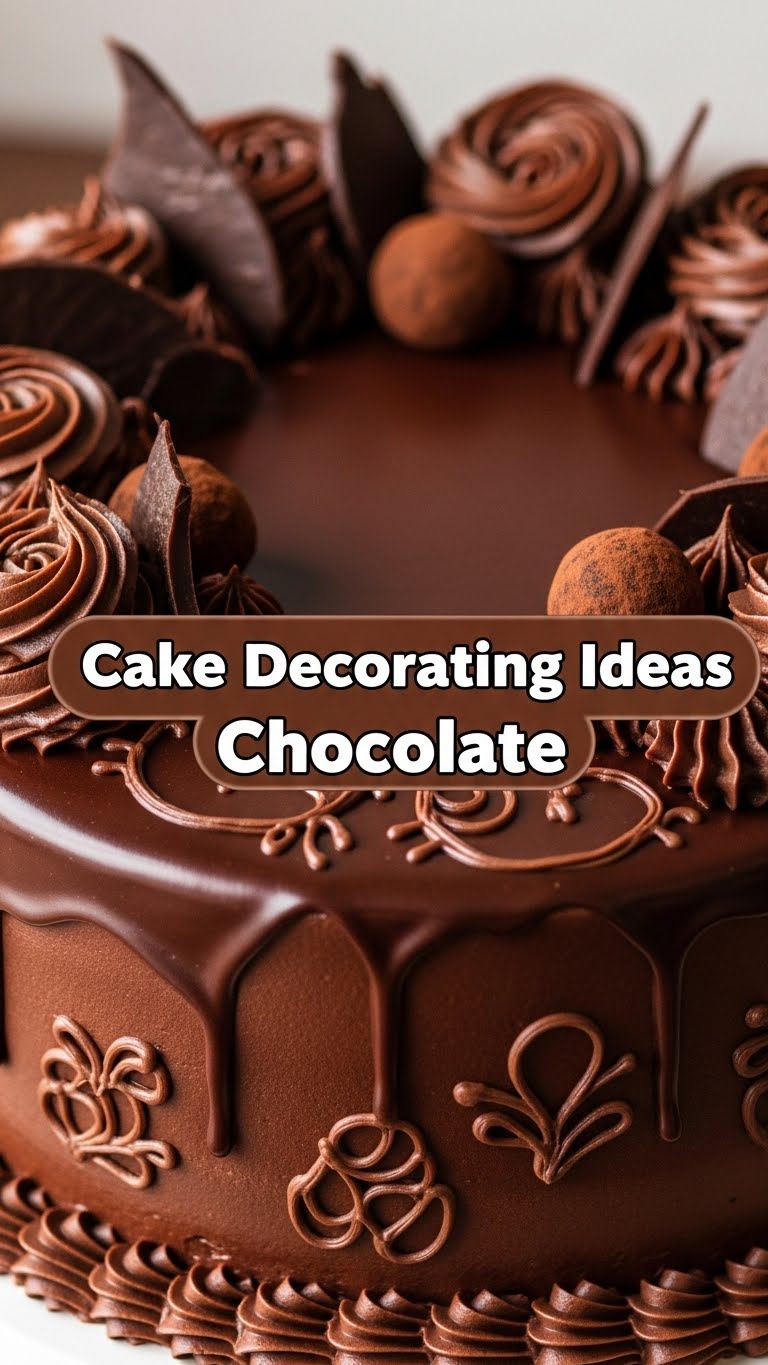
The Glorious Ganache Drip: First, make your ganache. Heat heavy cream until just simmering, pour over chocolate, let it sit for 5 mins, then stir until smooth. Let it cool until it’s thick enough to coat a spoon but still pourable. Drizzle it artfully (or haphazardly, we’re going for rustic chic here) around the edges of your chilled cake, letting it drip down the sides. Then, pour the rest over the top and spread it gently.
Chocolate Shaving Sensation: Grab a block of chocolate (the colder, the better). Use a vegetable peeler or the edge of a sharp knife to shave off delicate curls. Sprinkle these beauties all over the top of your ganache-coated cake. Voila! Instant professional look. You’re practically a chocolatier now.
Berry Beautiful Arrangement: Once your ganache is set (or mostly set), arrange your fresh berries. You can create a neat border, pile them in the center, or scatter them around for a more natural vibe. Pro tip: Red berries against dark chocolate are just chef’s kiss.
Simple Piping Swirls (or Stars): If you’re feeling fancy, fill a piping bag fitted with a star tip (or a Ziploc with a corner cut) with some leftover frosting (chocolate buttercream works great!). Pipe small rosettes or stars around the edge of the cake or in a pattern on top. Don’t stress too much; imperfect is charming!
Cocoa Powder Panache: For a super elegant, minimalist look, simply dust your finished (and chilled!) cake lightly with cocoa powder using a fine-mesh sieve. It adds a lovely velvety finish and enhances that rich chocolate aroma. No fuss, all class.
Common Mistakes to Avoid (So You Don’t Cry Over Spilt Ganache)
We’ve all been there. Learn from my chocolate-covered errors!
- **Hot Ganache Disaster:** Trying to drip ganache when it’s still too hot. It will run right off your cake like a waterfall, taking all your hopes and dreams with it. Let it cool down! It should be thick, but still flowing.
- **Impatient Decorating:** Not chilling your cake enough before decorating. A warm cake and soft frosting/ganache are a recipe for a sliding, messy disaster. Chill that cake, buddy!
- **Over-Decorating Overkill:** Thinking more is always better. Sometimes, less is genuinely more. A simple ganache drip with some berries is often more stunning than every single technique piled on top. Let your beautiful chocolate cake shine.
- **Too-Thin Chocolate Shavings:** Trying to make curls with warm chocolate. It’ll just smudge. Pop your chocolate block in the fridge for 10-15 minutes before attempting to shave it.
Alternatives & Substitutions (Because We’re Flexible Like That)
No exact ingredient? No problem! We’re all about making it work.
- **Ganache Glaze:** If you’re out of heavy cream, you can sometimes make a thinner ganache with milk, but it won’t be as rich or set as well. Or, just melt chocolate with a tiny bit of coconut oil for a quick, shiny glaze.
- **Different Chocolates:** Use dark chocolate for a sophisticated, slightly bitter edge, milk chocolate for classic sweetness, or even white chocolate for a dramatic contrast. IMO, dark chocolate ganache is king.
- **Beyond Berries:** Don’t have fresh berries? Try candied orange peel for a grown-up vibe, chocolate-covered coffee beans, toasted nuts, or even crushed Oreos for extra indulgence.
- **Store-Bought Frosting:** Don’t want to make ganache or buttercream from scratch? No shame in a good quality store-bought chocolate frosting. Just warm it slightly for an easier spread or drip effect.
FAQ (Frequently Asked Questions – You’re Not Alone!)
- **Do I really need special tools?** Nah, not really. A spoon and a butter knife can do wonders. A Ziploc bag is your best friend for piping. An offset spatula makes life easier, but your basic kitchen knife can spread frosting in a pinch.
- **How do I make those fancy chocolate curls easily?** Simple! Take a bar of chocolate (chilled is better). Hold it at an angle and drag a vegetable peeler along the long edge. Beautiful curls will emerge like magic.
- **My ganache is too thick/thin! Help!** Too thick? Add a tiny splash of warm cream, stir, and repeat until desired consistency. Too thin? Let it cool longer, or pop it in the fridge for 5-10 minutes, stirring every couple of minutes until it thickens.
- **Can I decorate my cake the day before?** Absolutely! Most chocolate cakes and decorations (especially ganache and berries) hold up wonderfully in the fridge overnight. Just pull it out an hour or so before serving to bring it to room temperature.
- **What if I totally mess up?** Hey, it happens! If a drip goes wrong, just grab some extra chocolate shavings and cover it up. If a berry rolls off, pop it back on. Or, just embrace the “rustic charm.” FYI, nobody’s judging your perfectly imperfect cake.
Final Thoughts
So there you have it! A few simple, fun ways to take your chocolate cake from “yum” to “WOW!” Remember, baking and decorating should be fun, not stressful. Don’t aim for perfection; aim for deliciousness and a good time. Now go forth and impress someone—or just yourself—with your new chocolate cake decorating prowess. You’ve earned it!


