Ever looked at those impossibly perfect cakes online and thought, “Yeah, right, I can barely make toast without burning it?” Well, buckle up, buttercup, because today we’re turning your kitchen into a no-stress, sprinkle-explosion zone! We’re talking about cake decorating for kids, which, let’s be real, is just an excuse for adults to play with sugar too. No judgment here!
Why This Recipe is Awesome
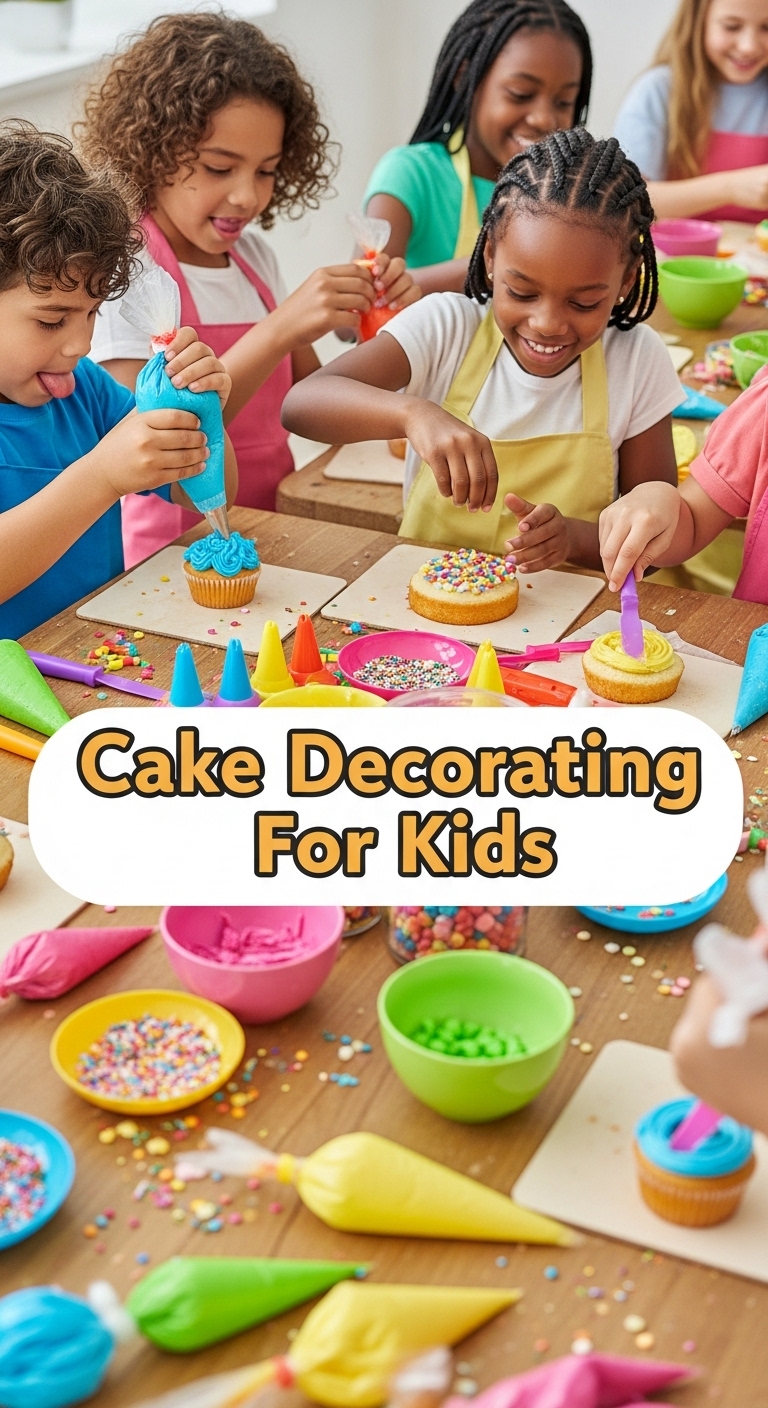
This isn’t about perfection; it’s about pure, unadulterated, sugary joy. We’re talking about letting your little humans (and maybe your inner child) go wild with frosting and sprinkles. It’s a creative outlet, a sensory experience, and a delicious payoff, all rolled into one sticky, glorious activity. And the best part? It’s pretty much **idiot-proof** – even I’ve supervised this without having a meltdown, so you totally can too. Plus, it’s a fantastic way to bond without staring at a screen for hours. Win-win!
Ingredients You’ll Need
Get ready for a shopping list that’s more fun than functional, IMO:
- Your Canvas: Pre-baked cakes or cupcakes (because who needs extra stress? Store-bought is your best friend here. No shame in that game!)
- The Paint: Store-bought frosting (vanilla, chocolate, cream cheese – whatever floats your sugar boat!). If you’re feeling ambitious and want to make your own, go for it, you overachiever!
- The Sparkle & Shine: Sprinkles! All the sprinkles! Jimmie, nonpareils, confetti, glitter – you name it.
- Edible Art Supplies: M&Ms, Skittles, gummy bears, mini cookies (Oreos, chocolate chip), chocolate chips, marshmallows, licorice whips. Basically, anything small and colorful that screams ‘fun!’
- Tools of the Trade: Butter knives or small spatulas for spreading. Ziploc bags for piping (if you’re feeling fancy, which, let’s be honest, you might after a few sprinkles).
Step-by-Step Instructions
- Prep Your Battle Station: Lay down some newspaper, parchment paper, or an old tablecloth. Trust me, this is not optional. You’ll thank me later when cleanup is a breeze!
- Unleash the Frosting: Scoop your chosen frosting into a bowl. If it’s a bit stiff, microwave it for about 5-10 seconds to make it more spreadable. Not too hot, though, or it’ll melt everything!
- Apply the Base Coat: Give each child (and yourself!) a cake or cupcake. Hand them a butter knife or small spatula and let them slather on a generous layer of frosting. Encourage them to cover the whole top! Perfection? Nah. Fun? Heck yeah!
- Sprinkle Storm Warning: Now for the main event! Open all those sprinkle containers. Let the kids go wild. Encourage them to mix colors, make patterns, or just create a vibrant sprinkle mountain. This is where the magic (and the mess) truly happens.
- Candy Wonderland: Time to add the bigger goodies. M&Ms can be eyes, gummy bears can be fuzzy monsters, and mini cookies can be hats. There are no rules here, only imagination.
- Admire Your Masterpiece: Stand back and behold the sugary, colorful creations. Take pictures! Because these edible works of art probably won’t last long.
- Eat It Up! The best part, obviously. Enjoy the fruits (or rather, the sweets) of your labor.
Common Mistakes to Avoid
- Thinking you need to be Martha Stewart: This is for kids, remember? Embrace the charmingly chaotic, slightly lopsided, gloriously messy results. The goal is fun, not a magazine cover.
- Trying to frost a warm cake: Rookie error! Melted frosting is a sad, soupy sight. Make sure your cakes or cupcakes are completely cooled before starting. Patience is key here!
- Eating all the sprinkles before they hit the cake: We’ve all been there. Try to save some for the actual decorating, okay? Maybe have a separate “tasting pile.”
- Forgetting to protect your surfaces: Seriously, learn from my past mistakes. Frosting and sprinkles have a way of traveling. A lot.
Alternatives & Substitutions
No particular ingredient? No problem! We’re flexible like that:
- No store-bought frosting? **Whip up some heavy cream and powdered sugar** for a lighter, homemade whipped cream frosting. Just make sure it’s super cold when you start!
- Want healthier options? Fresh berries, sliced bananas, or even some thinly sliced kiwi can be surprisingly pretty and add a refreshing touch.
- Out of fancy sprinkles? Crush some colorful cereal (like Fruity Pebbles), mini cookies, or even a few M&Ms for a fun, textured topping.
- No cakes or cupcakes? Decorate large sugar cookies or even plain crackers with cream cheese and fruit! Get creative!
FAQ (Frequently Asked Questions)
- Can my toddler really do this without creating a full-on disaster zone? Well, “disaster zone” is subjective, isn’t it? They absolutely can participate! Just manage your expectations and prepare for maximum mess, minimum perfection. It’s all part of the fun!
- What if we don’t have fancy piping bags or tips? Who needs ’em?! A butter knife, a spoon, or even just clean fingers work perfectly for spreading. If you want to pipe, snip the corner off a Ziploc bag, fill it with frosting, and you’re good to go!
- How do I minimize the mess? Seriously, my kitchen is tiny. A large cookie sheet or baking tray under each cake/cupcake can catch most of the falling sprinkles. Also, aprons! For everyone!
- Can we use homemade frosting? Absolutely, if you’re feeling like a domestic goddess (or god)! Homemade buttercream is delicious and often easier to spread.
- What if the cake doesn’t look like the pictures online? Good! It shouldn’t! It should look like a joyous, unique, and slightly chaotic creation made by happy hands. That’s the whole point, right?
- Can adults join in the decorating fun? Duh! This isn’t just for kids. Grab a cake, get your frosting on, and embrace your inner child. It’s practically required!
Final Thoughts
There you have it, folks! Your passport to a world of sugary, creative fun. Cake decorating with kids is less about the “perfect” cake and more about the giggles, the sticky fingers, and the pure joy of creating something delicious together. Now go forth, unleash those tiny (and not-so-tiny) artists, and make some delicious memories. You’ve earned that celebratory slice… or three. 😉 Enjoy!


