So, you’ve got a chocolate cake just sitting there, looking a little… bare, huh? And you’re staring at it, thinking, “How do I make this look like it came from a fancy bakery without, you know, actually *going* to a fancy bakery (or spending a fortune)?” My friend, you’ve officially landed in the right spot! We’re about to turn that plain Jane cake into a dazzling diva with minimal effort and maximum chocolatey impact. Let’s get decorating!
Why This Recipe is Awesome
Because let’s be real, baking a cake is one thing, but making it look drool-worthy? That’s often where the real anxiety kicks in. But fear not, my culinary comrade! This “recipe” (more like a guide to chocolatey greatness) is your ultimate cheat code. We’re talking maximum impact, minimum fuss, and absolutely zero need for a pastry school degree. It’s so **idiot-proof**, even I can’t mess it up, and that’s saying something. Plus, it involves chocolate. Enough said, right?
Ingredients You’ll Need
Gather ’round, buttercups! Here’s what you’ll need to transform your cake from drab to fab:
- **For the Super Simple Chocolate Ganache (because every good chocolate cake needs a killer chocolate topping):**
- **1 cup (240ml) Heavy Cream:** The good stuff, not that sad skim milk you “accidentally” bought.
- **8-10 ounces (225-280g) Good Quality Chocolate:** Chips or a chopped bar work. Dark or semi-sweet is usually best, but hey, it’s your party. **No cheap stuff, your cake deserves better!**
- **1 tablespoon Unsalted Butter (optional):** A little knob for extra shine and a silky finish.
- **1/2 teaspoon Vanilla Extract (optional):** Just a tiny splash for sophistication.
- **For the Fun Bits (aka the glam squad for your cake):**
- **Sprinkles:** Because confetti for cakes is always a good idea. Choose your fav colors!
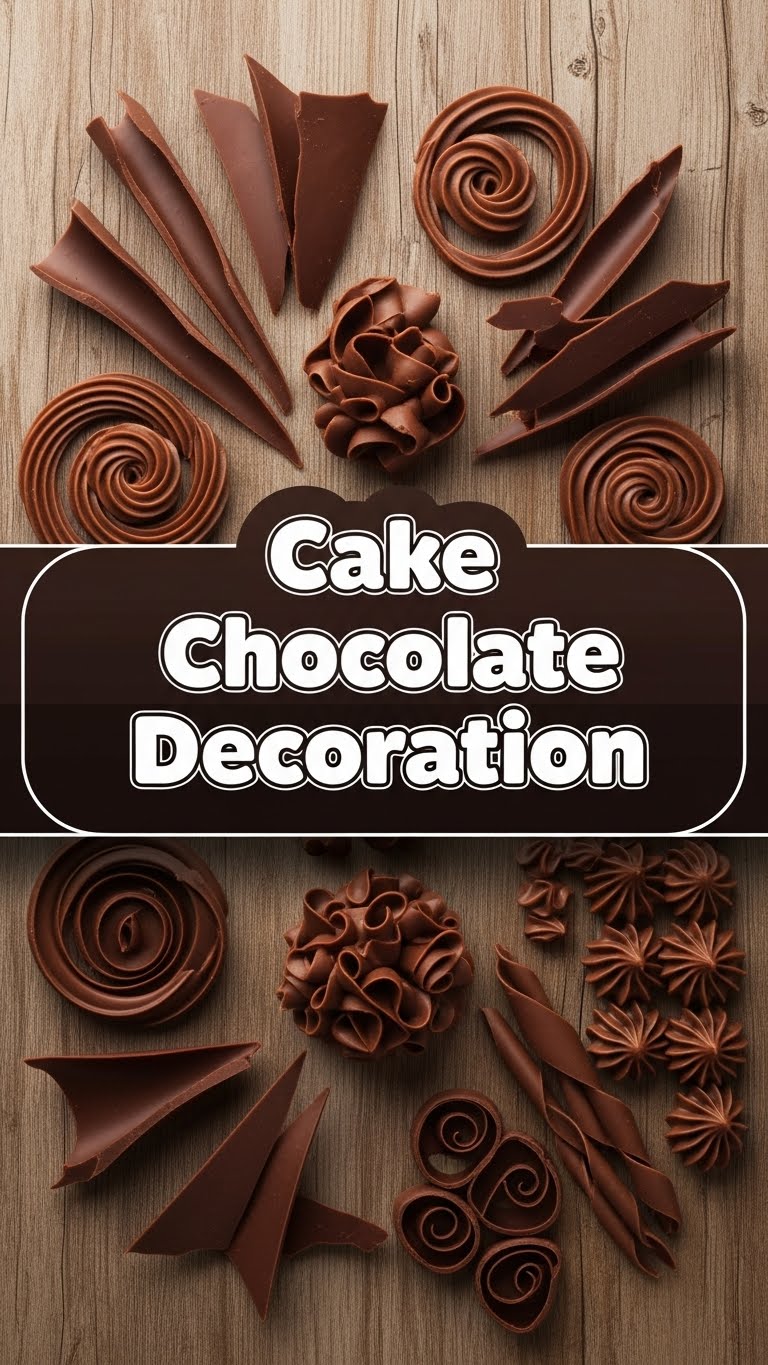
- **Chocolate Shavings or Curls:** You can buy them, or just grab a chocolate bar and a veggie peeler. We’re not judging your DIY skills.
- **Fresh Berries:** Strawberries, raspberries, blueberries – makes it look fancy AND healthy (kinda).
- **Powdered Sugar:** For that “snow-kissed” look, or, let’s be honest, to hide a multitude of sins (like uneven frosting).
- **Chopped Nuts (optional):** For a bit of crunch, like pistachios or hazelnuts.
Step-by-Step Instructions
Alright, cake in hand, let’s get this party started! Make sure your cake is **completely cooled** before you even think about frosting.
- **Make Your Ganache Magic:** In a small saucepan, gently heat the heavy cream until it just starts to simmer around the edges (don’t boil it, unless you want a burnt mess). Place your chocolate (and butter, if using) in a heatproof bowl. Pour the hot cream over the chocolate. Let it sit for about 5 minutes without touching it. This lets the chocolate melt beautifully.
- **Whisk It Real Good:** After its little sit-down, gently whisk the chocolate and cream until it’s silky smooth and gloriously combined. Stir in the vanilla extract, if you’re using it. It should look like liquid chocolate velvet. Mmm.
- **Let It Chill (Literally):** This is crucial. For a nice, pourable drip ganache, let it cool for 15-30 minutes at room temp, stirring occasionally, until it’s slightly thickened but still pourable. For a thicker, spreadable ganache, let it cool for longer, maybe an hour or two, until it’s more like a thick pudding.
- **The Drip Effect (Optional but Awesome):** If you’re going for those elegant drips, gently pour the slightly warm ganache over the top of your cake. Start from the center and let it naturally run down the sides. You can use a spoon to guide some drips if they’re being shy. **Less is more here** for that chic drip look.
- **The Full Cover-Up (or just the top):** If you want to cover the whole cake, wait for the ganache to firm up a bit more. Then, using an offset spatula or the back of a spoon, spread it evenly over the top and sides. Don’t stress too much about perfection; rustic is in!
- **Accessorize, Accessorize, Accessorize!:** Now for the fun part! While the ganache is still a little wet (so things stick!), unleash your inner cake stylist. Sprinkle on those sprinkles, artfully place your chocolate shavings, arrange the fresh berries. Have fun with it! This is where your cake gets its personality.
- **The Grand Finale Dust (aka the finishing touch):** For that extra touch of bakery magic, take a fine-mesh sieve and dust a light layer of powdered sugar over the top of your masterpiece. It adds a lovely contrast and makes everything look even more inviting.
Common Mistakes to Avoid
We’ve all been there, trust me. Here are some rookie (and not-so-rookie) mistakes to steer clear of:
- **Not Letting the Cake Cool:** Trying to put frosting on a warm cake is a one-way ticket to a melty, sliding disaster. Seriously, just don’t. **Patience is a virtue here.**
- **Overheating the Cream for Ganache:** Boiling cream not only risks scorching it, but it can also make your chocolate seize up. Nobody wants lumpy ganache.
- **Impatience with Ganache Cooling:** Trying to spread or drip ganache before it’s the right consistency is a recipe for frustration. Too warm, it’ll slide off. Too cold, it’ll be chunky.
- **Using Too Much Ganache for Drips:** If you want elegant drips, don’t pour half the bowl on top. Start with less and add more if needed. Otherwise, you’re just drowning your cake, not decorating it.
- **Not Tasting Your Ingredients:** Always taste your chocolate. For quality control, obvs. And because it’s chocolate.
Alternatives & Substitutions
Feeling a little rebellious? Here are some ways to switch things up:
- **Ganache Alternatives:** Don’t fancy making ganache? No judgment! Grab a tub of **good quality store-bought chocolate frosting** and jazz it up. You can warm it slightly in the microwave for a smoother spread, or even whip it with a hand mixer for a lighter, fluffier texture.
- **Chocolate Types:** Craving something sweeter? Use milk chocolate for your ganache. Want a striking contrast? A white chocolate ganache drizzle over dark chocolate cake is *chef’s kiss*.
- **Berry Swaps:** Don’t limit yourself to just strawberries! Cherries, blueberries, even candied orange peel can look and taste amazing.
- **Nutty Additions:** Instead of just chocolate shavings, how about some toasted chopped hazelnuts, pistachios, or pecans? Adds great texture and a sophisticated crunch.
- **Boozy Boost:** Feeling a bit cheeky? Add a splash of Kahlua, Bailey’s, or rum to your ganache for an adult-only kick. You’re welcome.
FAQ (Frequently Asked Questions)
- **My ganache is too thin! Help!**
Easy peasy! It just needs to cool down a bit more. Pop it in the fridge for 10-15 minutes, giving it a stir every 5, until it thickens to your desired consistency. Don’t forget it in there, though!
- **My ganache is too thick! What do I do?**
No worries, it’s just gotten a little shy. Gently warm it over a double boiler or in the microwave for 10-15 second intervals, stirring in between, until it’s smooth and pourable again. Just be careful not to overheat it.
- **Can I decorate with actual gold leaf?**
Well, technically yes! If you’re feeling fancy AF and want to impress everyone (including yourself), edible gold leaf is a stunning touch. Just be gentle with it – it’s notoriously delicate.
- **How long will this decorated cake last?**
Depends on your self-control, mostly! But generally, a cake decorated with ganache and fresh berries will last 2-3 days at room temperature (in an airtight container) or 4-5 days in the fridge. Berries are happiest when added closer to serving time.
- **Do I need any special tools for this?**
Nope! A saucepan, a bowl, a whisk, a spoon, and maybe an offset spatula (or a butter knife!) are all you really need. A piping bag for super fancy swirls is a bonus, not a requirement. We’re keeping it real here.
Final Thoughts
See? Told ya it wasn’t rocket science! You just transformed a humble chocolate cake into a showstopper with minimal fuss and maximum fun. Now you’ve got a dessert that looks like it walked right off a magazine cover, and you did it yourself! Go forth and conquer that dessert table, impress your friends, or just devour it all yourself (no judgment here, you’ve earned it, superstar!). Happy decorating, my friend!


