So you’re craving something tasty but too lazy to spend forever in the kitchen, huh? Same. We’ve all been there, staring into the fridge like it’s a portal to another dimension where someone else baked for us. But what if I told you that you could whip up those legendary, slightly-underbaked-in-the-middle, chewy-on-the-edges, utterly irresistible cafeteria chocolate chip cookies without breaking a sweat (or a budget)? Get ready, my friend, because we’re about to make some magic happen.
Why This Recipe is Awesome
Okay, let’s be real. This isn’t some fancy-pants, artisanal, farm-to-table cookie recipe. This is the good stuff, the kind that tastes like nostalgia and pure joy. This recipe is awesome because it’s:
- **Idiot-proof.** Seriously, even I, a person who once set off the smoke detector making toast, can nail these.
- **Fast.** We’re talking minimal effort for maximum deliciousness. Perfect for sudden cravings or impromptu snack attacks.
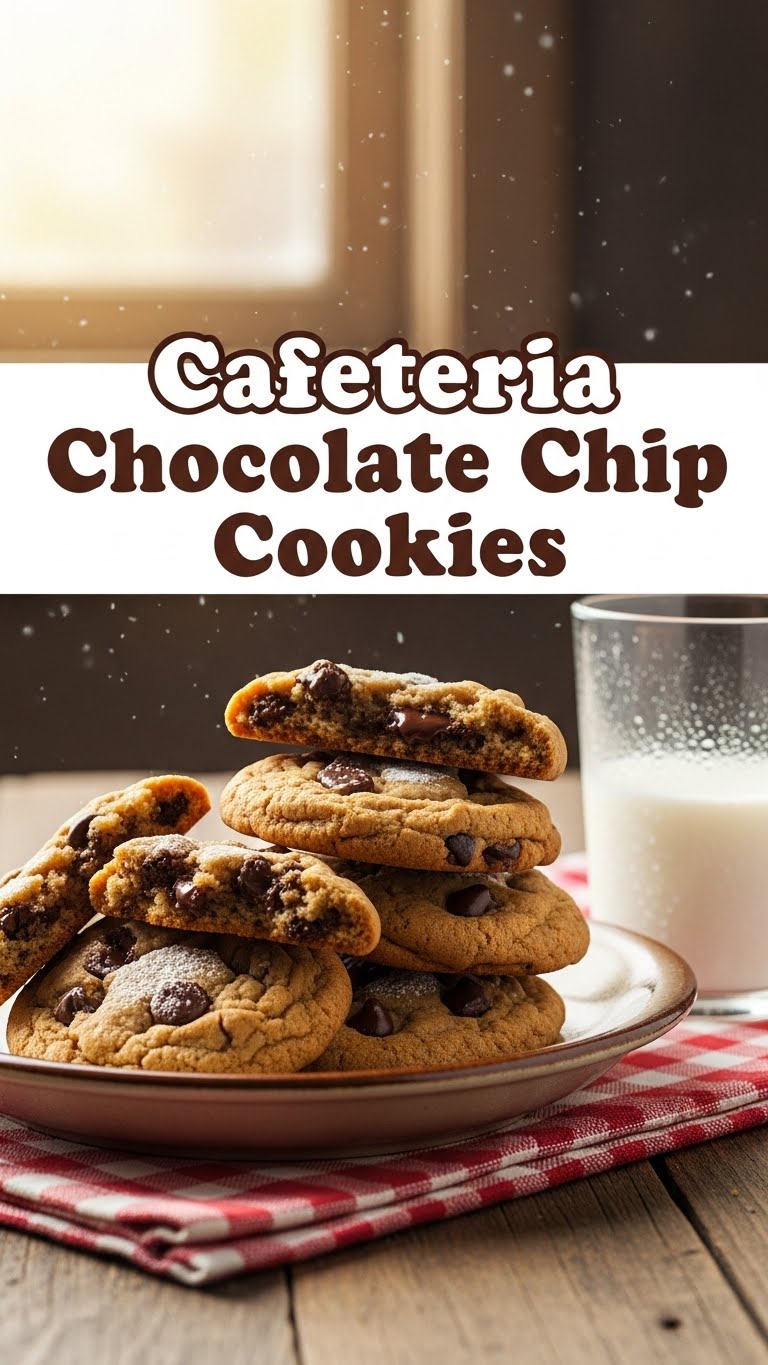
- **Comforting.** These cookies are a warm hug in edible form, bringing back all those elementary school feels (minus the questionable cafeteria mystery meat, thank goodness).
- **Made with basic ingredients.** You probably have most of this stuff in your pantry right now. No weird, obscure flours required!
Ingredients You’ll Need
Gather your troops, folks! Here’s what you’ll need to assemble your cookie army. No need to get fancy; humble ingredients make the best humble cookies.
- **1 cup (2 sticks) unsalted butter, softened:** Room temp is key, folks! Don’t be a hero and try to cream cold butter. Your mixer will hate you.
- **¾ cup granulated sugar:** The basic stuff. Sweetness foundation, you know?
- **¾ cup packed light brown sugar:** Hello, chewiness! This is where some of the magic happens.
- **2 large eggs:** The glue that holds our delicious dreams together.
- **1 teaspoon vanilla extract:** Don’t skimp here. This is the flavor superstar.
- **2¼ cups all-purpose flour:** No need for fancy pastry flour. This ain’t that kind of party.
- **1 teaspoon baking soda:** Our little leavening friend, making sure these cookies puff up just right.
- **½ teaspoon salt:** Balances all that sweetness. Don’t skip it; it makes a difference!
- **1½ – 2 cups chocolate chips:** Semi-sweet, milk, dark… your call, buddy. I usually go for a mix because why choose just one?
Step-by-Step Instructions
Alright, apron on (or not, I’m not your mom), let’s get baking! These steps are so easy, you could probably do them in your sleep.
- **Preheat Power:** First things first, get that oven hot. Preheat it to **375°F (190°C)**. Line a couple of baking sheets with parchment paper or silicone mats. Trust me, it makes cleanup a breeze.
- **Butter Up:** In a large bowl (or stand mixer if you’re feeling fancy), cream together the softened butter, granulated sugar, and brown sugar until it’s light and fluffy. This usually takes about 2-3 minutes. Scrape down the sides of the bowl to make sure everything gets mixed.
- **Egg-cellent Addition:** Beat in the eggs one at a time, mixing well after each addition. Then, stir in the vanilla extract. It’ll smell amazing already, I promise.
- **Dry Mix Magic:** In a separate medium bowl, whisk together the flour, baking soda, and salt. Give it a good whisk to make sure everything is evenly distributed.
- **Combine Forces:** Gradually add the dry ingredients to the wet ingredients, mixing on low speed until *just* combined. **Don’t overmix!** Overmixing develops the gluten and can lead to tough cookies, and nobody wants that.
- **Chip It In:** Fold in those glorious chocolate chips. Use a spatula for this part, ensuring they’re evenly distributed throughout the dough.
- **Scoop ‘n Drop:** Drop rounded tablespoons of dough onto your prepared baking sheets, leaving a couple of inches between each cookie. These babies will spread a little!
- **Bake Time:** Bake for **9-11 minutes**, or until the edges are golden brown but the centers still look slightly soft and gooey. That’s the secret to cafeteria cookie perfection, FYI.
- **Cool Down:** Let the cookies cool on the baking sheets for about 5 minutes before transferring them to a wire rack to cool completely. Or, you know, eat one (or three) warm. I won’t tell.
Common Mistakes to Avoid
Even though this recipe is practically foolproof, there are a few rookie errors that can derail your deliciousness. Learn from my mistakes, people!
- **Cold Butter Crime:** Trying to cream cold, hard butter is a battle you will lose. Your mixer will groan, your arms will ache, and your cookies won’t be fluffy. **Always use softened butter!**
- **Overmixing Madness:** Once the flour goes in, mix only until it’s combined. Whipping it like it owes you money will result in dense, tough cookies. Not the vibe we’re going for.
- **Baking Sheet Bonanza:** Crowding your baking sheets is a recipe for disaster. The cookies will melt into each other and bake unevenly. Give them space to spread and thrive!
- **Impatience is Not a Virtue (in Baking):** Pulling them out too early or leaving them in too long. For that classic chewy cafeteria style, you want those slightly underbaked centers. Keep an eye on them!
Alternatives & Substitutions
Feeling a little adventurous? Or maybe you just ran out of something? No worries, we can totally tweak this. It’s your cookie, after all!
- **Chocolate Chip Varieties:** Mix it up! Try a combination of milk chocolate, semi-sweet, and even some white chocolate chips for extra fun. Mini chips are great too for a more uniform chocolate experience.
- **Butter vs. Margarine:** Can you use margarine? Technically, yes. But **IMO, butter tastes way better** and gives a superior texture. If you must use margarine, go for a high-quality stick variety, not the tub kind.
- **Add-ins:** Feeling spicy? Throw in some chopped nuts (walnuts or pecans!), a handful of shredded coconut, or even a sprinkle of sea salt on top before baking for that gourmet touch.
- **Flour Power:** If you’re out of all-purpose, bread flour can work in a pinch, but it might make the cookies a bit chewier. Cake flour would make them more delicate. Stick to AP if you can!
FAQ (Frequently Asked Questions)
Got questions? I’ve got answers! (Mostly.)
- **Can I make the dough ahead of time?** Absolutely! You can chill the dough for up to 3 days in the fridge. In fact, chilling can deepen the flavor and give you a chewier cookie. Score!
- **Why are my cookies flat?** A few culprits: your butter was too soft (or melted), you used old baking soda, or your oven isn’t at the right temperature. Double-check your measurements and oven temp!
- **Can I freeze the dough?** Yes, you genius! Scoop the dough into balls, place them on a baking sheet, and freeze until solid. Then transfer to an airtight container or freezer bag. Bake from frozen, adding a couple of minutes to the baking time.
- **My cookies are too cakey, what gives?** Chances are you overmixed the flour, or your butter wasn’t soft enough, leading to more air being incorporated. Remember: mix until *just* combined.
- **What if I don’t have brown sugar?** You *can* use all granulated sugar, but the cookies will be less chewy and more crisp. For a quick fix, you can make your own brown sugar by mixing granulated sugar with a tiny bit of molasses (about 1 tbsp per cup of sugar).
- **Why did you say “FYI” earlier? Are you trying to be hip?** Maybe. Also, “FYI” just means “for your information.” See? No biggie.
Final Thoughts
There you have it, folks! Your very own batch of nostalgic, chewy, unbelievably delicious cafeteria chocolate chip cookies. They’re simple, they’re satisfying, and they’re proof that sometimes, the best things in life are the easiest (and the cheapest). Now go impress someone—or yourself—with your new culinary skills. You’ve earned it! Don’t forget to share, unless you don’t want to. I totally get it.


