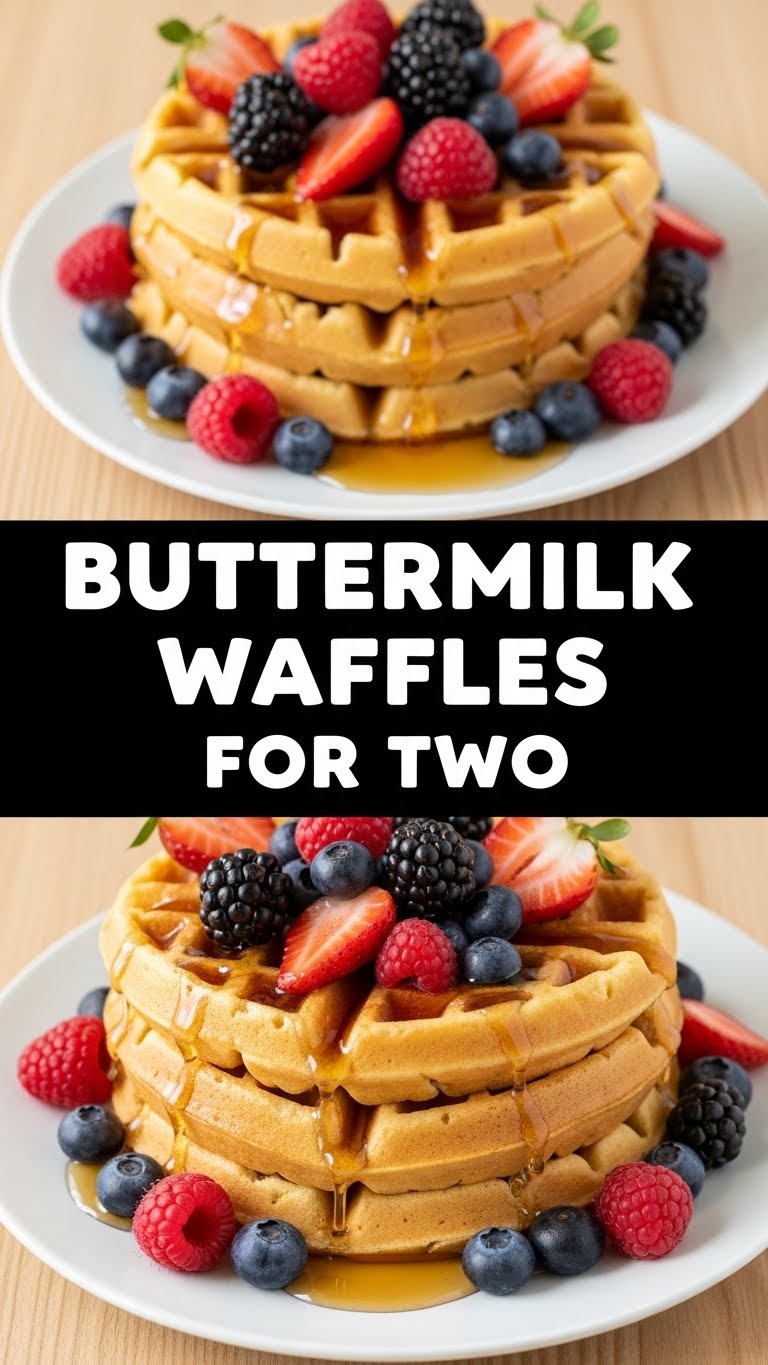
So, you woke up with that specific, glorious craving, didn’t you? That crispy-on-the-outside, fluffy-on-the-inside, golden-brown dream. But then you remembered: making a huge batch of waffles for just *you* (or you and your significant other, if you’re feeling generous) means leftovers, cleanup, and honestly, way too much effort for a Tuesday morning. Or any morning, really. Fear not, my friend! We’re diving headfirst into the glorious world of **Buttermilk Waffles For Two**, because life’s too short for sad breakfasts or giant batches of something you’ll only eat half of. This recipe is for those moments when you want maximum deliciousness with minimum fuss. You’re welcome.
Why This Recipe is Awesome
Let’s be real, you’re here because you want waffles, not a marathon cooking session. This recipe is basically your culinary fairy godmother. Why is it so awesome? First, it’s perfectly scaled for two – no awkward measuring out a quarter of an egg or having enough batter to feed a small army. Second, it’s **ridiculously easy**. Seriously, if I can do it before my first coffee, anyone can. It’s practically idiot-proof. Third, buttermilk gives these waffles a tangy depth and an unbelievably tender crumb that regular milk just can’t compete with. And finally, it’s a quick win. From “I wish I had waffles” to “OMG, I’m eating waffles” in under 30 minutes. What’s not to love?
Ingredients You’ll Need
Alright, grab your apron (or just a clean t-shirt, no judgment here) and let’s gather the goods. Most of these are probably chilling in your pantry already.
- 1 cup All-Purpose Flour: The backbone of our waffle dreams. Don’t overthink it.
- 1 tablespoon Granulated Sugar: Just a touch for that golden crispiness and subtle sweetness.
- 1 teaspoon Baking Powder: Our little lift-off agent. Makes ’em fluffy.
- 1/2 teaspoon Baking Soda: Works with the buttermilk to create magic (and more fluff).
- 1/4 teaspoon Salt: Balances everything out. Crucial, don’t skip it.
- 1 large Egg: Binds it all together, gives structure.
- 1 cup Buttermilk: The star of the show! Tangy, tenderizing, essential. If you don’t have it, see our alternatives section.
- 2 tablespoons Unsalted Butter, melted: Because butter makes everything better. Period.
- 1/2 teaspoon Vanilla Extract (optional, but highly recommended): A little hug for your taste buds.
- Cooking Spray or Extra Melted Butter: For greasing that waffle iron.
Step-by-Step Instructions
Time to get cooking! Don’t worry, it’s more fun than adulting.
- First things first: **Preheat your waffle iron**. This is non-negotiable for crispy waffles. Get it hot and ready according to its instructions. You want it screaming hot!
- In a medium bowl, whisk together your dry ingredients: flour, sugar, baking powder, baking soda, and salt. Make sure there are no lumps—nobody wants a mouthful of plain flour.
- In a separate, smaller bowl, whisk the wet ingredients: egg, buttermilk, melted butter, and vanilla extract (if using). Give it a good swirl until everything is combined.
- Now for the magic moment! Pour the wet ingredients into the dry ingredients. **Mix just until combined**. Seriously, resist the urge to overmix; a few lumps are totally fine. Overmixing leads to tough waffles, and we are NOT about that life.
- Lightly grease your preheated waffle iron with cooking spray or a brush of melted butter. Pour in enough batter to fill the iron (usually about 1/2 to 3/4 cup, depending on your iron). Don’t overfill it, or you’ll have a batter overflow situation, which is sticky and sad.
- Close the lid and cook according to your waffle iron’s instructions, typically for 3-5 minutes, or until the waffle is golden brown and steaming stops.
- Carefully remove the cooked waffle and place it on a wire rack while you cook the second one. This keeps it crispy! Serve immediately with your favorite toppings. Syrup, fruit, whipped cream, or just plain butter—the world is your oyster!
Common Mistakes to Avoid
We’ve all been there, staring at a less-than-perfect waffle. Here’s how to dodge those culinary bullet points of shame:
- Not Preheating the Waffle Iron: This is probably the biggest rookie mistake. A cold iron equals soggy, sad waffles that stick. **Always preheat fully!**
- Overmixing the Batter: Remember those lumps? Embrace them! Mixing too much develops the gluten, making your waffles tough and chewy instead of light and fluffy.
- Not Greasing Enough: Even non-stick irons appreciate a little love. If your waffles are sticking, you probably need more spray or butter.
- Impatience: Opening the waffle iron lid too early is a recipe for disaster. Let it cook completely. Most irons have an indicator light, or wait until the steam mostly stops.
- Thinking You Can Skip Buttermilk: While there are substitutions (we’ll get to those), using plain milk will give you a different texture. Buttermilk is key for that signature tenderness and tang.
Alternatives & Substitutions
Life happens, and sometimes you don’t have exactly what the recipe calls for. No stress! Here are some quick fixes:
- No Buttermilk? No Problem! You can make your own “sour milk” by adding 1 tablespoon of lemon juice or white vinegar to a liquid measuring cup, then filling it up to the 1 cup mark with regular milk (any fat percentage works). Let it sit for 5-10 minutes until it curdles slightly. Voila, instant buttermilk substitute! It’s not *exactly* the same, but it gets the job done.
- No Unsalted Butter? Salted butter is fine, just reduce the added salt in the recipe by half (or omit it entirely, then taste your batter if you’re feeling adventurous – not recommended before cooking though, raw eggs!).
- Whole Wheat Flour? You can substitute up to half of the all-purpose flour with whole wheat for a slightly nuttier, heartier waffle. Just know it might be a little denser.
- Add-ins: Get wild! Chocolate chips, blueberries, chopped nuts, a pinch of cinnamon or nutmeg… stir them into the batter at the very end. Just don’t go overboard, we still need batter, not just toppings!
FAQ (Frequently Asked Questions)
Got questions? I probably do too, but let’s see if I can answer yours first!
- Can I double this recipe for a bigger crowd? Absolutely! Just multiply all ingredients by two (or three, or four…). Just be prepared to cook waffles for a while, as most irons only make one at a time. Batch cook and keep them warm in a low oven if feeding a crowd!
- What’s the best way to store leftover waffles? Leftovers? What are those? Kidding! Let them cool completely, then store them in an airtight container or zip-top bag in the fridge for up to 2-3 days. Reheat in a toaster, toaster oven, or even back in the waffle iron for crispiness.
- Can I freeze these waffles? You bet! Again, let them cool completely. Place them in a single layer on a baking sheet and freeze until solid. Then transfer to a freezer-safe bag or container. They’ll last for a month or two. Pop them directly into a toaster to reheat.
- My waffles aren’t crispy enough, help! Usually, this means your iron wasn’t hot enough, or you didn’t cook them quite long enough. Also, don’t stack them after cooking; put them on a wire rack to allow steam to escape.
- Can I make these dairy-free? Yep! Use a plant-based milk (like almond or soy) with lemon juice/vinegar for the buttermilk substitute, and a plant-based butter alternative.
Final Thoughts
And there you have it! A perfect batch of golden, fluffy buttermilk waffles, just for you (and maybe a lucky friend). See? I told you it was easy. No culinary degree required, just a craving and a willingness to whisk. So go ahead, drizzle that syrup, pile on those berries, and savor every single bite. You’ve earned this moment of pure, unadulterated breakfast bliss. Now go impress someone—or yourself—with your new culinary skills. You’ve earned it!


