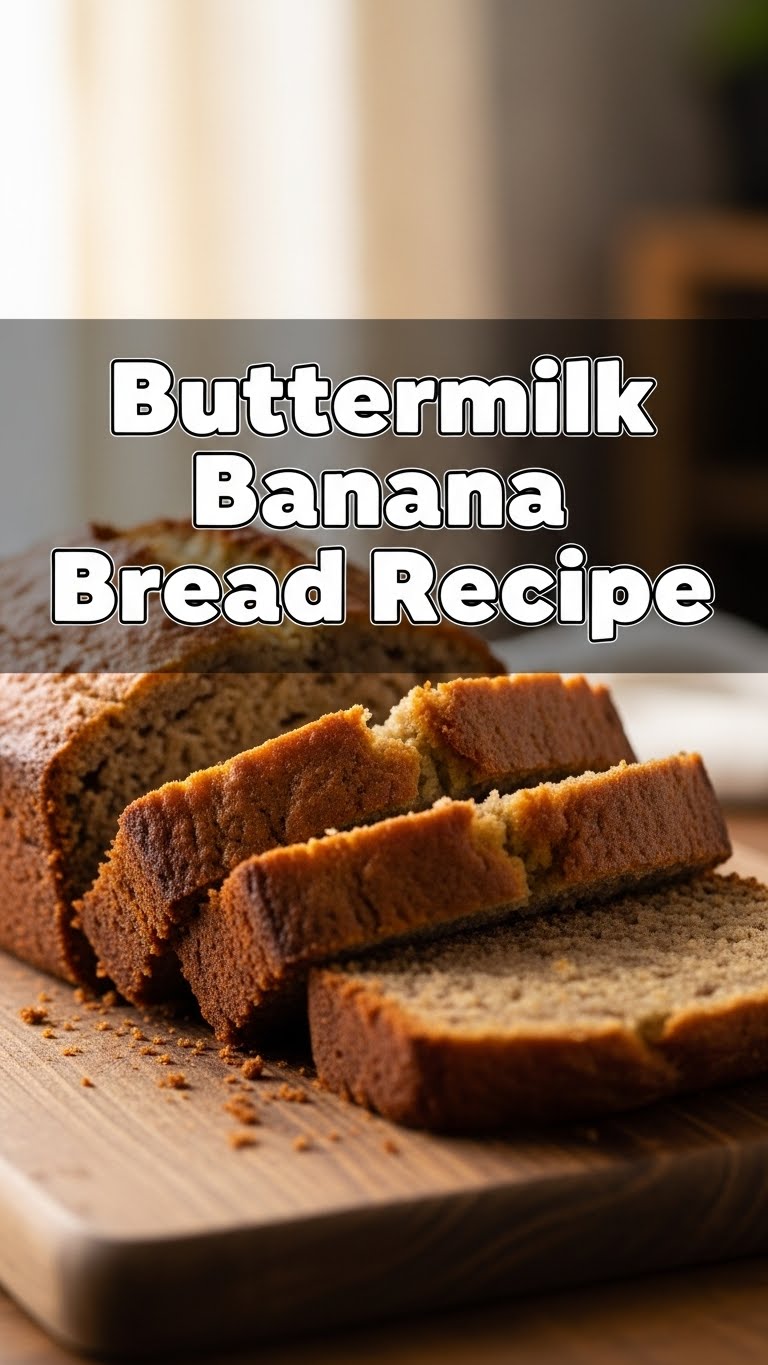
So, your bananas have hit that questionable, almost-compost stage on the counter, huh? Don’t you dare toss ’em! Let’s turn those spotted beauties into something truly glorious: Buttermilk Banana Bread. And no, we’re not talking about some fussy, all-day baking project. We’re talking maximum deliciousness for minimum effort, because who has time for anything else these days? Grab your apron (or don’t, I won’t judge), and let’s get baking!
Why This Recipe is Awesome
Okay, spill the tea: this isn’t just *any* banana bread. This is the unicorn of banana breads. Why? Because the buttermilk does some kind of magical science-y thing that makes it unbelievably moist, tender, and just a little bit tangy – in the best way possible. It’s also **ridiculously easy**. Seriously, if you can stir, you can make this. I’m talking one bowl, minimal cleanup, and a result that will have everyone thinking you’re a culinary genius. It’s practically idiot-proof, even I didn’t mess it up, and I once set off the smoke detector making toast. True story. Plus, it’s a fantastic way to use up those overripe bananas you’d feel guilty throwing away. Win-win!
Ingredients You’ll Need
- Really Ripe Bananas (3-4 medium ones): The spottier, the better! Think almost-black, mushy goodness. This is where all the banana flavor lives.
- All-Purpose Flour (1 ½ cups): The basic building block. Nothing fancy needed here.
- Granulated Sugar (¾ cup): Just enough sweetness to make it a treat without being cloying.
- Buttermilk (½ cup): The secret weapon for moisture and tenderness. Don’t skip this, unless you enjoy dry bread (you don’t, trust me).
- Large Egg (1): The binder that holds it all together.
- Unsalted Butter (¼ cup, melted): Gives it that rich, buttery flavor.
- Baking Soda (1 teaspoon): Our leavening agent. It loves buttermilk!
- Salt (½ teaspoon): Enhances all the other flavors. Don’t underestimate this tiny hero.
- Vanilla Extract (1 teaspoon): Because everything is better with a splash of vanilla.
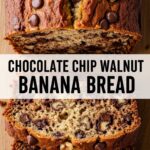
- Optional Add-ins (½ cup): Chocolate chips, chopped walnuts, pecans, or a sprinkle of cinnamon if you’re feeling extra.
Step-by-Step Instructions
- Preheat & Prep: First things first, turn your oven to 350°F (175°C). Then, lightly grease and flour a 9×5 inch loaf pan. Or, if you’re lazy like me, line it with parchment paper so it’s super easy to lift out later.
- Mash ‘Em Up: In a large mixing bowl, go to town on those ripe bananas with a fork or a potato masher until they’re nice and lumpy. We’re not looking for baby food smooth here; a few small chunks are totally okay and actually add character.
- Wet Ingredients Party: To your mashed bananas, add the melted butter, buttermilk, egg, and vanilla extract. Give it a good whisk until everything is just combined. Don’t overmix, we’re making bread, not a science experiment.
- Dry Ingredients Unite: In a separate (or the same, if you’re feeling daring and truly embrace the “one bowl” vibe) bowl, whisk together the flour, sugar, baking soda, and salt. Make sure there are no lumpy bits of baking soda chilling out.
- Combine Forces: Now, gently fold the dry ingredients into the wet banana mixture. Mix until *just* combined. A few streaks of flour are fine; **overmixing is the enemy of tender banana bread**. If you’re using chocolate chips or nuts, now’s the time to fold them in.
- Bake It Baby: Pour your glorious batter into the prepared loaf pan. Pop it into your preheated oven and bake for about 50-60 minutes. How do you know it’s done? A toothpick inserted into the center should come out clean (or with just a few moist crumbs, if there are chocolate chips involved).
- Cool Down: Once it’s baked to golden perfection, let it cool in the pan for about 10-15 minutes. Then, gently remove it and let it cool completely on a wire rack. Or, if you’re impatient (like me), slice a warm piece and enjoy it with a smear of butter. Your house will smell divine, BTW.
Common Mistakes to Avoid
- Using Under-ripe Bananas: Don’t do it! Seriously, your bread will lack flavor and sweetness. **Black spots are your friend.**
- Overmixing the Batter: This is a big one. Overmixing develops the gluten in the flour too much, leading to tough, chewy bread instead of moist and tender. Mix until *just* combined.
- Forgetting to Preheat the Oven: Rookie mistake! A hot oven ensures proper rise and even baking from the get-go.
- Not Greasing Your Pan Properly: Unless you enjoy scraping delicious banana bread off the bottom of a pan (you barbarian!), take the extra 30 seconds to grease and flour or use parchment paper.
- Cutting It Too Soon: I know, the smell is intoxicating. But giving it a few minutes to set up after baking makes it much easier to slice and prevents it from falling apart.
Alternatives & Substitutions
Feeling a little rebellious, or just missing an ingredient? I got you:
- No Buttermilk? No Problem! You can make your own “sour milk” substitute. For ½ cup, just measure out ½ cup of regular milk (any kind!) and stir in 1 ½ teaspoons of lemon juice or white vinegar. Let it sit for 5-10 minutes until it looks a bit curdled. Voilà! Not quite the same depth of flavor as real buttermilk, but it works like a charm.
- Different Sweeteners: You can experiment with brown sugar for a richer, more caramel-y note, or a mix of both. Just remember, consistency might vary slightly.
- Flour Power: Want to make it a tad healthier? Swap out a ¼ cup of all-purpose flour for whole wheat flour. Don’t go all-in unless you want a denser loaf, though.
- Spice It Up: A pinch of nutmeg or allspice can add another layer of warmth. Or go full fall mode with a teaspoon of pumpkin pie spice!
- Vegan-ish? Swap the butter for a plant-based alternative or oil, and use a flax egg (1 tbsp ground flax + 3 tbsp water per egg) or a mashed banana for the egg. For buttermilk, use a non-dairy milk with lemon juice. Results may vary, but it’s worth a shot!
FAQ (Frequently Asked Questions)
- My bananas aren’t super ripe, can I still use them? Well, technically yes, but why hurt your soul like that? You won’t get that deep, sweet banana flavor. **Pro tip:** You can ripen them faster by baking them on a sheet pan at 300°F (150°C) for 15-30 minutes until their peels are black and shiny. Let ’em cool before mashing!
- Can I make muffins instead of a loaf? Absolutely! Pour the batter into a greased muffin tin (or use liners) and bake for 20-25 minutes. Check with a toothpick, you know the drill.
- How long does this banana bread last? On your counter, probably 3-4 days (if it even lasts that long!). In the fridge, up to a week. It also freezes beautifully for up to 3 months. Just wrap it tightly!
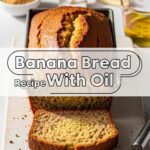
- Can I use oil instead of butter? You can! A neutral oil like vegetable or canola oil will work just fine. It might make it a tad lighter in texture, but you’ll miss out on some of that buttery richness. Your call, chef!
- Why is my banana bread dry? Likely culprits are overmixing the batter, too much flour, or overbaking. Keep an eye on those baking times and remember: just combine the ingredients!
Final Thoughts
So there you have it, folks! The ultimate, ridiculously easy, and utterly delicious Buttermilk Banana Bread recipe. Go forth and conquer those overripe bananas. This isn’t just about baking; it’s about transforming something that was on its last leg into a comforting masterpiece that will make your kitchen smell like a dream. Now go impress someone—or yourself—with your new culinary skills. You’ve earned it!
