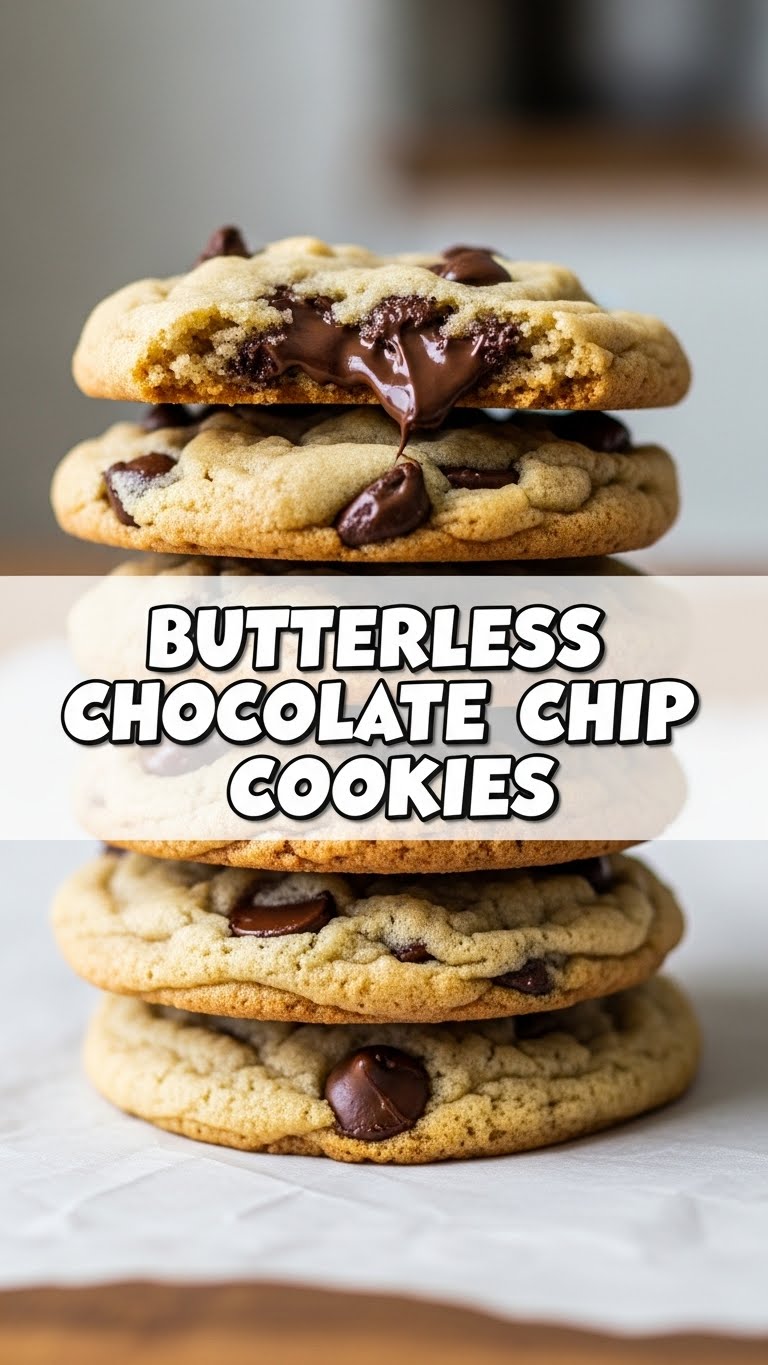
So you’re craving something warm, gooey, and chocolatey but just realized your butter supply is… well, nonexistent? Or maybe you’re just trying to be a *little* virtuous (we all have those moments, right?)? Whatever your reason, welcome to the club! Today, we’re diving headfirst into the magical world of **Butterless Chocolate Chip Cookies**. Get ready to have your mind blown and your taste buds sing, all without a single stick of butter in sight. No fuss, just pure, unadulterated cookie joy.
Why This Recipe is Awesome
Let’s be real, sometimes you just need a win. And this recipe? It’s a gold medal winner in the “minimal effort, maximum deliciousness” category. Forget waiting for butter to soften (who has that kind of time, honestly?). Forget the guilt of a full stick of butter (ish, it’s still a cookie, people!). This recipe is not only **super easy and quick to whip up**, but it also delivers cookies that are delightfully chewy with slightly crispy edges – basically, everything you want in a chocolate chip cookie. It’s practically idiot-proof; even *I* managed not to mess it up, and that’s saying something. Plus, it’s a lifesaver for those “oops, out of butter” emergencies. You’re welcome.
Ingredients You’ll Need
Gather ’round, my fellow lazy-but-ambitious bakers! Here’s your simple shopping list. Pro tip: you probably have most of this lurking in your pantry already.
- **1 ¾ cups All-Purpose Flour:** The foundation of our dreams. Don’t eyeball this; measure properly, aka lightly spoon into a cup and level off.
- **½ teaspoon Baking Soda:** Our magical leavening agent, making them puffy and perfect.
- **¼ teaspoon Salt:** Don’t skip this! It balances all that sweetness and actually makes the chocolate taste even better.
- **½ cup Granulated Sugar:** For sweetness, obviously.
- **½ cup Packed Light Brown Sugar:** The secret weapon for chewiness and that lovely caramel note. Don’t skimp!
- **½ cup Neutral Oil (like vegetable or canola oil):** Our butter stand-in hero! Choose a neutral one so your cookies don’t taste like salad dressing.
- **1 Large Egg:** Our binding agent, holding it all together.
- **1 teaspoon Vanilla Extract:** Seriously, don’t skip this. It’s the soul of a chocolate chip cookie.
- **1 cup Chocolate Chips:** Because what’s a chocolate chip cookie without, well, chocolate chips? Use your favorite kind!
Step-by-Step Instructions
Alright, let’s get down to business! You’ll be eating warm cookies in no time.
- **Preheat Power-Up:** First things first, get your oven ready. **Preheat your oven to 375°F (190°C)**. Line a baking sheet with parchment paper or a silicone mat. This makes cleanup a breeze and prevents sticking.
- **Dry Mix Magic:** In a medium bowl, whisk together the flour, baking soda, and salt. Give it a good whisk to make sure everything is evenly distributed. Set aside.
- **Wet Mix Wonders:** In a large bowl, combine the granulated sugar, brown sugar, and oil. Whisk them together until they’re well blended and look a bit like wet sand.
- **Egg & Vanilla Time:** Crack in the egg and add the vanilla extract to your wet mixture. Whisk vigorously until everything is smooth and creamy, about 1-2 minutes. You want it light and fluffy.
- **Combine Forces:** Gradually add your dry ingredients to the wet ingredients. Mix on low speed (or by hand with a spatula) **just until combined**. A few streaks of flour are totally fine.
- **Chocolate Chip Drop:** Fold in those glorious chocolate chips. Be gentle! You don’t want to overmix the dough.
- **Scoop & Bake:** Drop rounded tablespoons of dough onto your prepared baking sheet, leaving about 2 inches between each cookie. They will spread a little.
- **Golden Goodness:** Bake for 8-11 minutes, or until the edges are golden brown and the centers are just set but still look soft. **Don’t overbake!**
- **Cool Down (If You Can!):** Let the cookies cool on the baking sheet for 5 minutes before transferring them to a wire rack to cool completely. Or, you know, eat them warm because life is short.
Common Mistakes to Avoid
We’ve all been there, staring at a tray of “cookie-fail.” Here’s how to dodge those bullets:
- **Not Preheating the Oven:** Rookie mistake! If your oven isn’t hot enough, your cookies will spread too much and not bake evenly. **Always preheat!**
- **Overmixing the Dough:** This is a big no-no. Overmixing develops the gluten in the flour, leading to tough, chewy (and not in a good way) cookies instead of tender ones. Mix just until combined.
- **Eyeballing Ingredients:** Baking is a science, my friend. While cooking allows for more artistic freedom, baking prefers precision. Measure your ingredients accurately, especially the flour and leavening agents.
- **Overbaking:** This is the quickest way to dry, crumbly cookies. Keep an eye on them! They should look slightly underdone in the center when you pull them out; they’ll continue to cook on the hot sheet.
- **Eating All the Dough:** Look, I get it. It’s tempting. But raw eggs, salmonella, blah blah blah. Just wait a few more minutes for the baked goodness. IMO, it’s worth it.
Alternatives & Substitutions
Feeling adventurous? Here are some fun ways to mix things up:
- **Other Oils:** While neutral oil is best for classic flavor, you can try **melted coconut oil** for a subtle tropical hint. Just make sure it’s fully melted and then measured. Olive oil *can* work if it’s a very light, mild variety, but proceed with caution unless you want savory cookies!
- **Flour Power:** Want to add some whole-grain goodness? Substitute up to half of the all-purpose flour with **whole wheat flour** for a nuttier flavor and denser texture.
- **Mix-In Mania:** Chocolate chips are just the beginning! Throw in some chopped nuts (walnuts, pecans), white chocolate chips, butterscotch chips, or even some sprinkles for a festive vibe. **FYI, peanut butter chips are a game-changer.**
- **Sweetness Swaps:** You can experiment with slightly less sugar if you prefer, but be aware it might affect the texture a bit. For alternative sweeteners, stick to dry granulated ones. Liquid sweeteners like honey or maple syrup will drastically change the cookie’s chemistry and spread.
FAQ (Frequently Asked Questions)
Got questions? I’ve got (casual) answers!
- **Can I use margarine instead of butter?** Well, technically yes, but why hurt your soul like that? Margarine isn’t butter, and while it *can* work, the flavor and texture won’t be quite the same as using oil in this specific butterless recipe. Stick to the oil!
- **Why no butter? Is this a healthier option?** “Healthier” is a strong word when we’re talking about cookies, haha. But it’s often used when you’re out of butter, trying to reduce saturated fat (oil has unsaturated fat), or avoiding dairy. This recipe is more about convenience and a different texture profile.
- **My cookies spread too much! What happened?** This could be due to a few things: your oven wasn’t hot enough, you used too much oil (measure carefully!), or your flour measurement was a bit light. Also, make sure your baking soda isn’t expired!
- **Can I freeze the cookie dough?** Absolutely! Roll the dough into balls, place them on a baking sheet, and freeze until solid. Then transfer to a freezer-safe bag for up to 2-3 months. Bake from frozen, adding a minute or two to the baking time. Future you will thank you!
- **How long do these cookies last?** If you manage to resist eating them all immediately (a true feat!), they’ll stay fresh in an airtight container at room temperature for about 3-4 days. But let’s be real, they rarely make it past day one.
- **What’s the best kind of chocolate chip to use?** Whatever makes your heart sing! Semi-sweet is classic, but milk chocolate for sweetness, dark chocolate for richness, or even a mix of all three work wonders.
Final Thoughts
And there you have it! A plate full of delicious, chewy, chocolatey goodness, all achieved without the dreaded butter dilemma. You’ve just proven that you don’t need fancy ingredients or complicated steps to bake something truly amazing. Now go impress someone—or yourself—with your new culinary skills. You’ve earned it! Grab a warm cookie (or five) and enjoy the fruits of your very simple labor. Happy baking, my friend!
