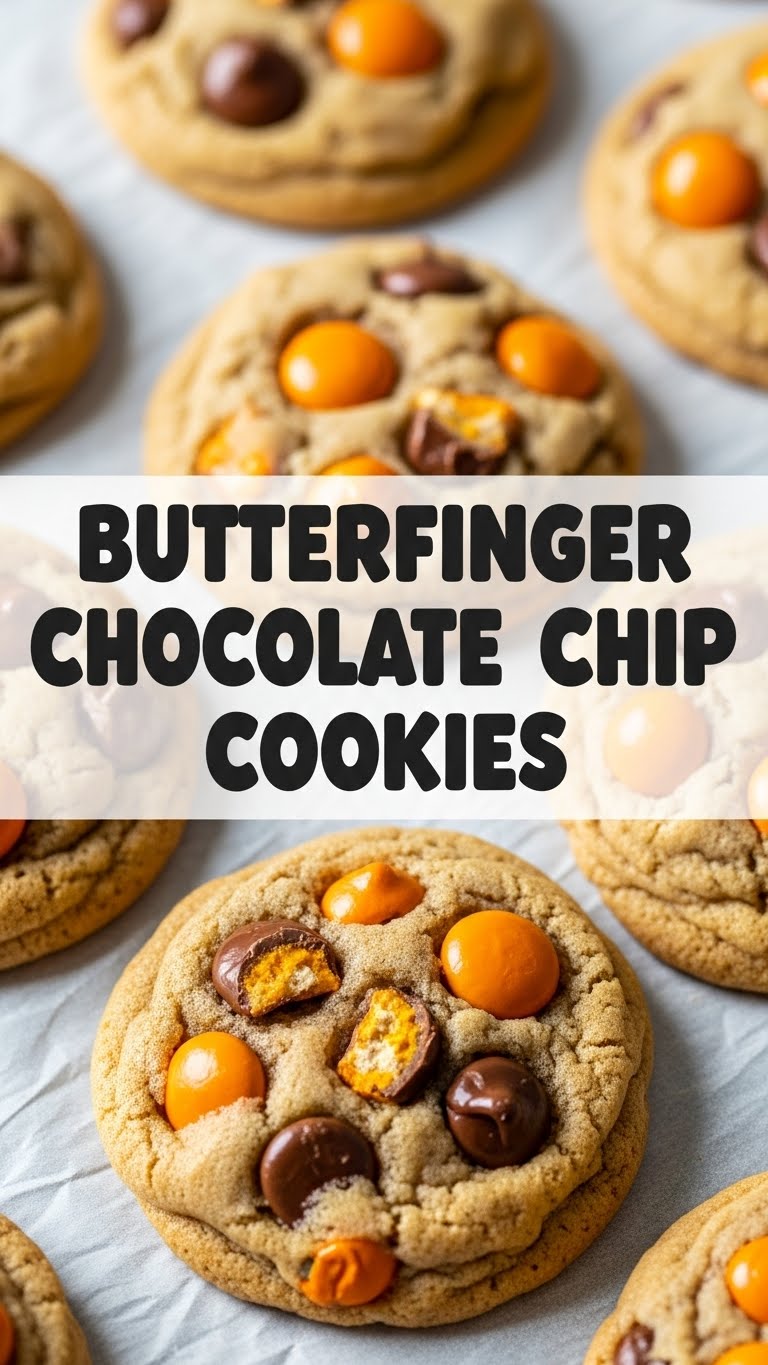
So, you’ve got that specific craving hitting hard—the kind that only chocolate and peanut butter can fix—but you’re also eyeing your couch with a devotion usually reserved for actual pets? I hear ya. We’ve all been there. And guess what? I’ve got the perfect antidote: Butterfinger Chocolate Chip Cookies. These aren’t just cookies; they’re a crunchy, chewy, chocolatey, peanut-buttery hug for your soul that requires minimal effort and delivers maximum deliciousness. Let’s get baking!
Why This Recipe is Awesome
Because life’s too short for complicated recipes, that’s why! This bad boy is ridiculously easy. It’s so straightforward, even my cat could probably supervise it successfully (if she wasn’t so busy judging my life choices). You don’t need fancy equipment, just a bowl, a mixer (or a strong arm), and a craving for something truly epic. **It’s idiot-proof, even I didn’t mess it up.** Plus, we’re talking about combining two of the best things on earth: chocolate chip cookies and Butterfinger candy bars. It’s a flavor explosion, trust me.
Ingredients You’ll Need
- 1 cup (2 sticks) unsalted butter, softened. Because we’re adding plenty of salt elsewhere, trust me.
- ¾ cup granulated sugar. The classic sweetness.
- ¾ cup packed light brown sugar. For that lovely chewy texture and depth of flavor.
- 2 large eggs. Room temp is best, but if you forget, don’t sweat it too much. We’re not baking for the Queen.
- 2 teaspoons pure vanilla extract. Don’t skimp here, it’s worth it!
- 2 ¼ cups all-purpose flour. The backbone of all cookie dreams.
- 1 teaspoon baking soda. Just a tiny bit, for that perfect lift.
- ½ teaspoon salt. A pinch. Or two. Elevates everything.
- 1 ½ cups chocolate chips. Your favorite kind! Milk, semi-sweet, dark—all are welcome to this party.
- 6-8 fun-size Butterfinger candy bars (about 5-6 oz total), roughly chopped or smashed. The star of the show! Or, you know, buy a big one and smash it like you’re mad at it.
Step-by-Step Instructions
- First things first: Preheat your oven to 375°F (190°C). Line two baking sheets with parchment paper or silicone mats. This is a crucial step for non-stick success!
- In a large bowl, or the bowl of your stand mixer, cream together the softened butter, granulated sugar, and brown sugar until it’s light and fluffy. This usually takes about 2-3 minutes.
- Beat in the eggs one at a time, making sure each is fully incorporated before adding the next. Then, stir in the vanilla extract. Your kitchen should be smelling pretty good already!
- In a separate medium bowl, whisk together the flour, baking soda, and salt. Give it a good mix to distribute everything evenly.
- Gradually add the dry ingredients to the wet ingredients, mixing on low speed until just combined. **Be careful not to overmix!** Overmixing is the enemy of tender cookies.
- Now for the fun part! Fold in your chocolate chips and the crushed Butterfinger pieces. Make sure they’re evenly distributed throughout the dough.
- Drop rounded tablespoons of dough onto your prepared baking sheets, leaving about 2 inches between each cookie. They like their space!
- Bake for 9-12 minutes, or until the edges are golden brown and the centers are still looking a little soft. **Don’t overbake!** Trust me on this.
- Let the cookies cool on the baking sheets for 5 minutes before transferring them to a wire rack to cool completely. Patience is a virtue, especially when cookies are involved.
Common Mistakes to Avoid
- Thinking you don’t need to preheat the oven. Rookie mistake! A properly preheated oven ensures even baking and perfect texture.
- Mixing your dough like you’re trying to win an arm wrestling match. Stop it! Overmixing develops gluten, which makes tough, chewy cookies (and not in a good way). Mix until just combined.
- Leaving the Butterfinger chunks too big. They can be a pain to bite through, or even damage your teeth. Aim for small, bite-sized pieces, not boulders.
- Baking until they look “done” brown. Pull them out when the edges are set and the centers still look a *tiny* bit soft. They’ll continue to set and firm up on the hot baking sheet. This is the secret to soft, chewy cookies.
- Not using parchment paper. Unless you enjoy scraping cookies off a pan, use parchment! It makes cleanup a breeze and prevents sticking.
Alternatives & Substitutions
Feeling adventurous? Or just missing an ingredient? No worries, I got you!
- Different Candy Bars: Not a Butterfinger fan? (Gasp! But okay.) Try substituting with Snickers, Reese’s Peanut Butter Cups, chopped Kit Kats, or even Twix. The world is your candy bar oyster!
- Nut Butters: For an extra layer of peanut buttery goodness, swirl 1/4 cup of creamy peanut butter into your wet ingredients before adding the flour. Yum!
- Chocolate Types: Mix up your chocolate chips! Use white chocolate chips, dark chocolate chunks, or even peanut butter chips for an even more intense peanut butter experience.
- Flour Power: If you’re gluten-free, a 1:1 gluten-free flour blend usually works wonderfully in this recipe. Just be sure it’s formulated for baking.
- Butter Swaps: While I’m a butter purist (IMO, nothing beats it!), you can use margarine or a plant-based butter alternative if needed. Just be aware the texture might be slightly different.
FAQ (Frequently Asked Questions)
Can I use margarine instead of butter? Well, technically yes, but why hurt your soul like that? Butter just gives a richer flavor and better texture. If you must, use a good quality margarine, but I’ll be silently judging. (Just kidding… mostly.)
Do I have to chill the dough? For this specific recipe, no, it’s not strictly mandatory. However, if you have time, chilling the dough for 30 minutes to an hour can result in thicker, chewier cookies and helps prevent spreading. Consider it a mini spa day for your dough.
How long do these cookies last? Stored in an airtight container at room temperature, they’re usually good for 3-5 days. But honestly, who are we kidding? They’ll be gone way before that.
Can I freeze the cookie dough? Absolutely! Roll the dough into balls and freeze them on a baking sheet until solid. Then transfer to a freezer-safe bag for up to 3 months. When you’re ready to bake, just add a couple of extra minutes to the baking time.
What if I don’t have a stand mixer? No problem! A hand mixer works perfectly, or if you’re feeling particularly strong, a good old whisk and some elbow grease will get the job done for the wet ingredients. Just make sure to properly cream the butter and sugars.
My cookies spread too much! What went wrong? This usually happens if your butter was too soft (or even melted), your oven wasn’t hot enough, or your dough was too warm. Next time, make sure your butter is just softened, not melted, and consider chilling the dough for a bit.
Can I add nuts to this recipe? Go nuts! (Pun intended.) Chopped peanuts or pecans would be an amazing addition to enhance that nutty flavor. Just fold them in with the chocolate chips and Butterfingers.
Final Thoughts
There you have it, folks! A ridiculously easy, unbelievably delicious recipe for Butterfinger Chocolate Chip Cookies. You’ve officially leveled up your baking game without breaking a sweat. Now go impress someone—or yourself—with your new culinary skills. You’ve earned it! Grab a warm cookie (or three), pour a glass of milk, and enjoy your delicious victory. You’re basically a dessert superhero now. You’re welcome!


