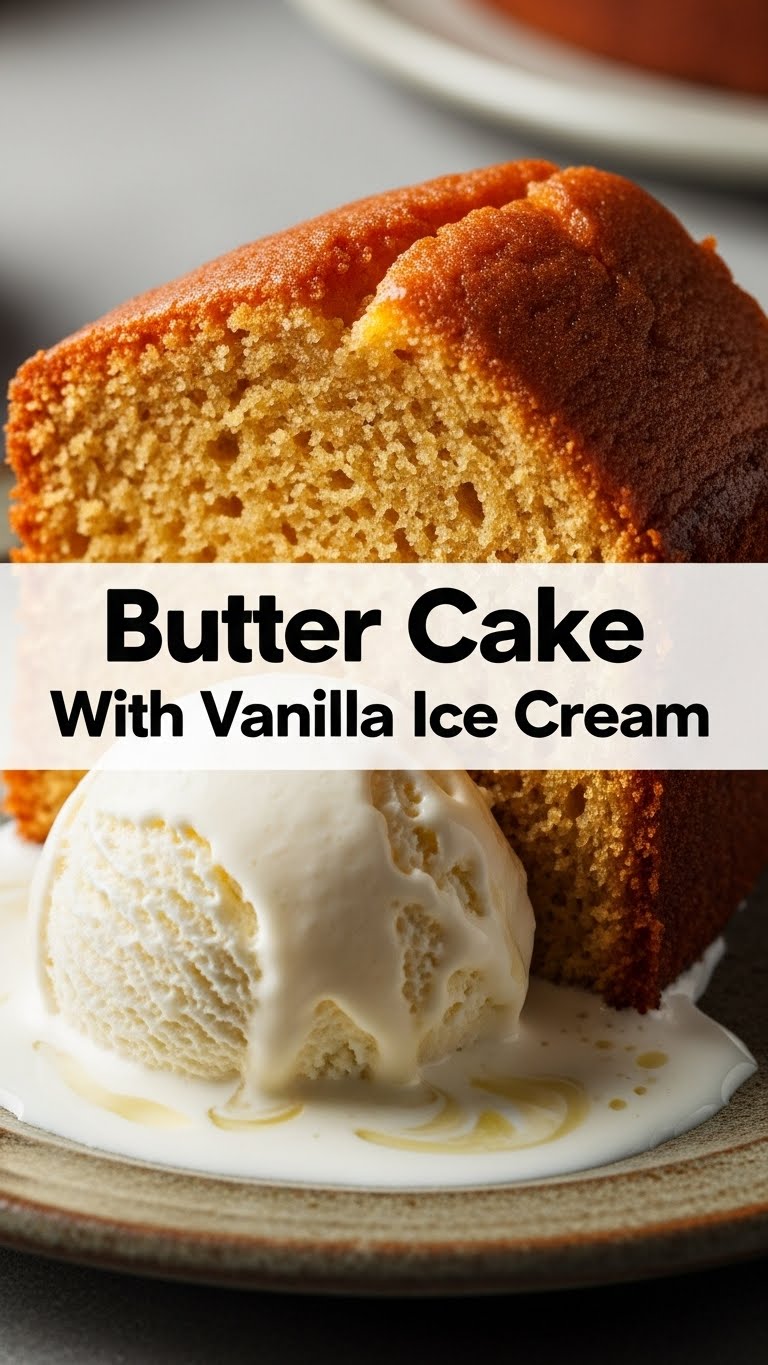
Ever had one of those days where your sweet tooth is screaming but your motivation is on a permanent vacation? Yeah, me too. And that, my friends, is exactly how this utterly divine, ridiculously easy Butter Cake with Vanilla Ice Cream came into my life (and promptly left it, because, you know, *eating*). Get ready to bake something that tastes like a warm, buttery hug, without the drama.
Why This Recipe is Awesome
Okay, so why bother with this butter cake when there are a million others out there? Simple. This one is like a warm, comforting hug from your grandma, but without the awkward cheek pinches. It’s stupid simple, practically failsafe (even for us butter-fingered chefs), and it pairs with vanilla ice cream like they were soulmates separated at birth. Plus, you get to tell people you baked something, which immediately elevates your status to ‘Domestic Goddess/God.’ You’re welcome.
Ingredients You’ll Need
- Unsalted Butter, softened (2 sticks / 1 cup): The undeniable star of the show. Don’t even *think* about using anything else. And for the love of all that is delicious, make sure it’s softened. Not melted, not rock hard.
- Granulated Sugar (1 ½ cups): Sweetness for your soul. Don’t skimp; this isn’t a diet cake.
- Large Eggs (3): Your binding agents. Room temp, if you’re feeling fancy (it helps with emulsification, blah blah science).
- All-Purpose Flour (2 cups): The backbone of our cake. No fancy almond flour or gluten-free stuff unless you *really* want to experiment.
- Baking Powder (2 teaspoons): Our little lift-me-up.
- Salt (½ teaspoon): Just a pinch to make everything else sing. Don’t underestimate this tiny hero!
- Whole Milk (1 cup): Hydration and richness. Seriously, whole milk is king here.
- Vanilla Extract (2 teaspoons): The magic potion. Go for the good stuff; imitation vanilla is a crime against humanity.
- Vanilla Ice Cream: To serve alongside. Because a naked butter cake is a sad, lonely butter cake.
Step-by-Step Instructions
- Preheat and Prep: Get that oven cranked up to 350°F (175°C). While it’s heating, grab a 9×13 inch baking pan, grease it thoroughly, and then lightly flour it. This step is non-negotiable, unless you like your cake stuck to the pan.
- Cream it Good: In a large bowl, or your trusty stand mixer, beat the softened butter and granulated sugar together until it’s light, fluffy, and looks like a cloud. This takes about 3-5 glorious minutes. Don’t rush this stage; it’s key to a tender cake!
- Egg-cellent Addition: Add the eggs one at a time, beating well after each addition. Scrape down the sides of the bowl to make sure everything gets mixed in properly. No forgotten bits!
- Dry Mix Party: In a separate medium bowl, whisk together the flour, baking powder, and salt. Give it a good whisk to distribute everything evenly. This prevents pockets of unmixed ingredients.
- Alternate Additions: Now for the alternating fun! Add about a third of the dry ingredients to the butter mixture, mixing on low speed until *just* combined. Then pour in half of the milk, mixing again. Repeat this: another third of dry, then the rest of the milk, and finally the last third of dry ingredients. Don’t overmix! Mix until just combined; a few tiny lumps are perfectly fine.
- Vanilla Finish: Stir in the vanilla extract. Give it one last gentle mix to ensure that dreamy vanilla flavor is evenly distributed.
- Bake That Beauty: Pour the batter into your prepared baking pan and smooth the top with a spatula. Pop it into the preheated oven for 30-35 minutes, or until a wooden skewer (or toothpick) inserted into the center comes out clean.
- Cool Down: Let the cake cool in the pan for about 10-15 minutes before transferring it to a wire rack to cool completely. (Or, if you’re impatient like me, just let it cool *enough* to not burn your mouth when you inevitably sneak a bite!)
- Serve and Conquer: Slice up a generous piece of that golden goodness and serve it warm with a big scoop (or two, we’re not judging) of vanilla ice cream. Pure bliss.
Common Mistakes to Avoid
- Rock-Hard Butter: Trying to cream cold butter is like trying to convince a cat to take a bath. Futile and messy. Always soften your butter to room temperature for that perfect texture.
- Overmixing the Batter: Once you add the flour, treat it gently! Overmixing develops the gluten, leading to a tough, dry cake. Nobody wants a rubbery cake, right?
- Not Preheat the Oven: Rookie mistake! An oven that isn’t up to temperature will mess with your cake’s rise and texture. **Preheat, always!** This ensures even baking from the get-go.
- Opening the Oven Door Constantly: Resist the urge to peek every five minutes! Every time you open the door, you let out heat, which can cause your cake to sink in the middle. Be patient!
- Skipping the Salt: “It’s just a pinch!” you say. But that pinch is a flavor enhancer, balancing the sweetness and making everything taste better. Don’t skip it, even if you’re a salt-phobe.
Alternatives & Substitutions
- Milk Alternatives: Can you use almond milk or oat milk? Sure, if you *must*. But whole milk gives the absolute best richness and flavor, IMO. You do you, though!
- Vanilla Bean Paste: Wanna be fancy? Swap vanilla extract for an equal amount of vanilla bean paste. It’ll give you those gorgeous little vanilla specks and an even deeper, more complex flavor. Fancy pants!
- Different Extracts: Feeling adventurous? A tiny splash of almond extract (¼ teaspoon) with the vanilla can add a lovely subtle twist. Or a tablespoon of lemon zest for a bit of bright, citrusy zing!
- Toppings (Besides Ice Cream): Whipped cream? Berry compote? A drizzle of salted caramel sauce? All acceptable answers. But let’s be real, vanilla ice cream is the OG for a reason.
FAQ (Frequently Asked Questions)
- Can I use margarine instead of butter? Well, technically yes, but why hurt your soul (and your cake’s flavor) like that? For a *butter* cake, butter is king. Don’t settle for less than the real deal!
- My cake sunk in the middle! What happened? Ah, the dreaded sinkhole! Could be overmixing, underbaking, or opening the oven door too often during baking. Next time, be gentle with the mixing and resist the urge to peek!
- How long does this cake last? If stored in an airtight container at room temperature, it’s usually good for 3-4 days. But honestly, it’s so tasty, it probably won’t last that long in your house!
- Can I make this in a different sized pan? Yes, you can! Just be aware that baking times will vary. A smaller pan might need longer, a larger pan less time. Keep a close eye on it and use the skewer test.
- Is this recipe good for beginners? Absolutely! This is practically a “Welcome to Baking” starter pack. It’s forgiving, straightforward, and produces a deliciously impressive result. You got this!
- What if I don’t have a stand mixer? No worries, a hand mixer works perfectly fine! Just be prepared for a bit more arm workout during the creaming stage. Good for the biceps, right?
- Can I make this dairy-free? You can certainly try! Use a plant-based butter alternative and dairy-free milk. The texture might be slightly different, but it should still be yummy.
Final Thoughts
So there you have it, folks! Your new go-to recipe for a butter cake that’s so good, it’s practically illegal. It’s simple, it’s comforting, and it’s the perfect excuse to treat yourself (and maybe share a slice, if you’re feeling ridiculously generous). Now go impress someone—or yourself—with your new culinary skills. You’ve earned it, buttercup!


