So, You’re Craving Bruschetta Chicken, But Your Energy Levels Are at an All-Time Low?
Hey there, fellow kitchen adventurer! So, you’re craving something seriously delicious, but the thought of a complicated, multi-step meal makes you want to order pizza? Yeah, I get it. We’ve all been there. But what if I told you you could have that amazing bruschetta flavor without all the fuss? Get ready to meet your new best friend: Bruschetta Chicken Breast! It’s like a vacation for your taste buds, but without the jet lag.
Why This Recipe is Pure Genius (IMO)
Seriously, this recipe is a lifesaver. It’s ridiculously easy, which is a HUGE win in my book. Plus, it tastes like you spent way more time and effort than you actually did. It’s fancy enough for guests, but easy enough for a Tuesday night Netflix binge. Think of it as your secret weapon for looking like a culinary wizard without breaking a sweat. And the best part? Minimal cleanup. Because who wants to do dishes after eating something this good?
Ingredients You’ll Need (Don’t Panic!)
Grab these goodies, and let’s make some magic happen:
- Chicken Breasts: About 2-4, depending on how many people you’re feeding (or how hungry you are). Boneless, skinless is your best bet for speed.
- Diced Tomatoes: One can (about 14.5 oz) of good quality diced tomatoes, drained. Or, if you’re feeling fancy, chop up a couple of fresh ones!
- Fresh Basil: A generous handful, chopped. This is non-negotiable. Fresh basil is like glitter for food – it makes everything better.
- Garlic: 2-3 cloves, minced. Or more, if you’re a garlic fiend. No judgment here!
- Balsamic Glaze: A drizzle of this sweet, syrupy goodness. You can buy it pre-made or make your own by reducing balsamic vinegar (but let’s keep it easy for today, right?).
- Olive Oil: For, well, cooking!
- Salt & Pepper: To taste. The usual suspects.
- Optional: Mozzarella Cheese: Shredded or sliced. Because cheese makes everything better. Duh.
- Optional: Red Pepper Flakes: For a little kick. If you like things spicy, you know what to do.
Step-by-Step Instructions (You Got This!)
Here’s the magic, broken down into bite-sized pieces:
- Prep Your Chicken: Pat your chicken breasts dry. Give them a good season with salt and pepper. If they’re super thick, you might want to pound them a bit so they cook evenly.
- Sear That Bird: Heat a tablespoon or two of olive oil in an oven-safe skillet over medium-high heat. Sear the chicken for about 3-4 minutes per side until it’s golden brown. We’re not cooking it through yet, just giving it a nice tan.
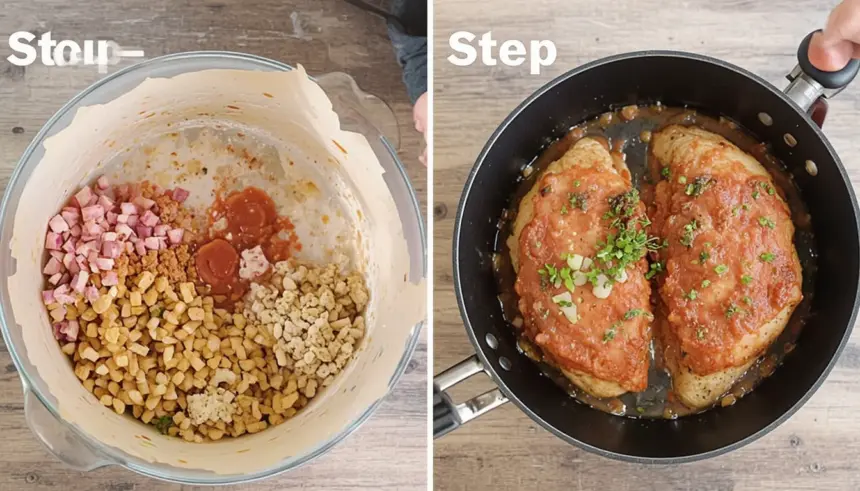
- Whip Up the Bruschetta Topping: While the chicken is searing (or just before), in a small bowl, mix together your drained diced tomatoes, chopped basil, minced garlic, a drizzle of olive oil, salt, and pepper. If you’re using red pepper flakes, toss ’em in now.
- Bake It Up: Pop the seared chicken into your oven-safe skillet (or transfer to a baking dish). Spoon that glorious bruschetta mixture evenly over the top of each chicken breast. If you’re adding cheese, now’s the time to sprinkle it on.
- Oven Time: Bake in a preheated oven at 400°F (200°C) for about 15-20 minutes, or until the chicken is cooked through and the cheese (if used) is bubbly and golden. The exact time will depend on the thickness of your chicken, so keep an eye on it!
- The Grand Finale: Carefully remove the skillet from the oven. Drizzle generously with that amazing balsamic glaze. Let it rest for a few minutes before serving. This is CRUCIAL for juicy chicken!
Common Mistakes to Avoid (Don’t Be *That* Person)
Let’s save you some potential culinary heartbreak:
- Under-seasoning: Bland chicken is just sad. Don’t be shy with the salt and pepper!
- Overcooking: Nobody likes dry, cardboard-like chicken. Use a meat thermometer if you’re unsure – 165°F (74°C) is your magic number.
- Skipping the Rest: Resist the urge to cut into it immediately. Patience is a virtue, especially when it comes to juicy chicken.
- Not Draining the Tomatoes Enough: Soggy bruschetta is a no-go. Get rid of that excess liquid!
Alternatives & Substitutions (Get Creative!)
This recipe is pretty forgiving, so feel free to play around!
- No Fresh Basil? Dried basil will work in a pinch, but it won’t have that bright, fresh flavor. Use about 1/3 of the amount of dried vs. fresh.
- Don’t Have Balsamic Glaze? A good quality balsamic vinegar can be used, but it won’t be as thick and syrupy. Just be prepared for a slightly different consistency.
- Veggies Galore! Feel free to toss in some diced red onion, bell peppers, or olives with your tomatoes for an extra flavor boost.
- Chicken Thighs? Sure, why not! Just adjust the cooking time as they tend to be more forgiving and stay juicier.
FAQ (The Burning Questions You’re Probably Asking)
- Can I make this ahead of time? You can definitely prep the bruschetta topping ahead and store it in the fridge. As for the chicken, it’s best cooked fresh.
- What should I serve this with? Oh, the possibilities! A simple side salad, some roasted veggies, or even just a big ol’ slice of crusty bread to sop up all those delicious juices.
- Is it really that easy? Honestly, yes. If you can chop, mix, and bake, you can absolutely nail this.
- My tomatoes are a bit watery. What gives? Sometimes canned tomatoes are a bit juicy. Just drain them really, really well, or even give them a gentle squeeze to get rid of excess liquid.
- Can I use pre-minced garlic from a jar? While fresh garlic is king, jarred garlic will do in a pinch. Just use a bit less as it can be more potent.
- What if I don’t have an oven-safe skillet? No worries! Sear your chicken in any skillet, then transfer it to a baking dish before adding the topping and baking.
Final Thoughts
And there you have it! A ridiculously tasty, surprisingly simple Bruschetta Chicken Breast recipe that’s bound to become a staple in your rotation. So go forth, conquer that kitchen, and bask in the glory of your delicious creation. Now go impress someone—or yourself—with your new culinary skills. You’ve earned it! Happy cooking!


