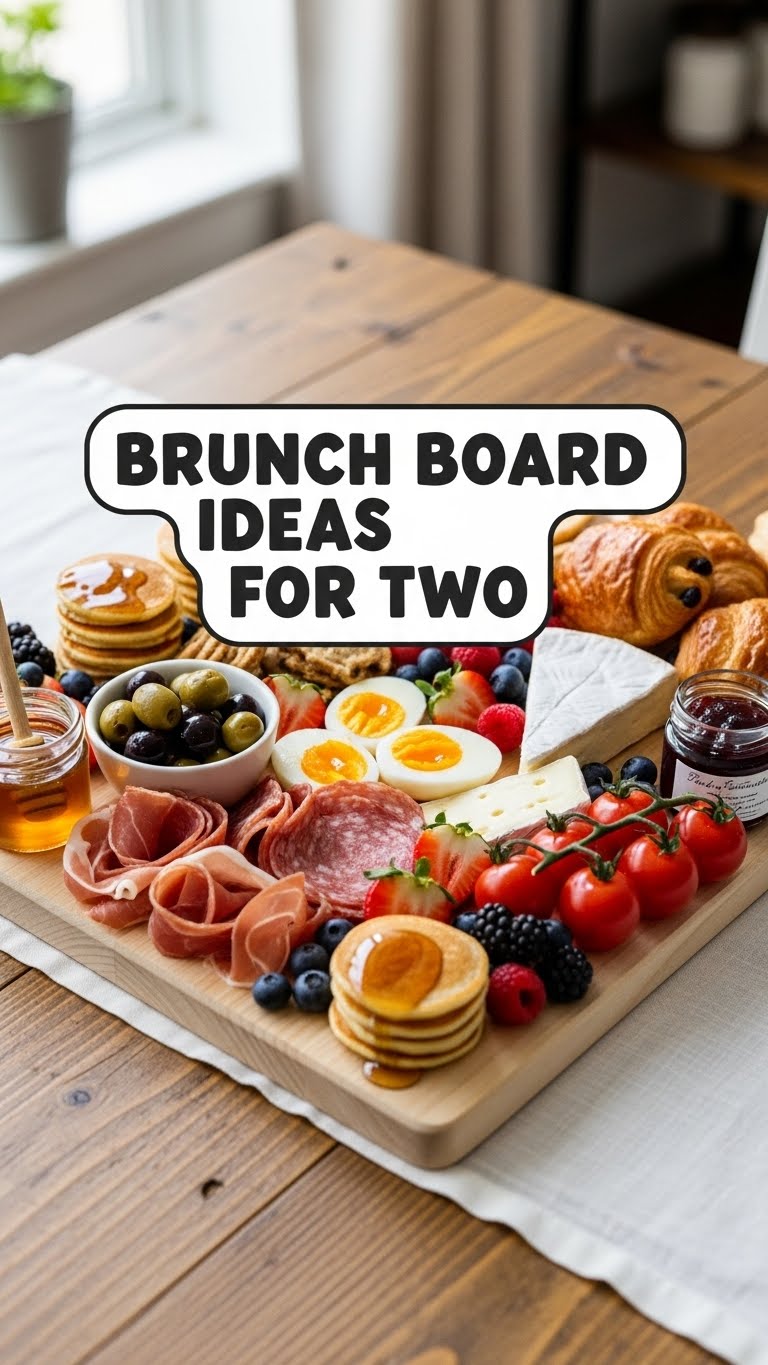
So you’re craving something tasty but too lazy to spend forever in the kitchen, huh? Same. High five! We’ve all been there – that glorious weekend morning when your stomach is rumbling, but your motivation is still tucked away under the duvet. Fear not, my friend, because I’ve got the ultimate solution that screams “I tried!” but actually whispers “I assembled this.” Presenting: the Brunch Board for Two!
Why This Recipe is Awesome
Because it’s basically a choose-your-own-adventure for your taste buds, but instead of fighting dragons, you’re fighting the urge to eat *all* the bacon. Seriously, this isn’t so much a “recipe” as it is a “brilliant strategy.” It’s **idiot-proof**, even I didn’t mess it up (and I once set off a smoke alarm making toast). It looks fancy without any actual fancy cooking. Perfect for a chill date, a lazy Sunday with your BFF, or just treating yourself because, frankly, you deserve it. Plus, cleanup? Minimal! You’re basically just washing a board and a few tiny bowls. Winning!
Ingredients You’ll Need
Think of these as suggestions, not strict rules. This is your board, your brunch, your kingdom!
- Mini Waffles or Pancakes: Store-bought, frozen, or leftover from a heroic morning effort – zero judgment here! Two to four small ones per person usually does the trick.
- Crispy Bacon or Sausage Patties: A few strips of bacon (because soggy bacon is a crime against humanity) or a couple of pre-cooked sausage patties.
- Scrambled Eggs: Just enough for two, whipped up quickly. Or, if you’re feeling ambitious, a couple of fried eggs with runny yolks – your call, champ.
- Fresh Fruit Medley: Think vibrant! Berries (strawberries, blueberries, raspberries), sliced bananas, orange segments, or a handful of grapes. Anything that looks pretty and is easy to grab.
- Cheese, glorious Cheese: A couple of your favorites, sliced or cubed. Brie, sharp cheddar, a crumbly goat cheese – live a little!
- Mini Pastries or Croissants: Because tiny food is always cuter. Grab a couple from the bakery or a frozen pack to pop in the oven.
- Avocado: Sliced, because, well, millennial. And it’s delicious.
- Syrup, Honey, or Jam: The sticky good stuff! Put them in small ramekins for dipping.
- Optional Garnish: A sprig of mint, a sprinkle of powdered sugar, or a few chocolate chips to make it look like you actually *styled* this thing.
Step-by-Step Instructions
Get ready for the easiest “cooking” you’ll do all week!
- Prep Your Players: Start by cooking your bacon/sausage and eggs. While those are doing their thing, warm up your waffles/pancakes and pastries according to package directions. Slice up your fruit, cheese, and avocado. Basically, get all your components ready to mingle.
- Grab Your Canvas: Find your biggest, prettiest cutting board, platter, or even a clean baking sheet. The bigger, the better – we’re going for abundance here!
- Anchor Down: Place your larger items first. This means your waffles/pancakes and pastries. Spread them out a bit to create a base.
- Protein Power-Up: Next, add your cooked bacon/sausage and your scrambled (or fried!) eggs. Group them together for easy access.
- Fill ‘er Up: Now comes the fun part – filling in the gaps! Artfully arrange your fresh fruit, sliced cheese, and avocado. Don’t be afraid to overlap slightly; it makes it look more lush and abundant.
- Dipping Delights: Place your small ramekins with syrup, honey, or jam wherever there’s a convenient spot. Maybe tuck them in between a waffle and some fruit.
- The Flourish: Add your chosen garnish. A sprinkle of powdered sugar over the pastries, a few mint leaves, or those chocolate chips. **This is where you earn your “I’m a chef!” stripes without doing any actual cheffing.**
- Serve and Devour: Bring it to the table, snap a quick pic (because if it’s not on Instagram, did it even happen?), and then dig in with your favorite brunch buddy.
Common Mistakes to Avoid
- Tiny Board Syndrome: Trying to cram everything onto a plate meant for one. **Go big or go home, people!** You need space for all that deliciousness.
- Forgetting Warmth: Serving cold bacon or limp waffles. A quick zap in the microwave for the carbs or a short stint in the oven for the meat can make all the difference.
- Lack of Variety: Just fruit and toast? Nah. The beauty of the board is the mix-and-match possibilities.
- No Dipping Options: A dry board is a sad board. Make sure you have at least one sticky-sweet dip.
- Not Slicing Things: Nobody wants to cut a whole orange on a crowded board. **Pre-slice everything for ultimate grab-and-go ease.**
Alternatives & Substitutions
Feeling adventurous? Or just don’t have something on hand? No prob!
- Sweet Swaps: Instead of waffles, try French toast sticks, muffins, banana bread slices, or even a mini yogurt parfait in a shot glass.
- Savory Saviors: Smoked salmon is always a winner (especially with cream cheese and mini bagels!), slices of ham, breakfast potatoes, or even some hummus with pita bread for a Mediterranean twist.
- Cheese, Please: Mix it up! Try a hard aged cheddar, a creamy Havarti, or some fresh mozzarella balls with cherry tomatoes.
- Fruit Fantasies: Don’t like avocado? **Gasp!** Okay, fine, use some sliced cucumber, cherry tomatoes, or even some olives instead. Out of berries? Any fruit you have on hand will work, even sliced apples or pears.
- Dietary Deeds: Gluten-free bread/waffles, vegan sausages, plant-based yogurts – this board is infinitely adaptable for dietary needs!
FAQ (Frequently Asked Questions)
Because you’ve got questions, and I’ve got (casual) answers.
- “Do I *have* to cook everything fresh?”
OMG, no! That’s the beauty of it. Buy pre-cooked bacon, frozen waffles, bakery pastries. The less actual cooking, the more time for lounging. **Embrace the convenience!**
- “Can I make this for more than two people?”
Absolutely! Just grab a bigger board (or two!) and scale up your ingredients. It’s perfect for a small gathering!
- “What kind of board should I use?”
Any large, food-safe surface will do! A wooden cutting board, a nice ceramic platter, a slate slab, or even just a pretty baking sheet. No need to buy anything special, IMO.
- “How do I keep everything warm?”
Honestly, for a brunch board, it’s often served at room temp. But if you’re insistent, cook things right before assembling, or for larger items, you could place a warm plate/bowl underneath the main components. For the most part, just enjoy it fresh!
- “Any tips for making it look extra fancy?”
Group similar colors together, use small bowls for anything wet or saucy, and most importantly: **fill those gaps!** Gaps make a board look sparse. Fill them with more fruit, nuts, or even a few sprigs of herbs.
- “Can I prep some things ahead of time?”
Definitely! You can wash and slice fruit, slice cheese, and get your ramekins ready the night before. Cooked items are best fresh, but the assembly process is so fast, it won’t add much time.
- “Is it okay if I just buy a bunch of stuff from the grocery store and call it a day?”
**UM, YES!** That’s the *spirit* of the brunch board, my friend. It’s about enjoyment and minimal fuss, not culinary martyrdom. Go forth and conquer that grocery aisle!
Final Thoughts
There you have it! Your passport to a glorious, low-stress, ridiculously delicious brunch. You’ve now unlocked the secret to looking like a culinary wizard without actually having to perform any complicated spells. So go on, whip up this masterpiece for yourself, your partner, or your bestie. Now go impress someone—or yourself—with your new culinary skills. You’ve earned it!


