So you’re craving something tasty but too lazy to spend forever in the kitchen, huh? Same, friend, same. We all hit that sweet spot between “I deserve a treat” and “Ugh, effort.” Good news: I’ve got your back with a recipe that’s practically a cheat code for impressing everyone (mostly yourself, let’s be real) without breaking a sweat. We’re talking about brownies and ice cream, but not just any brownies and ice cream. We’re going for an *aesthetic* experience. Get ready to make magic!
Why This Recipe is Awesome
Okay, let’s spill the tea. This isn’t just a recipe; it’s a life hack. First off, it’s **idiot-proof**. Seriously, if I can do it without setting off the smoke detector, you’re golden. The brownie recipe is super fudgy, super chocolatey, and requires minimal fuss. We’re talking one-bowl wonders, people!
But here’s the kicker: we’re pairing it with ice cream, and not just scooping it on haphazardly. We’re making it *look* like it belongs on a fancy dessert menu. It’s basically a hug in dessert form, but way more Instagrammable. Plus, the warm brownie, cold ice cream, and optional drizzles combo? **Chef’s kiss.** You’ll feel like a culinary genius, and frankly, you deserve it.
Ingredients You’ll Need
Time to gather your delicious arsenal! Most of these are probably chilling in your pantry already. No obscure ingredients here, because who has time for that?
- Unsalted Butter: ½ cup (113g). Unsalted, because we’re not monsters, and you can add salt later if you want.
- Granulated Sugar: 1 cup (200g). For that essential sweetness.
- Light Brown Sugar: ½ cup (100g). Adds chewiness and depth. Don’t skip this, it’s a game-changer!
- Large Eggs: 2. Room temperature if you can remember, but it’s not the end of the world if not.
- Vanilla Extract: 1 teaspoon. Pure vanilla, please. None of that imitation stuff. Your tastebuds will thank you.
- All-Purpose Flour: ¾ cup (90g). Just enough to hold it all together without making it cakey.
- Unsweetened Cocoa Powder: ½ cup (45g). Good quality cocoa makes all the difference for that deep chocolate flavor.
- Salt: ¼ teaspoon. Balances out all that sweetness.
- Chocolate Chips (Optional, but highly recommended): ½ cup. Milk, semi-sweet, dark—your call. We’re not judging.
- Your Favorite Ice Cream: Seriously, pick your poison. Vanilla is classic, but maybe you’re feeling a fancy salted caramel or mint chip? Go wild!
- Optional Toppings (for the “aesthetic”): Chocolate syrup, caramel sauce, whipped cream, sprinkles, fresh berries, chopped nuts. Your canvas, your art!
Step-by-Step Instructions
Alright, apron on (or not, we’re chill), let’s get baking! These steps are super straightforward.
- Preheat & Prep: Preheat your oven to **350°F (175°C)**. Grease and flour an 8×8 inch baking pan, or line it with parchment paper leaving an overhang on the sides for easy lifting. This is a game-changer for getting your brownies out nicely.
- Melt the Butter: In a microwave-safe bowl or small saucepan, melt the butter. Let it cool for a minute or two.
- Mix the Wet Stuff: Pour the slightly cooled melted butter into a large mixing bowl. Add both granulated and brown sugar. Whisk vigorously for about 30 seconds until well combined and glossy. This aeration step is key for that shiny top crust!
- Add Eggs & Vanilla: Crack in the two eggs, one at a time, whisking well after each addition until fully incorporated. Stir in the vanilla extract. Your mixture should be smooth and luxurious.
- Combine Dry Ingredients: In a separate small bowl, whisk together the flour, cocoa powder, and salt.
- Fold It In: Gradually add the dry ingredients to the wet ingredients. **Fold gently** until just combined. Don’t overmix, unless you’re aiming for hockey pucks. If using, fold in the chocolate chips now.
- Bake Time: Pour the batter into your prepared pan, spreading it evenly. Bake for **25-30 minutes**. You want the edges to be set and a toothpick inserted into the center to come out with moist crumbs, not wet batter. **Trust the toothpick test!**
- Cool Down: Let the brownies cool completely in the pan on a wire rack. Seriously, patience is a virtue here. Warm brownies are hard to cut neatly.
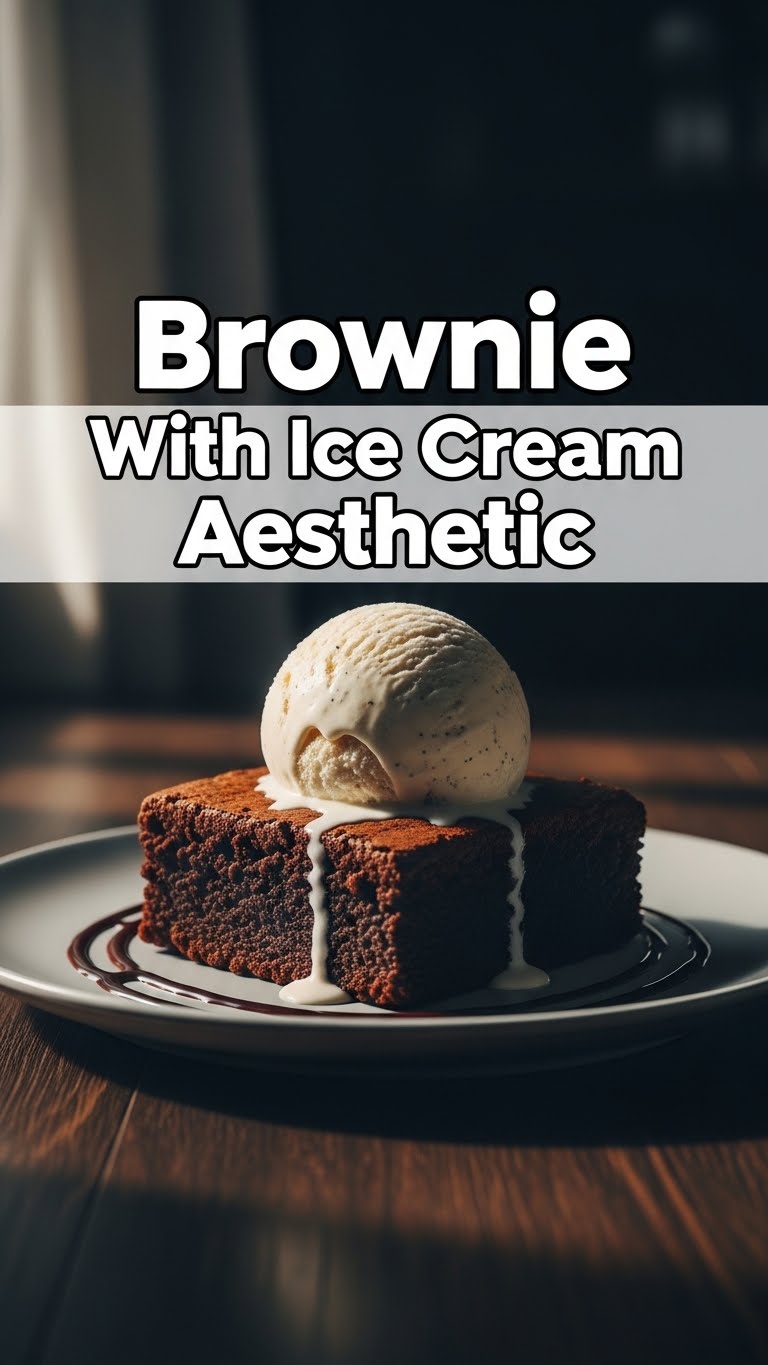
- The Aesthetic Plating: Once cooled, cut your brownies into squares. Place a brownie square on a plate. Take a scoop of your favorite ice cream and place it artfully (or just plop it, we’re friends) next to or on top of the brownie.
- Drizzle & Decorate: Now for the fun part! Drizzle with chocolate or caramel sauce. Add a dollop of whipped cream, a few sprinkles, or some fresh berries. **Boom!** Instant dessert masterpiece.
Common Mistakes to Avoid
Look, we all make mistakes. But let’s try to avoid these rookie errors to ensure brownie perfection every time!
- Overmixing the Batter: This is a biggie! Once you add the flour and cocoa, mix only until just combined. Overmixing develops the gluten, leading to tougher, cakey brownies instead of fudgy ones. Don’t do it!
- Underbaking: We want fudgy, not raw. If your toothpick comes out covered in wet batter, pop it back in for a few more minutes. Undercooked brownies can be gooey in a bad way.
- Overbaking: Conversely, baking too long will dry them out and make them less fudgy. **Keep an eye on that timer!** The sweet spot is when the edges are set and the center is still a little soft.
- Cutting Warm Brownies: I know, I know, the smell is intoxicating. But resist the urge! Warm brownies will crumble and stick to your knife, ruining those perfect squares. Let them cool completely. For extra neat cuts, chill them in the fridge for 30 minutes before slicing.
- Forgetting the Salt: Salt isn’t just for savory dishes. In baking, it enhances the chocolate flavor and balances the sweetness. Don’t skip it!
Alternatives & Substitutions
Feeling adventurous? Or just missing an ingredient? Here are some simple swaps to keep the deliciousness flowing.
- Butter Swap: You *can* use vegetable oil instead of butter for a slightly chewier brownie, but the butter adds a richness that’s hard to beat. **IMO**, butter is always superior for flavor.
- Chocolate Chips: No chocolate chips? No problem! You can chop up a chocolate bar, use chunks, or even swirl in some Nutella right before baking for a hazelnut twist. **OMG YES.**
- Flour Alternatives: If you’re gluten-free, a 1:1 gluten-free baking flour blend usually works well in this recipe without major adjustments.
- Ice Cream Flavors: The world is your oyster! Try coffee ice cream for a mocha vibe, peanut butter ice cream for a PB&J spin, or even sorbet for a lighter, fruity contrast.
- Topping Extravaganza: Get creative! Crushed Oreos, mini marshmallows, toasted coconut, candied pecans, a sprinkle of sea salt (hello, salted caramel combo!), or a dusting of powdered sugar. The goal is to make it look as good as it tastes!
FAQ (Frequently Asked Questions)
Got questions? I’ve got answers. Probably. 😉
- Can I double the recipe?
Absolutely! Just use a 9×13 inch pan and increase the baking time by about 5-10 minutes, or until a toothpick comes out with moist crumbs. Keep an eye on it!
- My brownies came out more cakey than fudgy. What happened?
You probably overmixed the batter, or maybe added too much flour. Next time, be super gentle after adding the dry ingredients. Less mixing equals more fudginess!
- How do I get that perfect “aesthetic” scoop of ice cream?
Okay, pro tip: run your ice cream scoop under hot water for a few seconds, then wipe it dry. Scoop quickly, and if you want a perfect sphere, use a second spoon to gently shape it. For an extra crisp edge, **freeze your scooper for a bit** before dipping!
- How long do these brownies last?
If you manage to not devour them all immediately (highly unlikely), they’ll stay fresh in an airtight container at room temperature for up to 3-4 days. You can also freeze them for longer, wrapped tightly.
- Can I make these dairy-free?
Yep! Use a good quality dairy-free butter substitute (like Earth Balance sticks) and ensure your chocolate chips and ice cream are dairy-free. Easy peasy!
- What if I don’t have brown sugar? Can I just use all granulated sugar?
Well, technically yes, but why hurt your soul like that? Brown sugar adds moisture and chewiness that granulated sugar just can’t replicate. You’ll get a slightly different texture. If you’re truly desperate, you can make your own by mixing granulated sugar with a tiny bit of molasses (FYI, it’s a thing!).
Final Thoughts
Alright, you kitchen wizard, you’ve officially leveled up your dessert game! This brownie with ice cream aesthetic is more than just a sweet treat; it’s a statement. It says, “Yes, I can bake, and yes, I have impeccable taste, and no, I didn’t spend all day doing it.”
So go ahead, grab that warm brownie, scoop that cold ice cream, and make it beautiful. Snap a pic (it’s mandatory, obvs), and then dig in. You’ve earned this moment of pure bliss. Now go impress someone—or yourself—with your new culinary skills. Happy baking (and eating)!


