So, your sweet tooth is doing a full-on conga line, eh? And you need something decadent but, like, *now*? You’re craving that deep, dark, fudgy goodness of a brownie but also the soft, airy comfort of a cake? What if I told you we could have both? Simultaneously?!
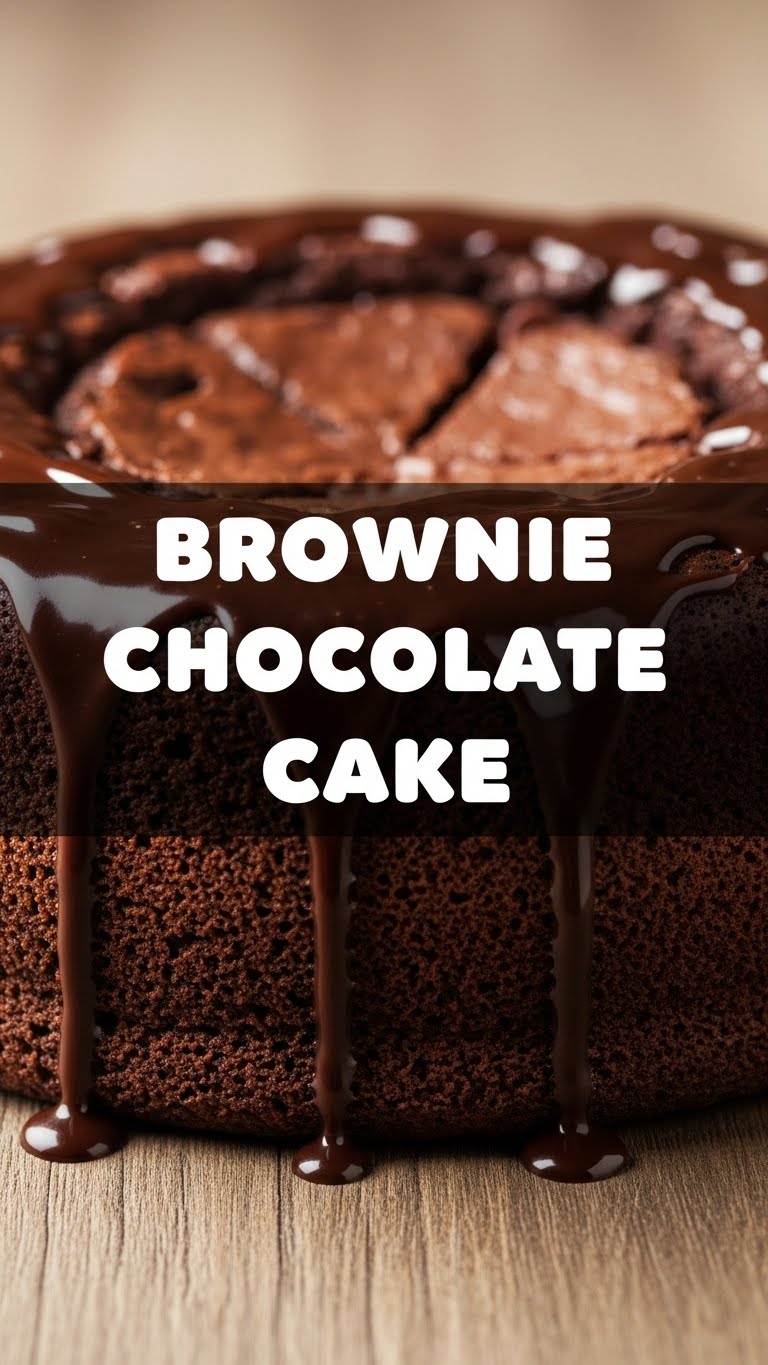
Good news, buttercup. We’re diving headfirst into making a Brownie Chocolate Cake that’s basically a hug in cake form, without any of the emotional drama. Get ready to impress yourself (and anyone lucky enough to be nearby) with minimal effort and maximum chocolatey reward. Let’s do this!
Why This Recipe is Awesome
Okay, let’s be real. We all want to feel like a culinary genius without actually, you know, doing the genius-level work. And this recipe? It’s your secret weapon. It’s so easy, your cat could probably supervise (if they cared about anything other than naps). Seriously, this isn’t one of those “requires a culinary degree” recipes. It’s **idiot-proof**, I swear. Even I, the queen of “oops, I burnt it again,” nailed this one.
This isn’t just a cake; it’s a *hybrid*. It’s got the dense, fudgy chewiness of a brownie hanging out with the tender crumb of a chocolate cake. It’s the best of both worlds, meaning you don’t have to choose (because why should you ever have to choose when it comes to chocolate?). Plus, it comes together super fast, so your chocolate craving doesn’t have time to stage a full-blown rebellion.
Ingredients You’ll Need
Gather your troops! Here’s what you’ll need for this glorious creation. Keep it simple, keep it chocolatey!
- **All-Purpose Flour:** 1 ½ cups (The unsung superhero of the baking world.)
- **Granulated Sugar:** 1 ½ cups (The sweet stuff, duh. Makes everything better.)
- **Unsweetened Cocoa Powder:** ¾ cup (For that deep, dark chocolatey soul. Go for good quality!)
- **Unsalted Butter:** ½ cup (That’s 1 stick, softened. Because we control the salt, not some random cow.)
- **Large Eggs:** 2 (The glue that holds our dreams together.)
- **Pure Vanilla Extract:** 1 teaspoon (Don’t skimp, it makes a *huge* difference!)
- **Baking Powder:** 1 teaspoon (Our lift-off specialist #1.)
- **Baking Soda:** ½ teaspoon (Our lift-off specialist #2.)
- **Salt:** ½ teaspoon (Enhances all the flavors, don’t skip this tiny but mighty ingredient!)
- **Milk:** ½ cup (Any milk works – whole, 2%, even almond if that’s your jam.)
- **Chocolate Chips:** 1 cup (Milk, dark, semi-sweet – whatever makes your heart sing. More is always better, IMO!)
Step-by-Step Instructions
Alright, apron on, game face ready! Let’s get baking this masterpiece.
- **Get Hot:** First things first, get that oven hot! **Preheat your oven to 350°F (175°C)**. Then, grab an 8×8 or 9×9 inch baking pan, grease it, and dust with a little cocoa powder or flour. For extra easy cake removal (and less mess!), line it with parchment paper, leaving an overhang on two sides. Parchment paper is your BFF here.
- **Melt & Mix:** In a medium microwave-safe bowl (or over a double boiler if you’re fancy), melt the butter. Once melted, stir in the unsweetened cocoa powder until smooth and combined. It’ll be a thick, glorious chocolate paste. Let this mixture cool slightly while you move on to the next step.
- **Whisk the Wet:** In a separate, larger bowl, whisk together the granulated sugar and eggs until they’re light in color and fluffy. This usually takes a couple of minutes. Stir in the vanilla extract. You’re building an airy foundation for your cake, so give it some love!
- **Combine Wet Wonders:** Gently fold the slightly cooled chocolate-butter mixture into the egg and sugar mixture. Don’t overmix; we want to keep things light and airy. Just combine until no streaks of egg are visible.
- **Dry Team Assembles:** In another bowl (yes, another one, sorry not sorry), whisk together the flour, baking powder, baking soda, and salt. Make sure there are no lumps—nobody likes a flour bomb in their cake!
- **Bring It All Together:** Gradually add the dry ingredients to the wet ingredients, mixing until just combined. **Do not overmix!** Overmixing develops the gluten too much, leading to a tough cake, and we’re aiming for tender brownie-cake perfection.
- **Milk & Chips:** Stir in the milk until the batter is smooth. Finally, fold in your glorious chocolate chips. Be generous! Pour the luscious batter into your prepared baking pan.
- **Bake It Up:** Bake for 25-30 minutes, or until a wooden skewer or toothpick inserted into the center comes out with moist crumbs, but not wet batter. **Don’t overbake!** A slightly gooey center is the dream for this brownie cake.
- **Cool Down:** Let it cool in the pan for about 10-15 minutes before transferring it to a wire rack to cool completely. Patience, young padawan. It’s worth it. Slice and serve!
Common Mistakes to Avoid
Listen up, buttercup. We’re all human, and mistakes happen. But let’s try to dodge these common pitfalls, shall we?
- **Not Preheating the Oven:** Thinking you don’t need to preheat the oven? Rookie mistake. Your cake will thank you for the consistent, even heat. Cold ovens mess with the rise and texture!
- **Overmixing the Batter:** I know, I know, it’s tempting to keep stirring until it’s perfectly smooth. But stop when the ingredients are *just* combined. Seriously, **overmixing leads to tough, chewy cakes**, and we’re aiming for tender-fudgy!
- **Overbaking:** This isn’t a dry cracker, it’s a brownie cake! Pull it out when it’s *just* set. A little gooeyness in the center (when the toothpick comes out with moist crumbs, not wet batter) is a sign of success, not failure.
- **Using Cold Ingredients:** If you’re using butter and eggs straight from the fridge, they won’t emulsify as well, affecting your cake’s texture. Let them come to room temperature first. It makes a difference!
- **Skipping the Parchment Paper:** Trust me, future you will high-five past you for lining the pan. It makes lifting the whole cake out a breeze and cleanup a cinch.
Alternatives & Substitutions
Feeling a little rebellious? Want to put your own spin on it? Here are some simple swaps to keep things interesting:
- **Butter Blues:** Can’t do butter? Use an equal amount of vegetable oil (like canola or sunflower) or a non-dairy butter alternative. The texture might be slightly different, but it’ll still be delish!
- **Chocolate Chip Frenzy:** Mix it up! White chocolate chips, peanut butter chips, chopped nuts (walnuts or pecans are great!), or even a swirl of caramel would be amazing. Get creative! FYI, sometimes a mix of different chocolates is pure bliss.
- **Cocoa Power-Up:** For an even darker, more intense chocolate flavor, try using Dutch-processed cocoa powder. It’s less acidic and gives a richer, deeper color to your cake.
- **Gluten-Free Gang:** Swap the all-purpose flour for a 1:1 gluten-free baking blend. Make sure it contains xanthan gum for the best results. Easy peasy!
- **Dairy-Free Dream:** If you need to go dairy-free, use your favorite plant-based milk (almond, soy, oat) instead of regular milk, and ensure your butter alternative is also dairy-free.
FAQ (Frequently Asked Questions)
Got questions? I’ve got answers! Let’s clear up a few things you might be wondering about this chocolatey goodness.
Q: Can I use margarine instead of butter?
A: Well, technically yes, you *can*, but why hurt your soul like that? Butter just tastes better, IMO, and contributes to that rich, fudgy texture. But hey, no judgment if it’s all you’ve got! It’ll still work, just maybe not *quite* as deliciously.
Q: My cake turned out dry, what went wrong?
A: Ah, the classic dry cake dilemma! Chances are you either overbaked it or overmixed the batter. Remember, **don’t overmix and don’t overbake!** Keep an eye on that toothpick test—it should have moist crumbs, not be bone dry.
Q: Can I add coffee to enhance the chocolate flavor?
A: YES! A thousand times yes! A little espresso powder (1-2 teaspoons) added to the dry ingredients or a tablespoon of strong brewed coffee instead of some milk works wonders. It won’t make it taste like coffee, just magically more chocolatey. Seriously, try it!
Q: How do I store leftovers?
A: If there *are* any leftovers (highly doubtful, but okay!), store them in an airtight container at room temperature for up to 3-4 days. You can also keep it in the fridge for up to a week. This cake also freezes beautifully for up to 2-3 months!
Q: What if I don’t have an 8×8 inch pan?
A: A 9×9 inch pan will work perfectly, but your cake might be slightly thinner, so reduce the baking time by a few minutes (start checking at 20 minutes). A round 9-inch pan works too, just keep an eye on it!
Q: Can I frost it?
A: Absolutely! A simple chocolate ganache, a cream cheese frosting, or even just a dusting of powdered sugar would be divine. But honestly, it’s so rich and moist on its own, it’s perfect plain too.
Final Thoughts
See? Told ya it was easy! You just whipped up a masterpiece, my friend. This Brownie Chocolate Cake is going to be your new go-to for chocolate emergencies (which, let’s be real, are pretty much every day). It’s simple, it’s fudgy, it’s cakey, and it’s pure bliss.
Now go impress someone—or yourself—with your new culinary skills. You’ve earned it! Don’t forget to grab a huge slice for yourself first. You deserve it. Happy baking, and may your kitchen always be filled with the sweet scent of chocolate!


