So you’re scrolling through your phone, minding your own business, when BAM! A craving hits you like a rogue shopping cart in the grocery store. You want something ridiculously delicious, a little bit fancy, but also, like, *effortless* to make. Sound familiar? Yeah, me too.
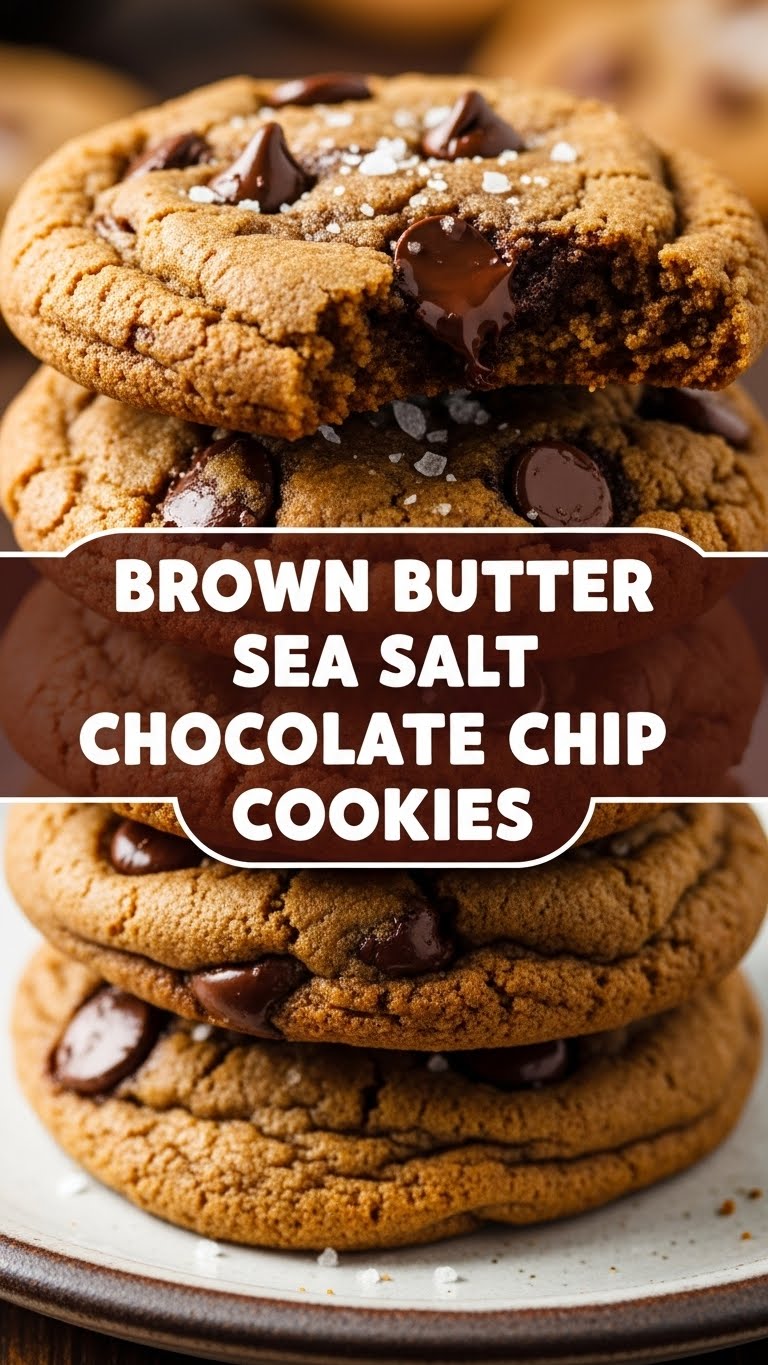
Forget those basic, boring chocolate chip cookies. We’re about to elevate our game with something that sounds super chef-y but is actually incredibly simple: **Brown Butter Sea Salt Chocolate Chip Cookies**. Get ready to impress yourself (and maybe anyone lucky enough to be in your vicinity).
Why This Recipe is Awesome
Okay, so why should you ditch whatever questionable snack you were about to grab and make *these* cookies instead? First off, brown butter. It’s basically butter that went to culinary school, came back with a nutty, toasty degree, and decided to grace our cookies with its sophisticated presence. It adds a depth of flavor that plain old melted butter can only dream of.
Then there’s the sea salt. **This isn’t just a garnish, people; it’s a counter-punch.** That little sprinkle of flaky goodness on top cuts through the sweetness of the chocolate and brown sugar, making your taste buds sing. It’s truly a game-changer. Plus, let’s be real, these cookies look kinda fancy, but they’re surprisingly idiot-proof. Seriously, if you can melt butter without setting off the smoke alarm, you’re golden. You’re welcome.
Ingredients You’ll Need
Gather ’round, my aspiring bakers! Here’s what you’ll need to make these edible masterpieces. Don’t worry, no obscure ingredients that require a quest to a hidden artisanal market.
- **1 cup (2 sticks) unsalted butter:** The unsung hero, soon to be browned to perfection. Unsalted, so we control the salt content.
- **1 cup packed light brown sugar:** Our chewy secret weapon. Don’t even *think* about skimping.
- **½ cup granulated sugar:** Just enough sweetness, don’t go crazy.
- **1 large egg + 1 egg yolk:** For richness and chew, because one egg isn’t enough drama.
- **1 tablespoon vanilla extract:** Use the good stuff, trust me. It makes a difference.
- **2 cups all-purpose flour:** The structure of our dreams.
- **1 teaspoon baking soda:** Lift-off! This gives our cookies that perfect puff.
- **½ teaspoon salt:** A pinch, because we’re not monsters.
- **1 ½ cups chocolate chips (or chunks!):** Your preferred kind – milk, semi-sweet, dark, a mix! Live a little.
- **Flaky sea salt (like Maldon):** **DO NOT SKIP THIS!** It’s literally in the name, and it’s what makes these cookies legendary.
Step-by-Step Instructions
Alright, apron on, game face ready! Let’s get baking. These steps are designed to be quick, easy, and painless.
- **Brown the Butter:** Grab a light-colored saucepan (makes it easier to see the magic happening). Melt your butter over medium heat. Swirl it constantly. It’ll get foamy, then start to smell nutty, and you’ll see little brown bits forming at the bottom. This usually takes 5-7 minutes. Once it’s golden brown and smells amazing, immediately pour it into a heatproof bowl to stop the cooking. Let it cool for about 10 minutes.
- **Mix Wet Ingredients:** In a large bowl, combine your slightly cooled brown butter with both the brown sugar and granulated sugar. Whisk vigorously for about 2 minutes until it’s light and fluffy. Beat in the egg, then the egg yolk, followed by the vanilla extract. Keep whisking until everything is well combined and slightly pale.
- **Combine Dry Ingredients:** In a separate medium bowl, whisk together the flour, baking soda, and salt. Make sure there are no lumps.
- **Combine Wet & Dry:** Gradually add the dry ingredients to the wet ingredients, mixing on low speed (or by hand with a spatula) **just until combined.** Seriously, stop as soon as you don’t see any dry streaks. Overmixing leads to tough cookies, and nobody wants that.
- **Fold in Chocolate Chips:** Gently fold in your chocolate chips (or chunks!). Distribute them evenly throughout the dough.
- **Chill the Dough:** Cover the bowl with plastic wrap and refrigerate for at least **30 minutes, or up to an hour.** This step is crucial, so don’t be lazy!
- **Preheat Oven & Prep Sheet:** While the dough is chilling, preheat your oven to 375°F (190°C). Line a baking sheet with parchment paper.
- **Scoop & Salt:** Use a cookie scoop (or two spoons) to drop dough balls (about 1.5-2 tablespoons each) onto the prepared baking sheet, leaving some space between them. Sprinkle a generous pinch of that gorgeous flaky sea salt on top of each cookie dough ball.
- **Bake:** Bake for 9-12 minutes, or until the edges are set and lightly golden, but the centers still look a little soft. Remember, cookies continue to cook for a bit after they come out of the oven!
- **Cool:** Let the cookies cool on the baking sheet for 5 minutes before transferring them to a wire rack to cool completely (if they even make it that far).
Common Mistakes to Avoid
Nobody’s perfect, but we can avoid some classic cookie catastrophes. Here are a few traps to sidestep:
- **Burning the Butter:** Brown, not black, folks! If it smells burnt, start over. It should smell nutty and delicious, not like a campfire. Keep an eye on it!
- **Not Chilling the Dough:** **Seriously, don’t skip this!** Warm dough spreads too much, giving you flat, greasy cookies. Chilling allows the butter to re-solidify and the flavors to meld. Patience, young padawan.
- **Overmixing the Dough:** Remember what I said about tough cookies? That’s what happens when you beat the flour to death. Mix just until combined, then walk away from the mixer.
- **Forgetting the Flaky Sea Salt:** It’s in the name for a reason! It’s not just for aesthetics; it truly balances the flavor. Don’t be that person who skips the star ingredient.
- **Baking at the Wrong Temperature/Time:** Ovens can be quirky, so know yours. Undercooked is better than overcooked; you want gooey centers, not hockey pucks.
Alternatives & Substitutions
Feeling adventurous? Here are a few ways to tweak this recipe to fit your mood or pantry situation.
- **Chocolate Variations:** Don’t limit yourself to just chips! Try chopping up a good quality chocolate bar for glorious puddles of chocolate. Mix in white chocolate, dark chocolate, milk chocolate, or even butterscotch chips. Go wild!
- **Add-ins:** Feeling nutty? Toasted pecans or walnuts would be an excellent addition for a bit of crunch. If you’re into it, a sprinkle of espresso powder (1-2 teaspoons) can deepen the chocolate flavor beautifully.
- **Flour Power:** While all-purpose flour gives the best texture here, if you’re feeling experimental, you could try swapping a small amount (like ¼ cup) for whole wheat flour for a nuttier undertone. But for classic chewiness, stick to AP.
- **Butter vs. Margarine:** Can you use margarine? Well, technically, yes, but why hurt your soul like that? Butter is key for the brown butter flavor. Don’t compromise!
FAQ (Frequently Asked Questions)
Got questions? I’ve got (casual) answers!
**Q: Can I skip the brown butter step?**
A: Technically, yes, but then it’s just a chocolate chip cookie. And we’re aiming for *elite* here, friend. That brown butter is the secret sauce for next-level flavor. Don’t skip the magic!
**Q: My cookies spread too much! What happened?**
A: Ah, the dreaded pancake cookie! Usually, this means your **dough wasn’t chilled enough**, or your butter was too warm when you mixed it. Also, check your baking soda – if it’s old, it loses its leavening power. **FYI**, a warm baking sheet can also make them spread immediately.
**Q: How long do these cookies last?**
A: Haha, “last”? Good luck with that! Seriously though, they’re best on day one. But if you manage to have leftovers, they’ll stay fresh in an airtight container at room temperature for 3-5 days. Pop them in the microwave for 10 seconds to revive them.
**Q: Can I freeze the cookie dough?**
A: **Absolutely!** This is a pro move. Scoop the dough into balls, place them on a parchment-lined baking sheet, and freeze until solid. Then transfer them to a freezer-safe bag. You can bake them straight from frozen; just add an extra 2-3 minutes to the baking time.
**Q: What’s the best kind of sea salt to use on top?**
A: Go for a good quality flaky sea salt, like Maldon. The bigger the flakes, the better the crunch and burst of salty goodness. Table salt is too fine and won’t give you the same effect.
**Q: Is chilling the dough *really* necessary?**
A: **Yes, IMO!** It’s not just to prevent spreading; it also allows the flavors to meld and develop, resulting in a richer, more complex cookie. Patience is a virtue, especially with cookies.
Final Thoughts
So there you have it, your new favorite cookie recipe, perfected and ready for action. You just leveled up your baking game, turning a humble chocolate chip cookie into something truly special with the power of brown butter and a sprinkle of sea salt.
Now go forth and bake something amazing! Whether you share them or hoard them all for yourself (no judgment here, I’ve been there), you’ve earned those delicious, golden-edged, chewy-centered, salty-sweet bites of heaven. You’re welcome!


