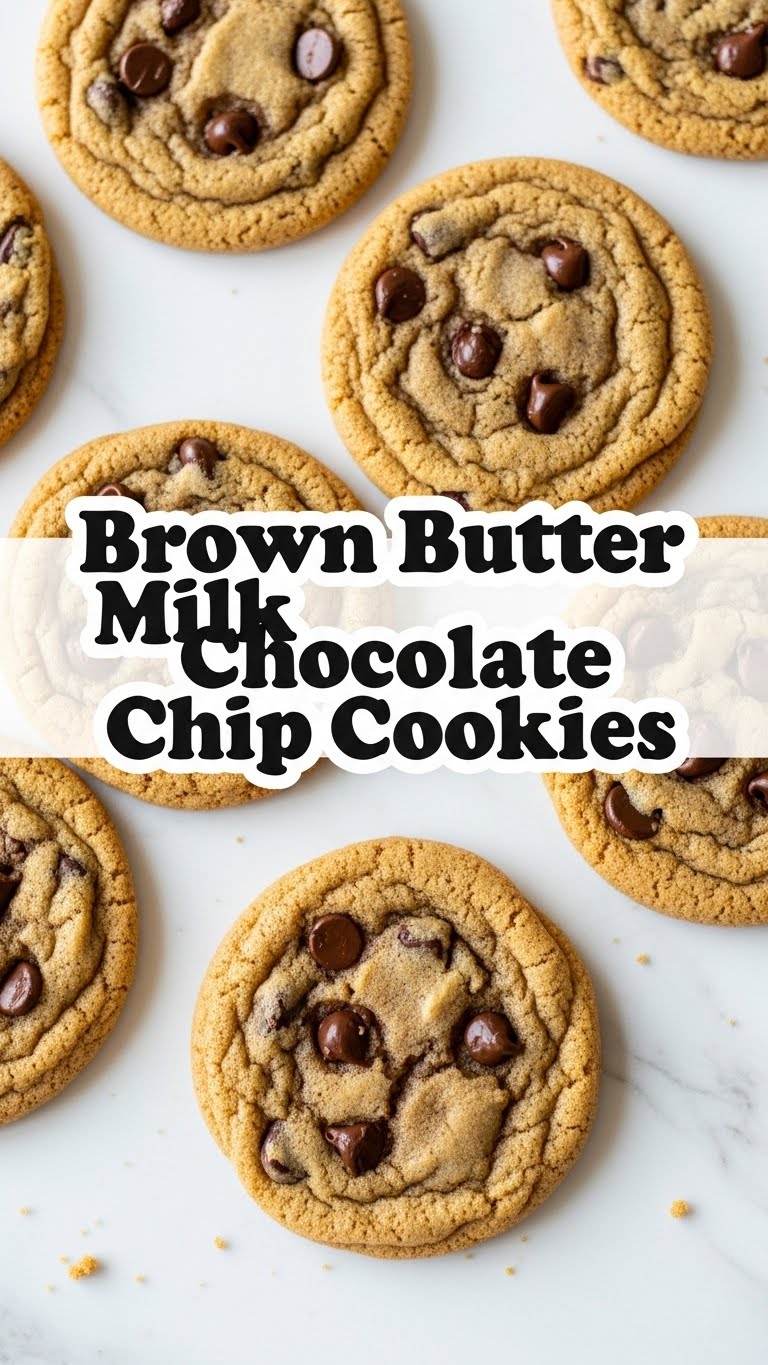
Hey there, fellow snack enthusiast! Ever just stare into the void (aka your fridge) wishing a warm, gooey cookie would magically appear? Same, friend, same. But today, we’re making that magic happen with minimal fuss and maximum deliciousness: Brown Butter Milk Chocolate Chip Cookies. Get ready for your taste buds to throw a party!
Why This Recipe is Awesome
Look, I get it. The world is a lot right now. You need a win. And these cookies? They’re basically a gold medal in edible form. They’re stupidly easy, practically foolproof (yes, even for you), and they’ve got that secret weapon: **brown butter**. Seriously, it’s like a regular chocolate chip cookie went to finishing school and learned how to be *extra* fancy and delicious without any extra effort from you. Plus, milk chocolate. Because sometimes, you just need a hug in cookie form, not some dark, brooding cacao.
Ingredients You’ll Need
Gather your troops, folks. Here’s what you’ll need for this culinary masterpiece:
- 1 cup (2 sticks) Unsalted Butter: The star of the show. Don’t even think about margarine for this one.
- ¾ cup Granulated Sugar: The classic sweetener.
- ¾ cup Packed Light Brown Sugar: Brings the chew and that lovely molasses flavor. Essential!
- 1 Large Egg: Binds it all together. Room temp is ideal, but honestly, who plans that far ahead?
- 1 teaspoon Vanilla Extract: A splash of happiness. Don’t skimp!
- 2 cups All-Purpose Flour: The foundation. Scoop and level, no need to be a fancy sifter unless you’re feeling ambitious.
- 1 teaspoon Baking Soda: For lift and chew. Not baking powder, friend, pay attention!
- ½ teaspoon Salt: Balances the sweetness and makes everything pop. Trust me.
- 1 ½ cups Milk Chocolate Chips: Go for good quality! This isn’t the time for ‘mystery brand’ chocolate.
Step-by-Step Instructions
- Brown that Butter, Baby! In a light-colored saucepan, melt your butter over medium heat. Keep stirring! It’ll foam, then sizzle, then those magical brown bits will appear at the bottom, smelling nutty and amazing. This takes about 5-8 minutes. Pour it into a heatproof bowl immediately to stop cooking. Let it cool for about 10-15 minutes, or until it’s just warm, not screaming hot.
- Mix the Wet Stuff. Once your brown butter isn’t molten lava, whisk it with both sugars in a large bowl until creamy and well combined. Beat in the egg and vanilla extract until everything is gloriously combined and fluffy.
- Combine the Dry Stuff. In a separate medium bowl, whisk together the flour, baking soda, and salt. Easy peasy.
- Unite the Forces. Gradually add the dry ingredients to the wet ingredients, mixing until just combined. Don’t overmix! Nobody likes a tough cookie.
- Chocolate Time! Fold in those glorious milk chocolate chips. Get them evenly distributed so every bite is a chocolatey dream.
- Chill Out (Optional but Recommended). Cover the dough and chill for at least 30 minutes. An hour or even overnight is better for flavor development and less spreading! If you’re impatient, I won’t tell, but *you’ll know the difference*.
- Bake ‘Em Up! Preheat your oven to 375°F (190°C). Line baking sheets with parchment paper. Scoop rounded tablespoons of dough onto the sheets, leaving about 2 inches of space between them.
- Golden Perfection. Bake for 9-12 minutes, or until the edges are golden brown and the centers are still slightly soft. They’ll firm up as they cool.
- Cool Down. Let them cool on the baking sheet for a few minutes before transferring to a wire rack. Seriously, **resist the urge to eat them all hot** – they’re worth the wait for that perfect chew.
Common Mistakes to Avoid
We all make mistakes, but let’s try to avoid these rookie errors, shall we?
- Burning the Butter (and your dreams). Watch it like a hawk! Those brown bits go from perfect to charcoal in mere seconds. Don’t walk away!
- Overmixing the Dough. Remember what I said? Tough cookies. Mix until *just* combined, then back away slowly. You’re not making bread, you’re making happiness.
- Not Chilling the Dough. It helps prevent spreading and deepens the flavor. Skipping this is like skipping leg day—you’ll regret it later. Trust the process.
- Eating Raw Dough (too much of it). Yes, it’s tempting. Yes, it’s delicious. But, salmonella is real, friend. Exercise *some* restraint.
- Ignoring the Oven Temp. Preheating isn’t a suggestion, it’s a command! An accurate oven is key to evenly baked, perfectly chewy cookies.
Alternatives & Substitutions
Life’s about choices, and so is baking (sometimes). Here are a few tweaks you can make:
- Chocolate: Don’t have milk chocolate chips? Use chunks, a chopped milk chocolate bar, or mix in some semi-sweet! **Just don’t use dark chocolate if you want that classic milky sweetness**—that’s a different vibe entirely.
- Butter: Unsalted is best for controlling salt levels, but if you only have salted, just reduce the added salt in the recipe by half. Easy fix!
- Flour: Stick with **all-purpose flour for this one**. Gluten-free flours might work, but you’re venturing into experimental territory, and I can’t guarantee deliciousness there.
- Add-ins: Feeling adventurous? Throw in some chopped pecans or walnuts for a nutty crunch. A tiny dash of cinnamon or espresso powder can also deepen the chocolate flavor beautifully.
FAQ (Frequently Asked Questions)
- “Can I use margarine instead of butter?” Well, technically yes, but why hurt your soul like that? Butter is absolutely key for that brown butter magic and the overall texture. IMO, it’s a non-negotiable here.
- “My cookies spread too much! What happened?” Did you chill the dough? Was your butter too warm when you mixed it? Is your baking soda super old? Could be a few things, but usually, a good chill session helps a lot.
- “How long do these cookies last?” Ha! You think they’ll last? If stored in an airtight container at room temperature, probably 3-5 days. But good luck keeping them around that long.
- “Can I freeze the dough?” Absolutely! Roll into balls, freeze them on a tray, then transfer to a freezer-safe bag. Bake from frozen, adding a couple of minutes to the bake time. **Life hack, FYI.**
- “Do I have to brown the butter?” You *can* skip it, but then you’re just making regular milk chocolate chip cookies. And while those are good, the brown butter is what makes these *legendary*. Don’t be a quitter when you’re this close to greatness!
Final Thoughts
Alright, my friend, you’ve officially leveled up your cookie game. Go forth and spread deliciousness (or hoard it all for yourself, no judgment here, seriously). These brown butter milk chocolate chip cookies are your new superpower. **You did it!** Now go impress someone—or yourself—with your new culinary skills. You’ve earned it! Until next time, keep baking, keep smiling, and maybe send me some cookies? Just kidding (mostly).

