So, you’re scrolling through TikTok again, seeing all those gorgeous, gooey chocolate chip cookies, and suddenly your stomach’s rumbling like a grumpy bear? And the thought of making anything complicated makes you want to nap? Honey, I feel you. But what if I told you there’s a cookie that’s *extra* special, *extra* flavorful, and still totally chill to make? Enter the Brown Butter Chocolate Chip Cookie. It’s like your regular cookie went on vacation and came back with a tan and a sophisticated new personality. Let’s make some magic, shall we?
Why This Recipe is Awesome (Besides Making You a Culinary Rockstar)
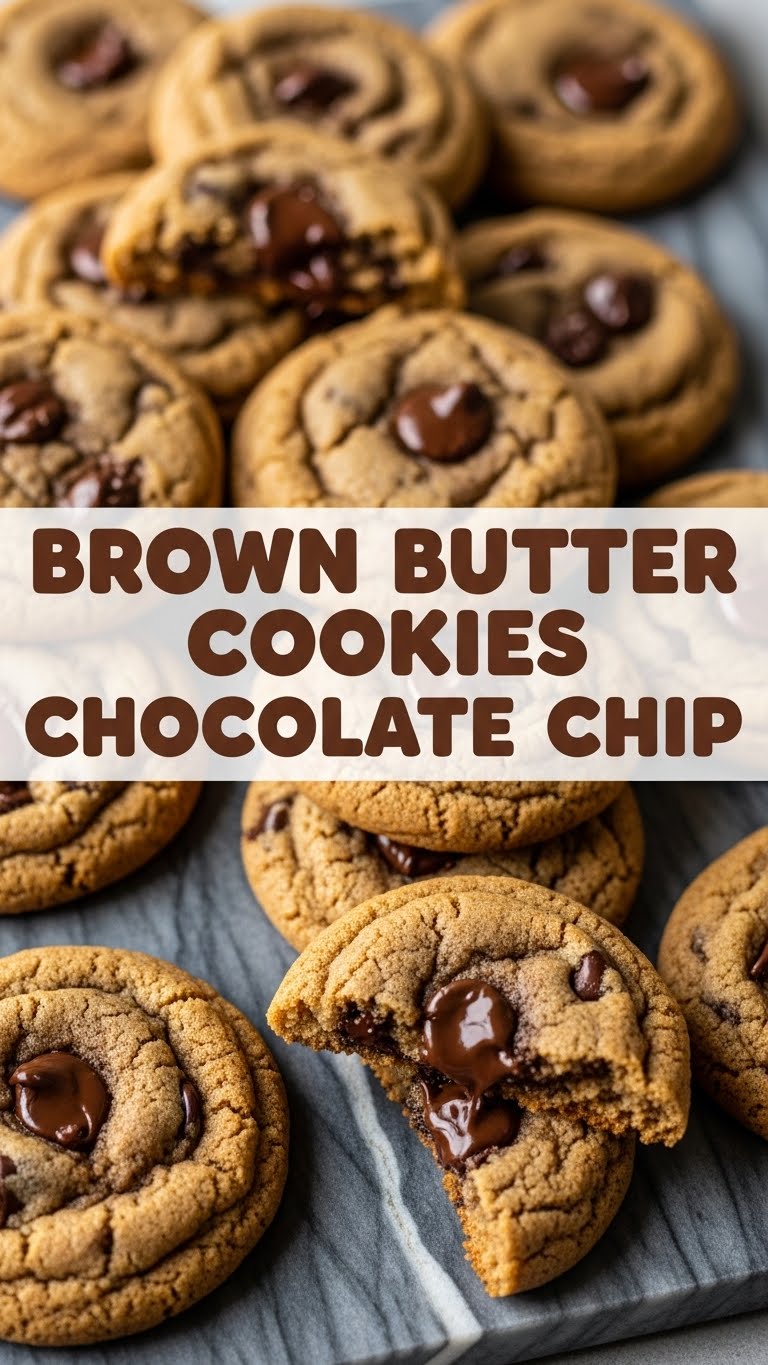
Okay, let’s be real. We all love a good chocolate chip cookie. But these? These are next level. We’re talking about taking butter, browning it to nutty, caramel-y perfection, and then infusing that magic into your cookie dough. It’s like giving your taste buds a tiny, flavor-packed hug. Plus, it’s pretty idiot-proof. Seriously, if I can do it without setting off the smoke alarm (mostly), you can too. It’s also super impressive for minimal effort. Win-win, right?
Ingredients You’ll Need (Because Magic Doesn’t Happen Out of Thin Air)
- Unsalted Butter: 1 cup (2 sticks). Unsalted, because we’re controlling the salt here, not letting Big Butter decide our sodium intake.
- Granulated Sugar: 1/2 cup. The sweet stuff.
- Packed Light Brown Sugar: 1 cup. This is where the chewiness and depth come from. Don’t skip it!
- Large Eggs: 2, at room temp. Cold eggs are just being difficult.
- Vanilla Extract: 2 teaspoons. Good quality vanilla makes a huge difference, trust me.
- All-Purpose Flour: 2 1/4 cups. The backbone of our cookie empire.
- Baking Soda: 1 teaspoon. Our little lift-off agent.
- Salt: 1 teaspoon. Balances all that sweetness.
- Chocolate Chips: 1 1/2 cups. A mix of milk and semi-sweet is chef’s kiss, but use whatever makes your heart sing. Or chocolate chunks. Go wild.
Step-by-Step Instructions (Let’s Get This Party Started!)
- Brown the Butter: Grab a light-colored saucepan (helps you see the magic happen). Melt the butter over medium heat. Keep stirring until it starts to foam, then small brown bits will appear at the bottom. It’ll smell nutty and amazing. Don’t burn it! Remove from heat immediately and pour into a heatproof bowl. Let it cool for about 10-15 minutes.
- Combine Sugars & Butter: Once slightly cooled, add both granulated and brown sugars to the brown butter. Whisk until fully combined and smooth.
- Add Wet Ingredients: Beat in the eggs, one at a time, until fully incorporated. Then stir in the vanilla extract. It should look glossy and delicious.
- Whisk Dry Ingredients: In a separate medium bowl, whisk together the flour, baking soda, and salt. This ensures even distribution – no one wants a salty patch in their cookie.
- Combine Wet and Dry: Gradually add the dry ingredients to the wet ingredients, mixing on low speed (or with a spoon) until *just* combined. Do not overmix! Overmixing leads to tough cookies, and nobody wants a tough cookie.
- Stir in Chocolate Chips: Fold in those glorious chocolate chips until evenly distributed.
- Chill Time (Optional but Recommended!): Cover the dough and chill in the fridge for at least 30 minutes, or up to 24 hours. Chilling develops flavor and prevents spreading.
- Preheat & Prep: When ready to bake, preheat your oven to 375°F (190°C). Line a baking sheet with parchment paper or a silicone baking mat.
- Scoop & Bake: Scoop 1.5-2 tablespoon-sized balls of dough onto the prepared baking sheet, leaving some space between them. Bake for 9-12 minutes, or until the edges are golden brown and the centers are *just* set but still look a little gooey.
- Cool & Devour: Let the cookies cool on the baking sheet for 5 minutes before transferring them to a wire rack to cool completely. Or, you know, eat one straight off the pan. No judgment here.
Common Mistakes to Avoid (Because We’ve All Been There, Probably with a Burned Cookie)
- Burning the Butter: This is the most crucial step! Keep an eye on it. Brown = good, black = bad. If it smells burnt, start over. Your taste buds will thank you.
- Not Cooling the Butter: If you add sugar and eggs to super hot butter, you’ll end up with scrambled eggs and melted sugar. Ew. Let it chill a bit.
- Overmixing the Dough: I repeat: Do not overmix! Mix until *just* combined. That’s it. Walk away from the mixer.
- Skipping the Chill: While not strictly necessary, chilling the dough makes a *huge* difference in flavor and texture. It’s like letting your ingredients get to know each other better. Think of it as a flavor-enhancing power nap.
- Impatience: Pulling them out too early or too late. Watch the edges for that golden glow, and the center for that slight jiggle. It’s an art, not a science (mostly).
Alternatives & Substitutions (Because We’re All About That Personal Touch)
- Chocolate Mix-ins: Not a chocolate chip purist? Go for chopped nuts (pecans or walnuts are amazing), toffee bits, white chocolate, or even pretzels for a salty-sweet vibe. Dark chocolate chunks are my personal fave, FYI.
- Flour Power: You *can* technically use a gluten-free all-purpose blend, but results might vary. I haven’t tried it with this specific recipe, so experiment at your own risk, my friend.
- Dairy-Free Butter: If you’re going dairy-free, finding a brown-butter substitute might be tricky as browning is about the milk solids. You could try browning a dairy-free butter alternative, but it won’t be quite the same.
- No Brown Sugar? In a pinch, you can mix granulated sugar with a tiny bit of molasses to create your own, but it’s really best to stick to the recipe for that perfect chew.
FAQ (Because You’ve Got Questions, and I’ve Got Answers… Mostly)
- Can I use salted butter? You *can*, but you’d want to reduce the added salt in the recipe to about 1/2 teaspoon. It’s safer to stick to unsalted for better control. Why risk it, right?
- How long do these cookies last? In an airtight container at room temperature, they’re typically good for 3-5 days. But let’s be honest, will they even *make* it past day one? Probably not.
- Can I freeze the dough? Absolutely! Scoop the dough balls, freeze them on a baking sheet until solid, then transfer to a freezer-safe bag. Bake from frozen, adding a couple extra minutes to the bake time. It’s a lifesaver for future cravings!
- My cookies spread too much! What happened? Usually, this means your butter was too warm when mixed, or your oven wasn’t hot enough, or you skipped chilling the dough. Always chill the dough for best results!
- What’s the trick to perfectly gooey centers? Don’t overbake! Pull them when the edges are set and golden, but the centers still look a *tiny* bit underdone. They’ll continue to cook on the hot baking sheet.
- Is browning the butter really worth the extra step? Is watching a puppy play with a butterfly worth it? YES. The depth of flavor is unparalleled. IMO, it’s non-negotiable for these cookies.
Final Thoughts (Go Forth and Conquer!)
So there you have it, friend. The ultimate guide to brown butter chocolate chip cookies that will make your kitchen smell like a dream and your taste buds sing. Don’t be intimidated by the ‘brown butter’ part; it’s genuinely easy and makes all the difference. Now go impress someone—or yourself—with your new culinary skills. You’ve earned it! And maybe send me a cookie? Kidding (mostly).


