So, you’ve landed here because you’re probably scrolling, craving something ridiculously good, and maybe, just maybe, you’ve seen the magic that is brown butter. Or perhaps you’re just looking for an excuse to turn on your oven. Either way, welcome, friend! We’re about to dive into the glorious world of brown butter chocolate chip cookies, and trust me, your taste buds are sending you a silent thank you note already. Consider this your cheat sheet to cookie greatness, without the stress.
Why This Recipe is Awesome
Look, if you’re like me, you love cookies, but you don’t want to sign up for a culinary degree just to bake them. This recipe? It’s the MVP of cookie recipes. Why? Because it takes your run-of-the-mill chocolate chip cookie and elevates it to a whole new dimension of nutty, caramelly, buttery heaven. And the best part? It’s not much harder than making regular cookies. We’re talking minimal extra effort for **maximum flavor payoff**. Honestly, it’s almost idiot-proof – and I’m saying that as someone who once mistook salt for sugar. (Don’t ask.)
Plus, imagine the bragging rights! “Oh these? Just some brown butter chocolate chip cookies I whipped up.” Casual, cool, culinary genius. You’re welcome.
Ingredients You’ll Need
Gather ’round, my fellow kitchen adventurers! Here’s the treasure map to deliciousness. Nothing too crazy, promise.
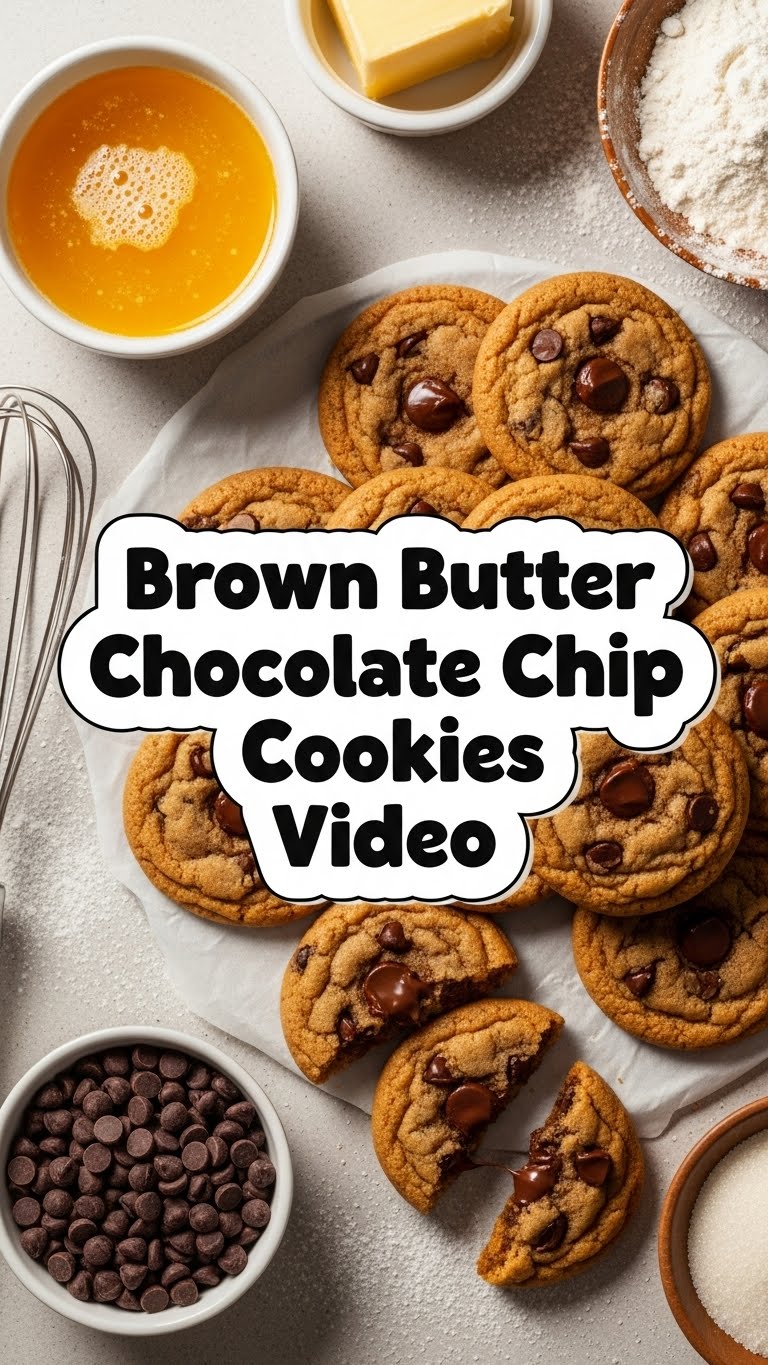
- Unsalted Butter (the good stuff): 1 cup (2 sticks). We’re going to transform this liquid gold.
- Granulated Sugar: ¾ cup. For that classic sweetness.
- Packed Light Brown Sugar: 1 cup. This is where a lot of the chewy goodness comes from.
- Large Eggs: 2, plus 1 egg yolk. Room temp is best, but if you forget, don’t stress too much.
- Vanilla Extract: 1 tablespoon. Don’t skimp here; it’s a flavor powerhouse.
- All-Purpose Flour: 2 ¼ cups. Sifted, if you’re feeling fancy, but not strictly necessary for deliciousness.
- Baking Soda: 1 teaspoon. Our secret weapon for that perfect lift.
- Salt: 1 teaspoon. Seriously, don’t skip the salt; it balances the sweetness like a pro.
- Chocolate Chips (or chunks, or bars chopped up): 1 ½ cups. Mix and match your favorites! Semi-sweet, dark, milk – live a little!
Step-by-Step Instructions
- Brown the Butter: Grab a light-colored saucepan (so you can see the magic happen!). Melt your butter over medium heat. Keep stirring and watching it like a hawk. It’ll foam, then sizzle, and eventually, golden-brown specks will appear at the bottom, and it’ll smell nutty and amazing. This usually takes 5-8 minutes. Once it’s amber and smells like heaven, immediately pour it into a heat-proof bowl to stop it from burning. **Don’t burn it!**
- Cool Down: Let that glorious brown butter cool for about 15-20 minutes. It should still be warm and liquid, but not piping hot. This is a crucial step!
- Mix Wet Ingredients: In a large mixing bowl, whisk together the slightly cooled brown butter, granulated sugar, and brown sugar until well combined.
- Egg-cellent Addition: Beat in the eggs and the extra egg yolk one at a time, mixing well after each addition. Then, stir in the vanilla extract. You’ll have a shiny, smooth mixture.
- Combine Dry Ingredients: In a separate bowl, whisk together the flour, baking soda, and salt.
- Marry Them Up: Gradually add the dry ingredients to the wet ingredients, mixing on low speed (or by hand) until just combined. **Do not overmix!** A few streaks of flour are totally fine.
- Chocolate Time: Fold in your chosen chocolate chips or chunks. Because what’s a cookie without chocolate?
- Chill Out: Cover the dough and refrigerate for at least 30 minutes, or even better, 2-24 hours. **This chilling time is non-negotiable for flavor and texture.** Go watch an episode of your favorite show, or take a nap!
- Preheat & Prep: When you’re ready to bake, preheat your oven to 375°F (190°C). Line a baking sheet with parchment paper.
- Scoop & Bake: Scoop dough balls (about 2 tablespoons each) onto the prepared baking sheet, leaving some space between them. Bake for 10-12 minutes, or until the edges are golden brown and the centers are still slightly soft.
- Cool Down: Let them cool on the baking sheet for a few minutes before transferring them to a wire rack to cool completely (or, let’s be real, eat them warm).
Common Mistakes to Avoid
We’ve all been there, staring at a sad, flat cookie. Here’s how to dodge those culinary bullet points of shame:
- Burning the Brown Butter: This is a delicate dance. If it smells burnt, tastes bitter, or looks dark brown/black, it’s toast. Start over. Seriously, it’s worth it.
- Not Cooling the Brown Butter Enough: If it’s too hot, it’ll start cooking your eggs. Nobody wants scrambled egg cookies.
- Overmixing the Dough: This develops the gluten too much, leading to tough, chewy cookies instead of soft and tender ones. Mix until just combined, then stop.
- Skipping the Chill Time: I know, patience is a virtue you sometimes don’t have. But chilling the dough allows the flavors to meld and prevents the cookies from spreading too much. **It’s a game-changer.**
- Overbaking: Brown butter cookies are best when they’re slightly underbaked in the center. They’ll continue to set as they cool. Pull them out when the edges are golden and the middle still looks a little gooey.
Alternatives & Substitutions
Feeling adventurous? Or maybe you just ran out of something. No judgment here!
- Chocolate Choices: Not a fan of semi-sweet? Go all dark chocolate! Or milk chocolate if you have a serious sweet tooth. My personal fave is a mix of dark chocolate chunks and milk chocolate chips. You do you!
- Add-ins: Want to get wild? Throw in some toasted pecans or walnuts for an extra nutty crunch. A sprinkle of sea salt on top before baking? Chef’s kiss! Sprinkles, butterscotch chips, toffee bits – the world is your cookie canvas.
- Flour Power: While all-purpose is standard, you can totally experiment. Some folks swear by a mix of bread flour for chewiness, or a little whole wheat flour for a wholesome twist (though I personally stick to AP for maximum deliciousness here).
- Vegan/Gluten-Free: Okay, for these specific cookies, subbing out butter and flour isn’t a simple 1:1. The brown butter is key. If you need vegan or GF, I’d suggest finding a recipe specifically designed for those modifications. Don’t want to mess with perfection here, **IMO**.
FAQ (Frequently Asked Questions)
Got questions? I’ve got (casual) answers!
- Can I use salted butter? Well, technically yes, but why mess with the salt balance? Unsalted gives you more control. If you *must*, reduce the added salt by about ¼ teaspoon.
- How long do these cookies last? If you can keep them around long enough to find out, you’re a stronger person than me! Kidding! They’re best within 3-4 days at room temperature in an airtight container.
- Can I freeze the cookie dough? Absolutely! Scoop the dough balls, freeze them on a baking sheet until solid, then transfer to a freezer-safe bag. Bake from frozen, adding a couple of minutes to the baking time. **FYI**, fresh is always best, but frozen is super convenient.
- My cookies spread too much! What happened? Likely culprits: your brown butter was too warm when mixed, your dough wasn’t chilled enough, or your oven temperature is off. Also, make sure your baking soda isn’t expired!
- Do I really need the extra egg yolk? It adds richness and helps create that wonderful chewy texture. You can omit it, but you might lose a little of that “oomph.”
- What kind of chocolate is best? Honestly, whatever you love! A mix of high-quality dark chocolate (chopped from a bar) and regular semi-sweet chips is my go-to for depth of flavor.
Final Thoughts
So there you have it, your personal guide to baking brown butter chocolate chip cookies that will make people swoon. This isn’t just a recipe; it’s an experience. The smell of the browning butter, the warmth of the oven, that first perfect bite… pure bliss! Don’t be afraid to get a little messy, have fun, and maybe even lick the spoon (I won’t tell). Now go impress someone—or yourself—with your new culinary skills. You’ve earned it!


