So you’re craving something warm, gooey, and utterly delicious but the thought of kneading dough by hand makes your arms ache just thinking about it, huh? Same, friend, *same*. We’re here for the good stuff, not the gym workout. And that, my carb-loving compadre, is where your trusty bread machine swans in like a superhero in an apron. We’re talking about the magic of **Bread Machine Cinnamon Rolls Dough**, your ticket to impressive baking with minimal effort. Get ready to fool everyone into thinking you spent hours slaving away. (Don’t worry, your secret’s safe with me.)
Why This Recipe is Awesome
Let’s be real, life’s too short for complicated recipes unless they involve actual magic. This one? It’s pretty close. This bread machine dough recipe is your best friend because it’s practically **idiot-proof**. Even I, Queen of Occasionally-Burning-Water, manage to get perfect, fluffy dough every single time. Seriously, you dump stuff in, press a button, and *voila!*—dough that’s begging to be rolled, filled, and baked into sticky, sweet spirals of joy. Plus, your kitchen will smell like a bakery, which is a huge bonus, IMO.
Ingredients You’ll Need
Gather ’round, my little culinary apprentice! Here’s what you’ll need for a batch of dough that’s practically begging to become cinnamon rolls. Nothing fancy, just the good stuff:
- **1 cup (240ml) warm milk:** Not hot, not cold. Think “baby bathwater” warm. If it’s too hot, you’ll kill the yeast, and nobody wants a zombie dough.
- **1/4 cup (50g) granulated sugar:** For sweetness and to give our yeast friends something yummy to munch on.
- **1/4 cup (56g) unsalted butter, melted:** Because butter makes everything better. Resist the urge to use margarine unless you’re trying to punish yourself.
- **1 large egg:** Room temperature, please! It helps with a richer, softer dough.
- **1 teaspoon salt:** Don’t skip this! It balances the sweetness and strengthens the gluten. Trust me, it makes a difference.
- **3 cups (360g) all-purpose flour:** The backbone of our doughy masterpiece.
- **2 1/4 teaspoons (or one standard packet) active dry or bread machine yeast:** This is the magic potion that makes things rise. Make sure it’s fresh!
Step-by-Step Instructions
Alright, let’s get this dough party started! This is where your bread machine truly earns its counter space.
- **Load it Up:** First things first, consult your bread machine manual. Most machines prefer liquids first, then dry ingredients, with yeast going in last, often in a tiny well. So, carefully add the warm milk, melted butter, and egg to your bread machine pan.
- **Layer it On:** Next, gently layer in the sugar and salt. Then, carefully spoon in the flour, making sure it covers the liquid. Don’t stir!
- **Yeast Time!** Make a small indentation in the center of the flour (don’t let it touch the liquid yet!) and add your yeast. This keeps the yeast cozy and dry until the machine starts doing its thing.
- **Set and Forget:** Pop the pan into your bread machine. Close the lid. Now, select the **”Dough”** or **”Dough Cycle”** setting. This cycle typically mixes, kneads, and proofs the dough, usually taking about 1.5 to 2 hours.
- **The Waiting Game (and Snooping):** Press start! Now you get to chill. You’ll hear some whirring and clunking. Feel free to peek a few minutes in; you want a nice, smooth ball of dough. If it looks too wet and sticky, add a teaspoon of flour at a time. Too dry and shaggy? Add a teaspoon of warm milk.
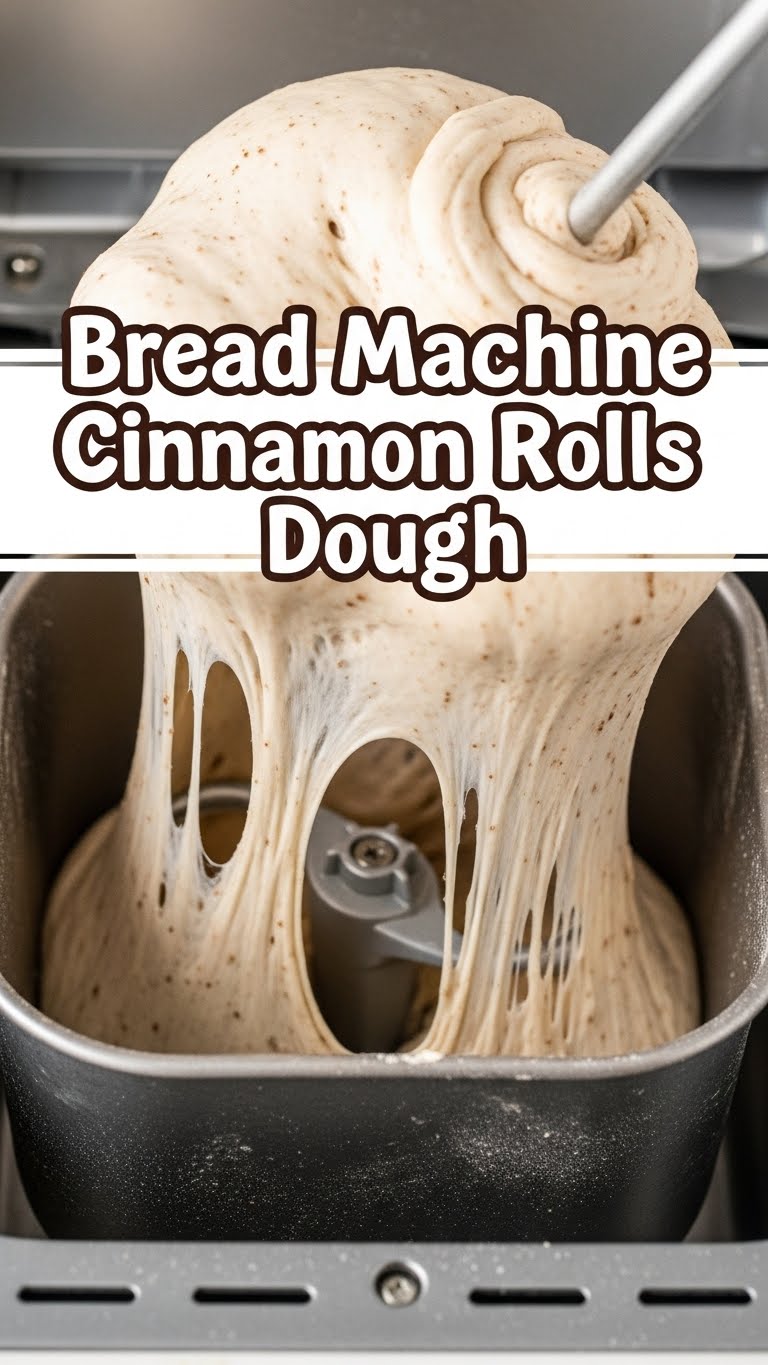
- **Dough-lightful Completion:** Once the cycle finishes, your bread machine will beep its triumphant tune. Open it up, and behold! A beautifully risen, soft, and elastic dough ball, ready for its cinnamon roll destiny.
Common Mistakes to Avoid
Even though this recipe is super chill, there are a few rookie errors that can derail your dough dreams. Learn from my past mistakes (so you don’t have to!):
- **Water Temperature Woes:** Too hot and you’ll cook the yeast, making your dough flat. Too cold, and the yeast will be sleepy, also leading to a flat dough. **Aim for lukewarm, about 105-115°F (40-46°C).**
- **Ignoring the Order:** Bread machines have specific loading orders for a reason. Don’t get creative and just dump everything in. Follow your machine’s guidance or the general rule: liquids, then dry, then yeast.
- **Expired Yeast:** Yeah, that little packet in the back of your pantry from 2018? Probably not gonna cut it. **Fresh yeast is key** for a good rise.
- **”Eyeballing It”:** While I appreciate the free spirit, baking is chemistry, especially with a bread machine. **Measure your ingredients accurately!**
- **Opening the Lid Too Much:** Resist the urge to constantly check on your dough during the rise cycle. Every time you open it, you let out precious warmth, which can slow down the proofing.
Alternatives & Substitutions
Life’s about options, right? While I’m a purist for the OG recipe, here are some tweaks if you’re feeling adventurous or just need to use what you’ve got:
- **Milk Alternatives:** You can totally use **non-dairy milk** like almond milk or oat milk. The texture might be *slightly* different, but it’ll still be delicious. I prefer whole milk for richness, but hey, you do you!
- **Butter vs. Margarine:** As mentioned, butter is king. But if you’re in a pinch or have dietary restrictions, a good quality **plant-based butter substitute** will work just fine. Margarine? Well, it’ll *work*, but don’t expect the same rich flavor.
- **Flour Power:** While all-purpose flour is standard, you *could* experiment with a small amount of **bread flour** for a chewier texture. But for cinnamon rolls, soft and tender is the goal, so stick to AP for the most part.
- **Sweetener Swap:** If you’re out of granulated sugar, **brown sugar** can work but might add a slight molasses flavor. Adjust to your taste!
FAQ (Frequently Asked Questions)
Got questions swirling around your head like cinnamon in a roll? I’ve got answers, mostly:
- **My dough didn’t rise! What went wrong?** Oh no! Most likely culprits: your yeast was dead (sad face), your liquid was too hot/cold, or you forgot an ingredient (it happens to the best of us!).
- **Can I leave the dough in the bread machine overnight?** Some machines have a delay timer, but generally, I wouldn’t recommend leaving it in the “keep warm” setting for too long. The dough might over-proof or develop an off-flavor. Best to use it once the cycle is done or pop it in the fridge.
- **How long can I store the dough in the fridge?** Once the dough cycle is complete, you can transfer the dough to a lightly oiled bowl, cover it tightly with plastic wrap, and **refrigerate for up to 24-48 hours**. This is awesome for making cinnamon rolls ahead of time!
- **What if my dough is too sticky after the cycle?** This can happen if your flour measurement was a bit off or humidity is high. Gently dust your work surface and hands with flour when you take it out. A little stickiness is okay, but if it’s unmanageable, you might need to adjust your flour-to-liquid ratio next time.
- **Can I make this dough for other things besides cinnamon rolls?** Absolutely! This is a fantastic sweet bread dough. Think sticky buns, fruit-filled rolls, or even small sweet loaves. Get creative!
- **My bread machine makes a weird sound, should I be worried?** Probably not. They’re usually just doing their thing, mixing and kneading. Unless it’s sparking or smoking, you’re likely fine. TBH, mine sounds like a tiny robot trying to escape.
Final Thoughts
See? That wasn’t scary at all, was it? You’ve just unlocked the secret to amazing homemade cinnamon rolls with basically zero stress. Now you have this beautiful, pillowy dough that’s just begging for some butter, cinnamon, and sugar, and maybe some cream cheese frosting later (definitely some cream cheese frosting). So go forth, my friend, roll that dough, bake those rolls, and bask in the glory of your culinary prowess. You’ve earned it! Now go impress someone—or yourself—with your new skills. And maybe share a roll or two. Just kidding… unless?


