So, you’ve got that irresistible craving for fresh, warm bread, but the thought of baking a gigantic loaf that’ll go stale before you can finish it (or dealing with yeast drama) just sounds like too much, right? Totally get it. Welcome to the “I want warm carbs NOW” club. And guess what? I’ve got your membership card right here, fresh out of the oven.
Why This Recipe is Awesome
Because, my friend, this isn’t your grandma’s all-day, “let’s wait for the yeast to wake up” kind of bread. This is the “I decided 30 minutes ago I wanted bread and now it’s happening” kind of bread. It’s essentially a magical, quick-assembly carb delivery system designed for two (or one very hungry human, no judgment here). No kneading until your arms fall off, no waiting for a mystical rise, and **zero stress**. Plus, it’s tiny! Which means less guilt if you devour the whole thing, and less cleanup. Seriously, if I can do it without setting off the smoke detector, you’re golden.
Ingredients You’ll Need
Alright, gather your troops! These are the humble heroes for your bread adventure:
- **1 cup (120g) All-Purpose Flour:** The foundation of all good things. Don’t be fancy, just regular ol’ white flour is perfect.
- **1 teaspoon Baking Powder:** Our little leavening MVP. This is how we get fluffy without yeast.
- **1/2 teaspoon Salt:** Crucial! Don’t skip it, unless you like sad, bland bread. (You don’t.)
- **1/2 teaspoon Sugar (optional, but recommended):** Just a tiny pinch to balance flavors and help with browning. It’s not for sweetness, just for *oomph*.
- **1/2 cup (120ml) Milk:** Whole milk works best for richness, but whatever you have chilling in the fridge is probably fine. If you have buttermilk, even better!
- **1 tablespoon Melted Butter (or oil):** Adds flavor and tenderness. Because butter makes everything better, **IMO**.
Step-by-Step Instructions
Ready to get your hands a little floury? Let’s do this!
- **Preheat Power-Up:** First things first, get that oven hot! Crank it up to **400°F (200°C)**. While it’s heating, line a small baking sheet with parchment paper or give it a light spray. This prevents sticking, which is always a good move.
- **Mix Dry Goods:** Grab a medium-sized bowl. Whisk together your flour, baking powder, salt, and sugar (if using). Make sure everything is nicely combined – we don’t want any pockets of just baking powder, do we?
- **Wet Meets Dry:** In a separate, smaller bowl, mix your milk and melted butter. Pour this wet mixture into your dry ingredients.
- **Gently Combine:** Now, grab a fork or a spatula and mix until just combined. **Don’t overmix!** A few lumps are totally okay; overmixing develops gluten, making your bread tough, and nobody wants tough bread.
- **Shape and Score:** Lightly flour your hands and turn the dough out onto your prepared baking sheet. Gently shape it into a small, rustic round loaf, about 4-5 inches in diameter. Using a sharp knife, cut a shallow “X” on top. This isn’t just for looks; it helps the bread bake evenly.
- **Bake Your Heart Out:** Pop that little beauty into your preheated oven. Bake for **15-20 minutes**, or until it’s beautifully golden brown on top and sounds hollow when you tap the bottom.
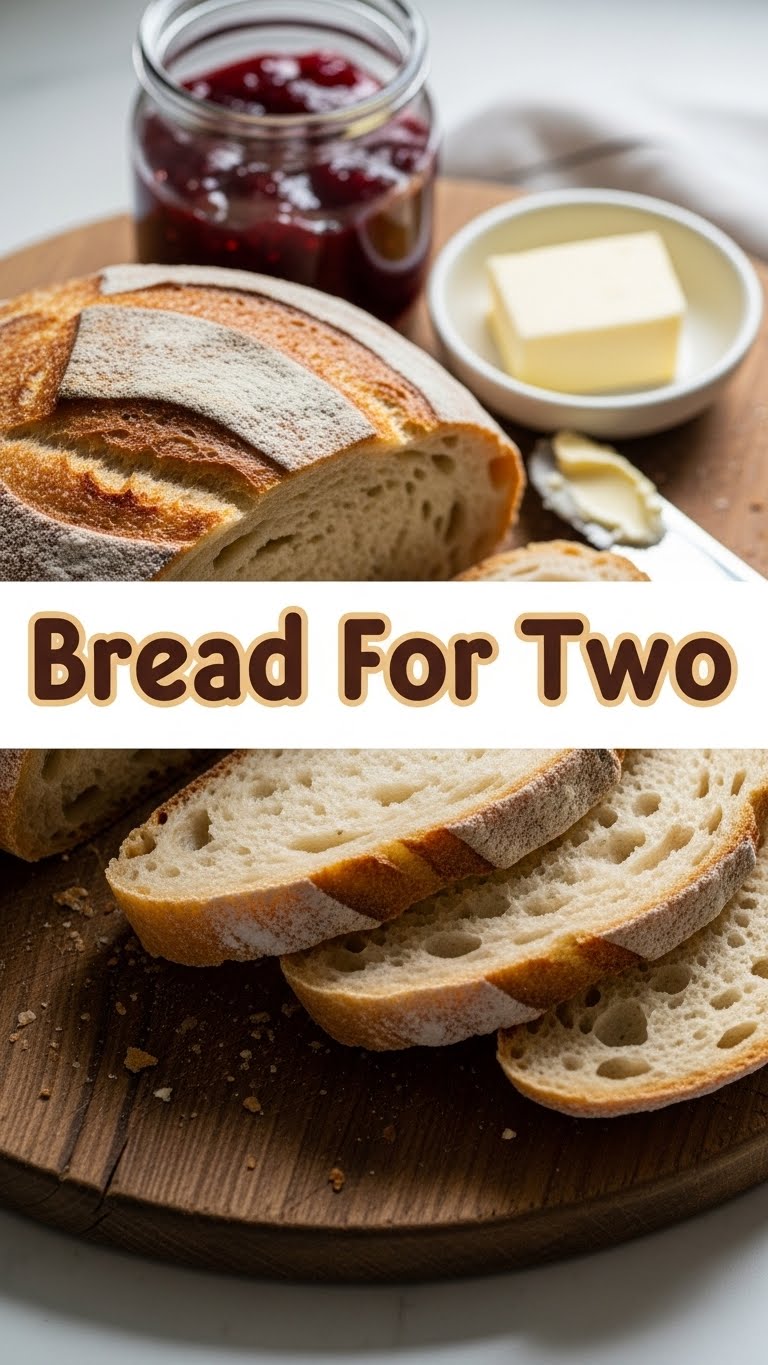
- **Cool Down (If You Can Wait):** Transfer your bread to a wire rack to cool slightly. It’s best eaten warm, ideally within the first hour. Slather it with butter, jam, or just admire your handiwork. You’ve earned it!
Common Mistakes to Avoid
Even though this recipe is pretty foolproof, there are a couple of speed bumps you might hit. Let’s swerve around them:
- **The Overmixer’s Curse:** Seriously, don’t mix your dough too much. Once the dry ingredients are just incorporated into the wet, stop! Overmixing leads to a dense, hockey-puck-like texture instead of a tender crumb. **Lumps are your friends here.**
- **Skipping the Preheat:** Thinking you don’t need to preheat the oven? Rookie mistake! A hot oven helps the baking powder activate quickly, giving you that beautiful initial lift.
- **Not Greasing/Lining:** Unless you enjoy chiseling bread off your baking sheet, don’t forget the parchment paper or spray. Trust me on this one.
- **Impatience is Not a Virtue:** I know, it smells amazing, but giving it those few minutes to cool slightly on a rack makes a difference. It finishes cooking and sets the crumb.
Alternatives & Substitutions
Feeling adventurous? Or just missing an ingredient? No stress, we can totally hack this:
- **Buttermilk Bonanza:** If you have buttermilk, use it instead of regular milk! The acidity reacts beautifully with baking powder/soda (if you add a pinch) and gives an even more tender crumb and tangy flavor. It’s a **game-changer**.
- **Herb Heaven:** Want a savory bread? Add a tablespoon of chopped fresh rosemary, chives, or a teaspoon of dried Italian herbs to your dry ingredients. A sprinkle of garlic powder wouldn’t hurt either, just sayin’.
- **Cheesy Goodness:** Fold in a quarter cup of shredded cheddar or Parmesan cheese with your dry ingredients. Hello, ultimate grilled cheese companion!
- **Sweet Tooth Special:** For a slightly sweeter, scone-like bread, increase the sugar to 1-2 tablespoons and add a pinch of cinnamon or a handful of dried cranberries. Yum!
- **Dairy-Free Delight:** Swap regular milk for a plain unsweetened plant-based milk (almond, soy, oat all work) and use oil instead of butter. Easy peasy!
FAQ (Frequently Asked Questions)
Got questions? I’ve got (casual) answers!
- **Can I double the recipe?** Absolutely! Just double all the ingredients and bake on a slightly larger tray. You might need an extra minute or two in the oven.
- **What if I don’t have baking powder?** Uh oh. This is a quick bread that relies on baking powder for its rise. If you’re out, maybe it’s time for toast instead? Or a quick trip to the store. **FYI**, baking soda alone won’t work unless you have an acidic ingredient like buttermilk.
- **How do I store leftovers?** Hah! Leftovers? You’re optimistic! But if by some miracle you have some, wrap it tightly in foil or plastic wrap at room temperature for up to a day. It’s truly best eaten fresh, though.
- **Can I add nuts or seeds?** Go for it! A tablespoon or two of chopped walnuts, sunflower seeds, or even everything bagel seasoning would be fantastic. Add them with your dry ingredients.
- **My bread turned out dense. What happened?** My guess? You either overmixed the dough (see Common Mistakes!), your baking powder is past its prime, or your oven wasn’t hot enough. Don’t worry, next time you’ll nail it!
- **What’s the best way to serve this?** Warm, with a generous smear of butter, jam, honey, or even some cream cheese. It’s also killer alongside soup or a stew.
Final Thoughts
And there you have it! A perfectly delightful, ridiculously easy loaf of bread for two. Or one, if you’re not sharing (I wouldn’t blame you). You’ve just proven that baking doesn’t have to be an all-day affair to be incredibly satisfying and delicious. Now go impress someone—or yourself—with your new culinary skills. You’ve earned those warm, carb-filled hugs. Happy baking, my friend!


