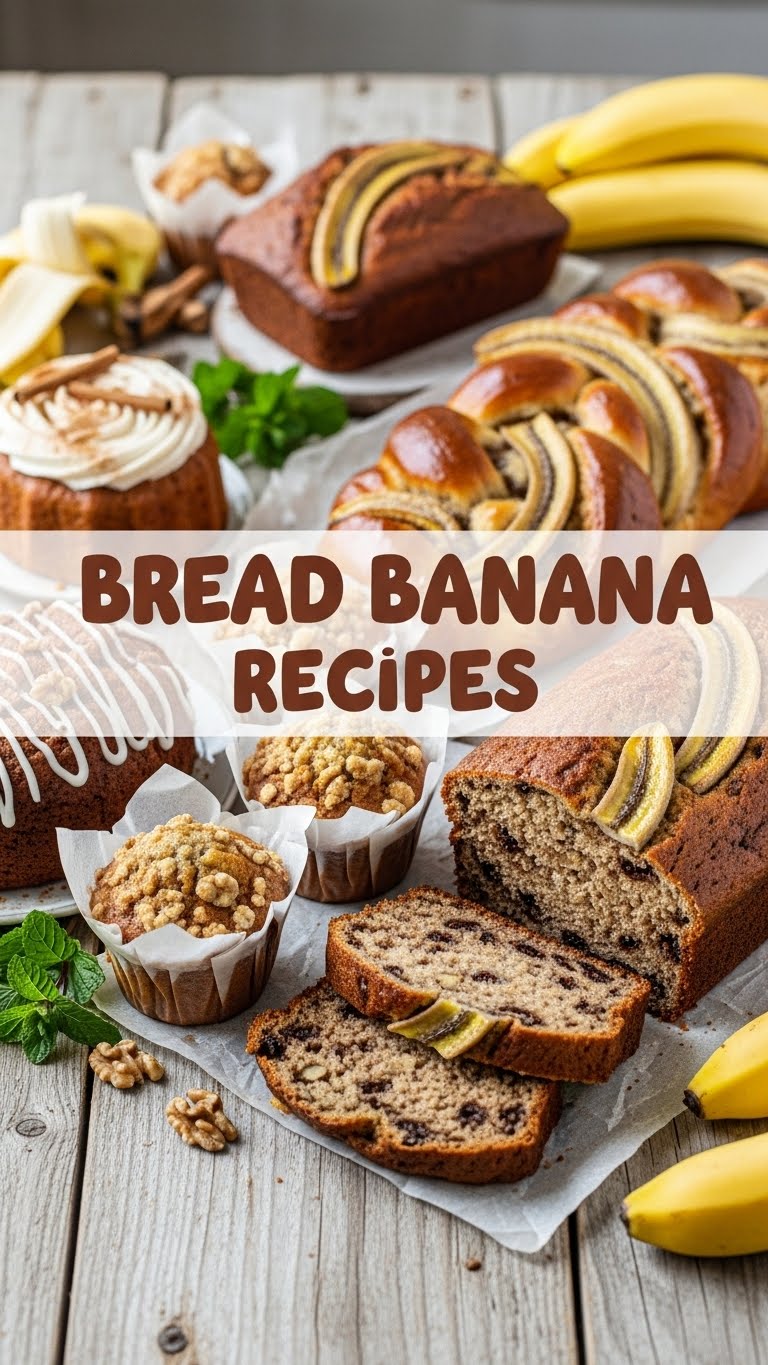
So, you’ve got those ridiculously overripe bananas staring at you from the counter, practically judging your life choices, huh? Don’t worry, we’ve all been there. Those spotty, forgotten heroes are about to become the star of your kitchen show! Forget composting them; we’re turning them into something so magically delicious, you’ll wonder why you ever bought perfectly yellow bananas in the first place. Get ready to bake some seriously good banana bread, friend!
Why This Recipe is Awesome
Because it’s practically a magic trick, that’s why! You take some sad-looking, squishy fruit, mix it with a few pantry staples, and boom! Out comes a warm, fragrant, slice of pure comfort. This recipe is **idiot-proof** – seriously, even I didn’t mess it up (and I’ve set off the smoke detector making toast). It’s forgiving, requires minimal effort for maximum deliciousness, and makes your entire house smell like a bakery. Plus, it’s a brilliant way to use up those brown bananas, saving them from an untimely demise in the bin. You’re practically an eco-warrior and a chef rolled into one!
Ingredients You’ll Need
Gather ’round, my future baking superstar. Here’s what you’ll need for this delicious escapade:
- 3-4 medium very ripe bananas: The spottier, the better! We’re talking almost-black level ripeness here. These are the flavor bombs.
- 1½ cups all-purpose flour: The sturdy backbone of our bread. No fancy stuff needed.
- 1 teaspoon baking soda: Our fluffy-maker. Don’t confuse it with baking powder, unless you want a dense banana brick.
- ½ teaspoon salt: Just a pinch, because balance, darling. It makes everything taste better.
- ¾ cup granulated sugar: Sweetness is key! Adjust to your sweet tooth’s desire.
- 1 large egg: Our binding agent, keeping everything together like a good friend.
- ½ cup (1 stick) unsalted butter, melted: Because everything’s better with butter, right? If you only have salted, just reduce the added salt by a tiny bit.
- 1 teaspoon vanilla extract (optional, but highly recommended): For that extra “oomph” of cozy flavor. Why live a bland life?
Step-by-Step Instructions
Alright, apron on (or not, we’re informal here), let’s get baking!
- First things first: **preheat your oven to 350°F (175°C)**. Grease a 9×5 inch loaf pan. A little butter or cooking spray will do the trick to prevent stickage.
- In a medium bowl, grab those super ripe bananas and **mash them up with a fork**. You want them lumpy, not puréed. A few chunks add character, IMO.
- In a separate, larger bowl, whisk together the flour, baking soda, and salt. This ensures everything is evenly distributed – no one wants a salty bite followed by a bland one.
- Now, in another bowl (yes, we use bowls around here!), whisk together the melted butter, sugar, egg, and vanilla extract (if you’re using it). Get it all nice and combined.
- **Pour the wet ingredients into the dry ingredients.** Add the mashed bananas to the mix. Gently fold everything together with a spatula or wooden spoon until just combined. **Do NOT overmix!** Lumpy batter is happy batter; overmixing makes tough bread.
- Pour your glorious batter into the prepared loaf pan. Give it a little wiggle to settle evenly.
- Bake for **50-60 minutes**, or until a wooden skewer inserted into the center comes out clean. If the top starts browning too quickly, you can loosely tent it with foil.
- Once baked, let it cool in the pan for about 10 minutes. Then, carefully transfer it to a wire rack to cool completely. Or, if you’re like me, eat a slice while it’s still warm – no judgment!
Common Mistakes to Avoid
We’re all human, and mistakes happen. But let’s try to avoid these rookie errors, shall we?
- Using under-ripe bananas: This is probably the biggest no-no. Green or yellow bananas won’t give you the sweetness and flavor you’re looking for. Patience is a virtue here; wait for those glorious brown spots!
- Overmixing the batter: Your arm might get tired, but resist the urge to vigorously stir. Mix until *just* combined. A few lumps are fine and actually make for a more tender bread.
- Opening the oven door too soon: Curiosity killed the banana bread’s rise. Keep that door shut for at least the first 40 minutes to ensure it rises beautifully.
- Not greasing your pan properly: The worst feeling is when your perfect loaf sticks. Don’t skimp on the grease!
- Eating it all in one sitting: Okay, this isn’t a mistake, per se, but perhaps a challenge? 😉
Alternatives & Substitutions
Feeling adventurous? This recipe is super flexible!
- Chocolate Chips: Duh! Stir in about ½ to 1 cup of chocolate chips (dark, milk, or white – your call!) with the dry ingredients. Because, well, chocolate.
- Nuts: Walnuts or pecans are classic. Add ½ to 1 cup, chopped, at the same time as the chocolate chips. Gives it a nice crunch!
- Spices: A dash of cinnamon, nutmeg, or even a pinch of allspice can elevate the flavor profile beautifully. Add ½ teaspoon of cinnamon with the dry ingredients.
- Dairy-Free: Swap the butter for an equal amount of vegetable oil (like canola or melted coconut oil) to make it dairy-free.
- Gluten-Free: You can often substitute a 1:1 gluten-free baking flour blend for the all-purpose flour. Just make sure it’s a blend with xanthan gum.
FAQ (Frequently Asked Questions)
Got questions? I’ve got answers, delivered with a side of sass.
- My bananas aren’t ripe enough, SOS!
You impatient soul! If you’re in a pinch, you can bake them unpeeled on a baking sheet at 300°F (150°C) for 15-30 minutes until their skins are shiny black. Let them cool, then mash. Otherwise, just wait a day or two. Trust me, it’s worth it.
- Can I use margarine instead of butter?
Well, technically yes, but why hurt your soul like that? Butter just tastes better, period. If you must, use a stick margarine that’s good for baking, but don’t say I didn’t warn you.
- How long does this glorious banana bread last?
If you manage not to devour it all immediately, it’ll last about 3-4 days at room temperature, tightly wrapped. In the fridge, maybe a week. But honestly, it rarely lasts that long.
- Can I freeze banana bread?
Absolutely! This bread freezes beautifully. Wrap individual slices or the whole loaf tightly in plastic wrap, then foil, and freeze for up to 3 months. Thaw at room temperature or zap a slice in the microwave for a quick treat.
- Is this considered healthy? It has fruit, right?
Bless your heart. It has bananas, yes. It also has sugar and butter. It’s a treat, not a health food. But hey, it’s homemade, so that counts for something!
- Can I make muffins instead of a loaf?
Heck yes! Divide the batter into a greased or lined 12-cup muffin tin. Bake for 20-25 minutes, or until a toothpick comes out clean. Perfect for grab-and-go deliciousness!
Final Thoughts
See? That wasn’t so scary, was it? You just turned some sad, spotty bananas into a warm, comforting masterpiece. Go forth and impress someone—or just yourself—with your new culinary skills. You’ve earned it! Now, slice yourself a generous piece, maybe add a pat of butter (because why not?), and enjoy the fruits (pun intended!) of your labor. Happy baking, my friend!


