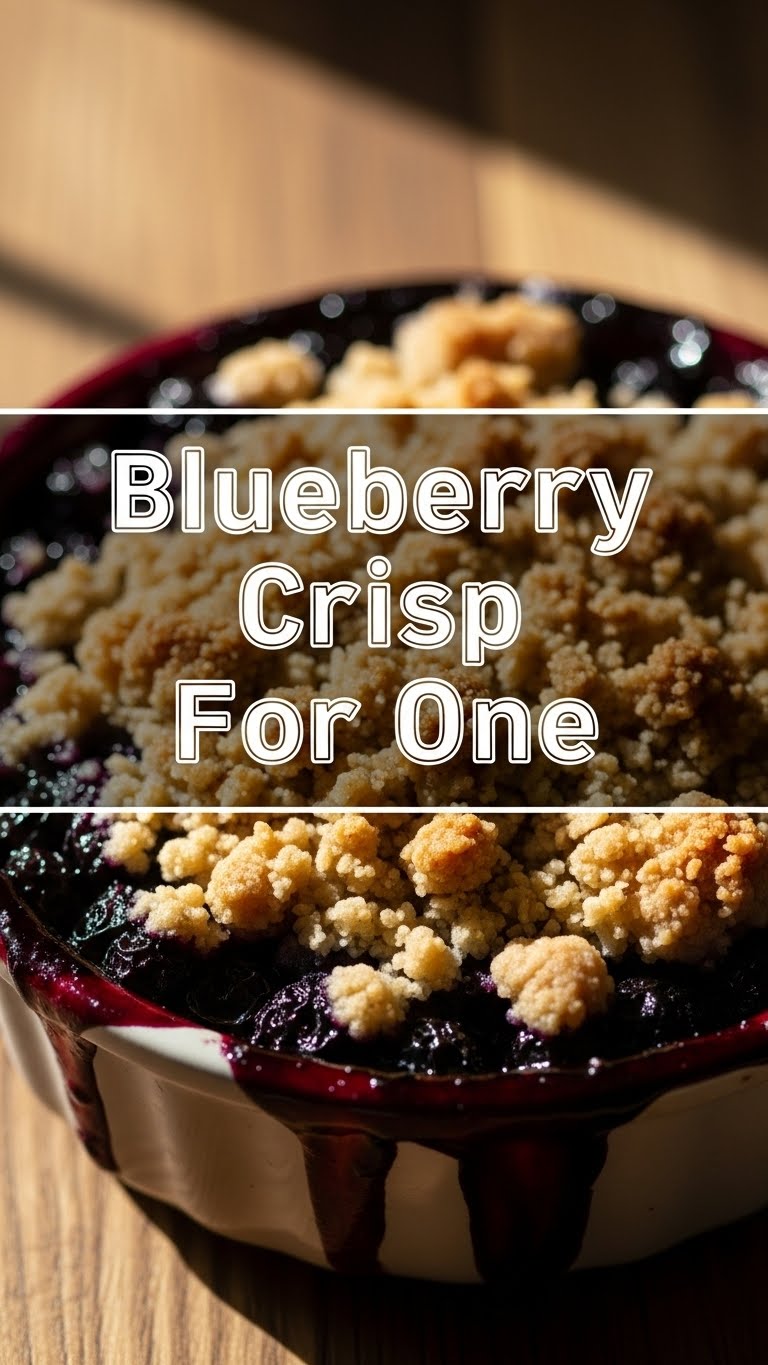
So you’re craving something warm, sweet, and comforting, but the thought of baking a whole pie for just *you* feels… excessive? And let’s be real, you’re probably not sharing. Good. Because this Blueberry Crisp For One is about to become your new best friend.
Why This Recipe is Awesome
Seriously, this isn’t just a recipe; it’s a solo dessert revolution. It’s so easy, your cat could probably make it (if they had opposable thumbs and, you know, cared about your dessert needs). It’s basically **idiot-proof** – even I didn’t manage to mess it up, and that’s saying something. Plus, it’s perfectly sized. No weird half-eaten crisps lingering in the fridge, silently judging your late-night snack habits. This one is all yours, from the first warm bite to the last crumb. Pure, unadulterated, guilt-free bliss. IMO, that’s a win.
Ingredients You’ll Need
Get ready for a super short shopping list. You probably have most of this stuff lurking in your pantry already!
- **1/2 cup Blueberries:** Fresh or frozen, your call. If using frozen, no need to thaw!
- **1 tablespoon Granulated Sugar (for filling):** Just a kiss of sweetness to make those blueberries pop.
- **1/2 tablespoon All-Purpose Flour (for filling):** Helps thicken things up a bit, so it’s not a watery mess.
- **1/2 teaspoon Lemon Juice:** A tiny squeeze to make the blueberries sing! It brightens everything up.
- **1/4 cup Rolled Oats:** Not instant. We’re classy here, looking for texture, not mush.
- **2 tablespoons All-Purpose Flour (for topping):** The glue for our glorious crumble.
- **1 tablespoon Granulated Sugar (for topping):** More sweetness, because why not?
- **Pinch of Salt:** Don’t skip this! It enhances all the flavors. Seriously, it’s like a secret weapon.
- **2 tablespoons Cold Unsalted Butter:** Cut into small cubes. **Crucial for that crumbly, crunchy topping!**
Step-by-Step Instructions
Alright, let’s get this deliciousness going! This is so fast, you might not even finish your current podcast episode.
- **Preheat Your Oven & Prep:** Set your oven to a cozy 375°F (190°C). Grab a small ramekin (about 6-8 oz). Don’t worry about greasing it; the fruit will take care of itself.
- **Berry Good Filling:** In a small bowl, gently mix your blueberries with the 1 tablespoon of sugar, 1/2 tablespoon of flour, and the lemon juice. Pour this glorious mixture into your ramekin.
- **Crumbly Topping Time:** In another small bowl, combine the rolled oats, 2 tablespoons of flour, 1 tablespoon of sugar, and that crucial pinch of salt. Now, add your cold, cubed butter.
- **Mix That Topping (the right way!):** Using your fingertips (the best tools, FYI!), quickly work the butter into the dry ingredients until it forms a coarse, crumbly mixture with some pea-sized bits. Don’t overmix it; we want texture!
- **Assemble & Bake:** Sprinkle your beautiful crumbly topping evenly over the blueberry filling in the ramekin. Pop it onto a small baking sheet (just in case of any overflow, nobody wants a burnt blueberry mess in their oven).
- **The Waiting Game:** Bake for 20-25 minutes, or until the topping is golden brown and the filling is bubbly and delicious. You’ll smell it when it’s ready, trust me.
- **Cool & Conquer:** Let it cool for about 5-10 minutes. It’ll be lava hot right out of the oven! Then, grab a spoon and dig in. A scoop of vanilla ice cream is highly encouraged, but not required to reach peak happiness.
Common Mistakes to Avoid
Listen, we all make mistakes. But with this recipe, let’s try to avoid these pitfalls for maximum deliciousness.
- **Thinking you don’t need to preheat the oven:** Rookie mistake! Cold oven = sad, pale crisp. Give it time to warm up.
- **Using room temperature butter for the topping:** No, no, no! Cold butter is key to that light, crumbly texture. Warm butter makes it greasy.
- **Overmixing the topping:** You want crumbles, not dough. Mix just until combined and still crumbly.
- **Eating it straight out of the oven:** I know, I know, it smells amazing. But you will burn your tongue. Exercise a *tiny* bit of patience.
Alternatives & Substitutions
Feeling adventurous? Or just out of blueberries? Here are a few ways to mix it up.
- **Berry Swap:** Not a blueberry person today? Try raspberries, blackberries, sliced strawberries, or even a mix of berries!
- **Gluten-Free Fun:** Easily make this GF by swapping the all-purpose flour for a 1:1 gluten-free baking flour blend.
- **Sweetener Switch-Up:** You can use brown sugar for a richer, more caramel-y note in the topping, or even a touch of maple syrup in the filling.
- **Add-ins:** A sprinkle of cinnamon or nutmeg in the topping can add an extra layer of warmth. A few chopped nuts (pecans, walnuts) in the topping are also a fantastic idea for extra crunch.
FAQ (Frequently Asked Questions)
Got questions? I’ve got answers! (Mostly.)
Can I use frozen blueberries without thawing them?
Heck yes! Just toss them right in. They might release a little more liquid, but it’ll still be delicious. No extra steps needed!
Can I use margarine instead of butter?
Well, technically, yes, you *could*. But why hurt your soul (and your crisp’s texture) like that? Butter just tastes better and gives a superior crumble. If you must, use a high-quality stick margarine.
How long does this “For One” crisp actually last?
“Last”? What’s “last”? Kidding! If, by some miracle, you don’t devour it all in one sitting, cover it and refrigerate for up to 2 days. Reheat briefly in the oven or microwave.
I don’t have a ramekin. What else can I use?
Any small oven-safe dish will do! A small oven-safe mug, a little gratin dish, or even a small ceramic bowl that can handle oven temps.
Can I double this recipe for two (or a bigger “for one” batch)?
Absolutely! Just double all the ingredients and use a slightly larger oven-safe dish. Baking time might increase by 5-10 minutes, so keep an eye on it.
Do I need to grease the ramekin?
Nope! The fruit filling and its natural juices usually prevent sticking, and the topping isn’t sticky enough to cause issues. Saves you a step!
Final Thoughts
See? Told you it was easy. You just created a little piece of warm, bubbly heaven all for yourself. No sharing required, no elaborate baking projects, just pure, unadulterated dessert joy. Now go impress someone—or yourself—with your new culinary skills. You’ve earned it! Especially after all that hard work… reading this. 😉


