So you’re stuck in that ‘I want something fancy but I also want to wear sweatpants all day’ vibe? I hear you, friend. We all crave that warm, gooey, carb-loaded hug sometimes, but who wants a recipe that reads like a scientific journal? Not us! We’re here for the good times, the easy wins, and most importantly, the delicious, sticky mess that is homemade cinnamon rolls.
But wait, we’re not just doing *any* cinnamon rolls today. Oh no, we’re leveling up. We’re adding a burst of tangy, sweet, deep purple joy that makes these rolls feel like a sophisticated dessert and a cozy breakfast all at once. Get ready for:
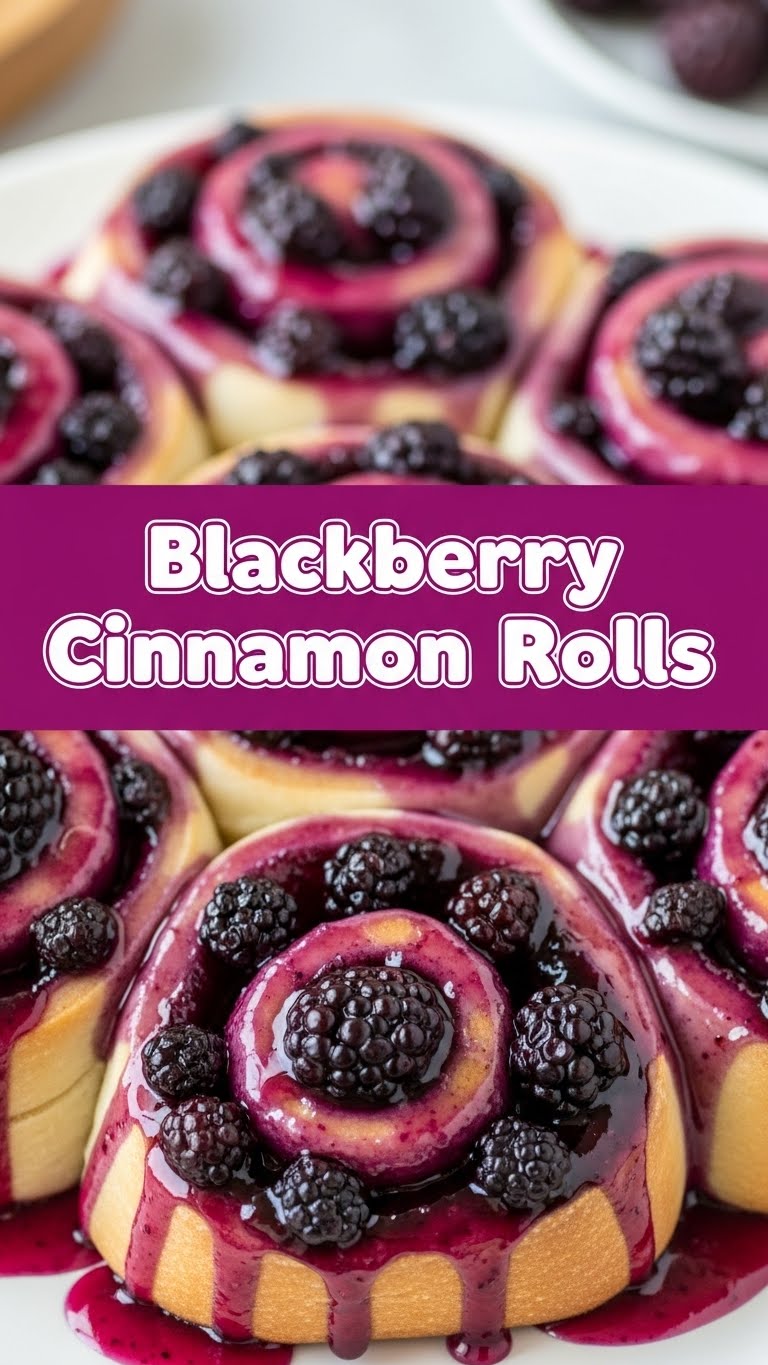
Blackberry Cinnamon Rolls: Your New Favorite Obsession!
Why This Recipe is Awesome
Okay, let’s be real. If I can make these without setting off the smoke alarm (which, FYI, is a personal victory most mornings), you totally got this. This recipe is designed for maximum deliciousness with minimum stress. It’s got that perfect balance of soft, fluffy dough, a luscious, fruity filling, and a simple glaze that just ties it all together.
Think about it: warm, sweet cinnamon rolls, but then BOOM, a pop of juicy blackberry to cut through the richness. It’s a game-changer. Plus, making yeast dough is super satisfying, and honestly, a little therapeutic. Consider this your delicious therapy session!
Ingredients You’ll Need
Gather your troops! Here’s what you need to make these beauties:
For the Dough:
- 1 cup Warm Milk: Think bathwater temperature, not lava. Too hot and you’ll kill the yeast, too cold and it’ll sleep in.
- 2 ¼ teaspoons Active Dry Yeast: One packet, the little magic makers that make bread fluffy!
- ¼ cup Granulated Sugar: Sweet, sweet granules for our dough.
- 1 Large Egg: Room temperature, please! It mixes better and gives a richer dough.
- ¼ cup Unsalted Butter: Melted, then cooled slightly. We want happy yeast, not scalded yeast.
- ½ teaspoon Salt: Don’t skip it! It balances the sweetness and brings out flavor.
- 3 – 3 ½ cups All-Purpose Flour: The hero of most baking sagas. Start with 3, add more if needed.
For the Blackberry Filling:
- 2 cups Fresh or Frozen Blackberries: The star of the show, obviously. If frozen, no need to thaw!
- ½ cup Granulated Sugar: To make those berries sing.
- 1 ½ teaspoons Ground Cinnamon: The cozy embrace of spices.
- 1 tablespoon Cornstarch: Our little thickening secret to keep the filling from being too runny.
For the Glaze:
- 1 ½ cups Powdered Sugar (aka confectioners’ sugar): The fancy stuff.
- 2-3 tablespoons Milk or Cream: A splash for smoothness and drizzle-ability.
- ½ teaspoon Vanilla Extract: A hug in liquid form.
Step-by-Step Instructions
Ready? Let’s get sticky!
Wake Up the Yeast: In a large bowl, whisk together the warm milk, yeast, and a tablespoon of the sugar from the dough ingredients. Let it sit for 5-10 minutes until it looks foamy and alive. If nothing happens, your yeast might be a sleepyhead or expired – time for fresh stuff!
Mix the Dough: Add the rest of the sugar, egg, melted butter, and salt to the yeast mixture. Stir it up. Gradually add 2 ½ cups of flour, mixing until a shaggy dough forms. Add more flour, ¼ cup at a time, until the dough is soft but not super sticky.
Knead It Out: Turn the dough out onto a lightly floured surface. Knead for 5-7 minutes until it’s smooth and elastic. If you have a stand mixer with a dough hook, let it do the work for about 5 minutes.
First Rise: Lightly grease a clean bowl with oil. Place the dough in the bowl, turning once to coat. Cover the bowl with plastic wrap or a clean kitchen towel. Let it rise in a warm place for 1-1 ½ hours, or until it has doubled in size. This is a great time to clean up or scroll through Instagram, IMO.
Make the Filling: While the dough rises, combine the blackberries, sugar, cinnamon, and cornstarch in a small saucepan. Cook over medium heat, stirring occasionally, until the berries break down and the mixture thickens, about 5-7 minutes. Let it cool completely. This step is important! A hot filling will melt your butter and make a mess.
Roll It Out: Once the dough has doubled, punch it down gently (it’s satisfying, trust me!). Turn it out onto a lightly floured surface and roll it into a large rectangle, about 12×18 inches.
Spread the Joy: Spread the cooled blackberry filling evenly over the dough, leaving about a ½-inch border on one of the long edges.
Roll ‘Em Up: Starting from the long edge opposite the border, carefully roll the dough tightly into a log. Pinch the seam shut to seal.
Slice and Dice: Using a sharp knife or, even better, unflavored dental floss (yes, really!), cut the log into 12 even rolls, about 1 ½ inches thick. Place them into a lightly greased 9×13-inch baking pan.
Second Rise: Cover the pan with plastic wrap or a kitchen towel. Let the rolls rise again in a warm spot for another 30-45 minutes, or until they look puffy and snug in the pan.
Bake: Preheat your oven to 375°F (190°C). Once preheated, bake the rolls for 20-25 minutes, or until they’re golden brown and baked through. They should smell absolutely divine!
Glaze ‘Em: While the rolls cool slightly (give them about 5-10 minutes, don’t rush it!), whisk together the powdered sugar, milk/cream, and vanilla extract until smooth. Drizzle generously over the warm rolls. Don’t be shy!
Common Mistakes to Avoid
We’ve all been there, staring at a baking fail. Learn from my mistakes, young padawan!
- **Water Too Hot for Yeast:** Rookie mistake! If your water’s scalding hot, you’ll kill the yeast, and your dough won’t rise. Aim for warm, like a cozy bath.
- **Not Letting the Dough Rise Enough:** Patience is a virtue, especially with yeast. Don’t rush the rises; a properly risen dough is key to fluffy rolls.
- **Over-flouring:** Adding too much flour makes your rolls tough and dry. Add just enough so the dough isn’t super sticky. **Always better to have slightly sticky dough than dry dough.**
- **Hot Filling on Cold Dough:** This is a recipe for a soggy, melted mess. Make sure your blackberry filling is completely cool before you spread it.
- **Slicing with a Dull Knife:** You’ll squish your beautiful rolls. Use a sharp knife or, seriously, try dental floss for clean cuts!
- **Glazing Instantly:** Give the rolls 5-10 minutes to cool slightly. Glazing piping-hot rolls will just make the glaze melt right off.
Alternatives & Substitutions
Feeling creative? Or just missing an ingredient? No stress, we’ve got options!
- **Other Berries:** Not a blackberry fan? (Gasp! But okay.) Try raspberries, mixed berries, or even chopped strawberries! Adjust sugar to your berry’s sweetness.
- **Cream Cheese Glaze:** Want to go all out? Swap the simple glaze for a cream cheese frosting (softened cream cheese, butter, powdered sugar, vanilla, and a splash of milk). Trust me, it’s divine.
- **Vegan-Friendly:** You can absolutely make these vegan! Use a plant-based milk (like almond or soy), vegan butter, and a flax egg (1 tbsp ground flaxseed + 3 tbsp water, let sit for 5 mins) instead of the regular egg.
- **Spice it Up:** Add a pinch of nutmeg or cardamom to the filling for an extra layer of cozy flavor.
FAQ (Frequently Asked Questions)
Got questions? I’ve probably asked them too!
- **Can I use frozen blackberries?** Absolutely! No need to thaw them beforehand. They’ll break down nicely in the saucepan.
- **How long do these rolls last?** Honestly? Not long in my house! But seriously, they’re best on day one. You can store them in an airtight container at room temperature for up to 2-3 days, or refrigerate for up to 5 days. Reheat briefly in the microwave or oven for gooey goodness.
- **Can I prep these ahead of time?** Yes! You can assemble the rolls, place them in the baking dish, cover tightly with plastic wrap, and refrigerate overnight (up to 12-18 hours). The next morning, pull them out and let them come to room temperature and rise for about an hour before baking.
- **Why do ingredients need to be room temperature?** Especially for the egg! Room temperature ingredients incorporate more smoothly into the dough, creating a more uniform and tender crumb. Science, people!
- **My dough didn’t rise, what happened?** Most likely culprits: your yeast was old/dead, or your milk was too hot and killed the yeast. Always check your yeast expiry date and make sure your liquids are just warm.
- **Can I make these mini rolls?** Totally! Just cut the log into smaller pieces, maybe 1-inch thick, and reduce the baking time slightly. More cute, bite-sized goodness!
Final Thoughts
Phew! You made it. You’ve officially conquered the world of blackberry cinnamon rolls, and your kitchen probably smells like heaven right now. Go ahead, tear into one (or three, I’m not judging). This recipe is proof that delicious, impressive baking doesn’t have to be complicated or intimidating.
Now go impress someone—or yourself—with your new culinary skills. You’ve earned it! Seriously, you’re basically a professional baker now. Don’t forget to snap a pic and send it my way!


