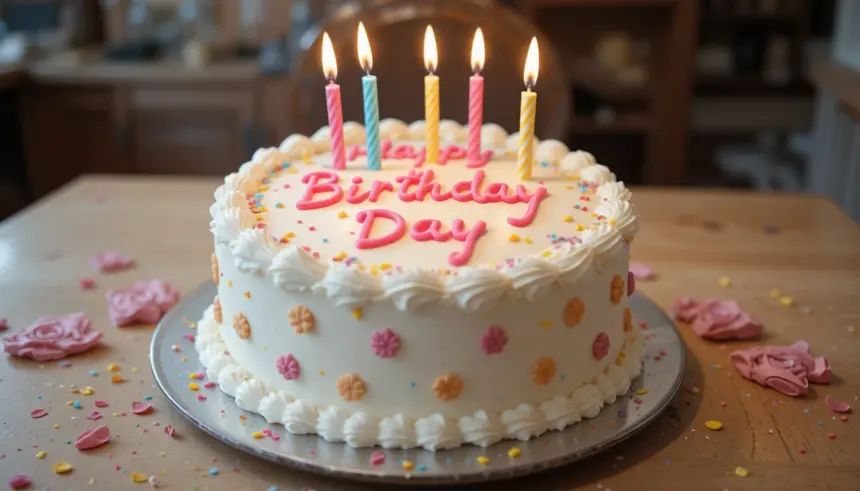
Birthday Cake: Because Adulting Needs More Sprinkles!
So, you’ve got a birthday looming (yours or someone else’s, no judgment!), and the thought of wrestling with some fancy, multi-tiered monstrosity from a cookbook makes you want to order a sad, store-bought sheet cake. Been there! But fear not, my fellow kitchen-challenged friend, because I’m about to let you in on a little secret: **this birthday cake is ridiculously easy and shockingly delicious.** You might even fool yourself into thinking you’re a baking pro. Go you!
Why This Recipe is Basically Magic
Let’s be real, life’s too short for complicated baking. This recipe is designed for those of us who appreciate the finer things, like actual edible frosting and a cake that doesn’t require a degree in structural engineering. It’s **moist, fluffy, and has that classic “birthday cake” vibe** without any of the fuss. Plus, it’s practically foolproof. Seriously, I’ve made it after questionable life choices and it still turned out amazing. That’s saying something.
Ingredients You’ll Need (Don’t Panic, It’s Not That Much)
* 2 cups all-purpose flour: The foundation of all good things. Don’t use self-rising unless you want a cake that reaches for the stars (and then some).
* 1 ½ cups granulated sugar: Because cake.
* 1 ½ teaspoons baking powder: Our little puff-making pals.
* ½ teaspoon salt: To balance out the sweet and make your tastebuds sing.
* ½ cup unsalted butter, softened: Softened, not melted into a puddle of regret. Leave it on the counter for an hour or so.
* 2 large eggs: The glue that holds our deliciousness together.
* 1 teaspoon vanilla extract: The magical potion of flavor.
* 1 cup milk: Whole milk is preferred for maximum deliciousness, but we won’t judge too harshly.
* Optional: Food coloring! For that classic celebration look. Go wild! Pink? Blue? Rainbow? You do you.
Step-by-Step Instructions (Follow These, You’ll Be Fine)
1. Preheat your oven to 350°F (175°C). And grease and flour your cake pan. Trust me, future you will thank you.
2. In a big ol’ bowl, whisk together the flour, sugar, baking powder, and salt. Give it a good mix – no lumps allowed!
3. Add the softened butter and beat until the mixture looks like coarse crumbs. It’s like making sandcastles, but tastier.
4. In a separate, smaller bowl, whisk together the eggs, vanilla extract, and milk. Don’t forget that food coloring if you’re feeling festive!
5. Pour the wet ingredients into the dry ingredients. Mix on low speed until *just* combined. **Overmixing is the enemy of a tender cake.** Seriously, stop when you don’t see dry streaks.
6. Pour the batter into your prepared pan and spread it evenly. Tap the pan on the counter a few times to get rid of any air bubbles.
7. Bake for 30-35 minutes, or until a toothpick inserted into the center comes out clean. No one wants a gooey center (unless it’s intentional, which this isn’t).
8. Let it cool in the pan for about 10 minutes before inverting it onto a wire rack to cool completely. Patience, grasshopper!
Common Mistakes to Avoid (Don’t Be *That* Person)
* Using cold butter: This is like trying to hug a frozen statue – it just won’t work. Softened is key for that perfect crumb.
* **Forgetting to preheat the oven:** This is like starting a race at the finish line. Your cake will be sad and flat.
* **Opening the oven door every two seconds:** Give your cake some personal space! Let it do its thing.
* **Not letting it cool completely before frosting:** Gooey frosting is delicious, yes, but on purpose. Don’t let it melt off your beautiful creation.
Alternatives & Substitutions (Because We’re All About Options)
* **Dairy-free?** Use your favorite plant-based milk (almond or soy work great) and a dairy-free butter alternative.
* **Gluten-free?** Use a good quality gluten-free all-purpose flour blend. You might need to adjust the liquid slightly – keep an eye on the batter consistency.
* **No vanilla extract?** A little almond extract can add a nice twist, but use it sparingly! It’s potent stuff.
* **Want chocolate?** Swap out ½ cup of flour for ½ cup of unsweetened cocoa powder. Boom! Instant chocolate birthday cake.
FAQ (Your Burning Questions, Answered Casually)
* **Can I use oil instead of butter?** Well, technically yes, but butter brings flavor and a lovely texture that oil just can’t replicate. It’s like choosing between a gourmet meal and instant noodles.
* **My cake is a little dry. What happened?** You probably overbaked it, or maybe your oven runs a little hot. Next time, keep a closer eye on it and check for doneness a few minutes earlier.
* **Can I make cupcakes with this recipe?** Absolutely! Just reduce the baking time to about 18-22 minutes. And get ready for some seriously cute mini cakes.
* **What’s the best frosting for this cake?** Honestly, a classic vanilla buttercream is divine. But if you’re feeling adventurous, a cream cheese frosting or even a simple chocolate ganache would be amazing.
* **How long does this cake last?** In an airtight container at room temperature, it should be good for about 3-4 days. If it lasts that long, you deserve a medal.
Final Thoughts (Go Forth and Bake, Brave Soul!)
There you have it! A birthday cake recipe that’s more fun than frantic, and more delicious than disaster. So grab your apron (or don’t, I won’t tell), crank up some tunes, and get ready to create some baking magic. **Now go impress someone – or yourself – with your new culinary skills. You’ve earned it!** And don’t forget the sprinkles. They’re non-negotiable.


