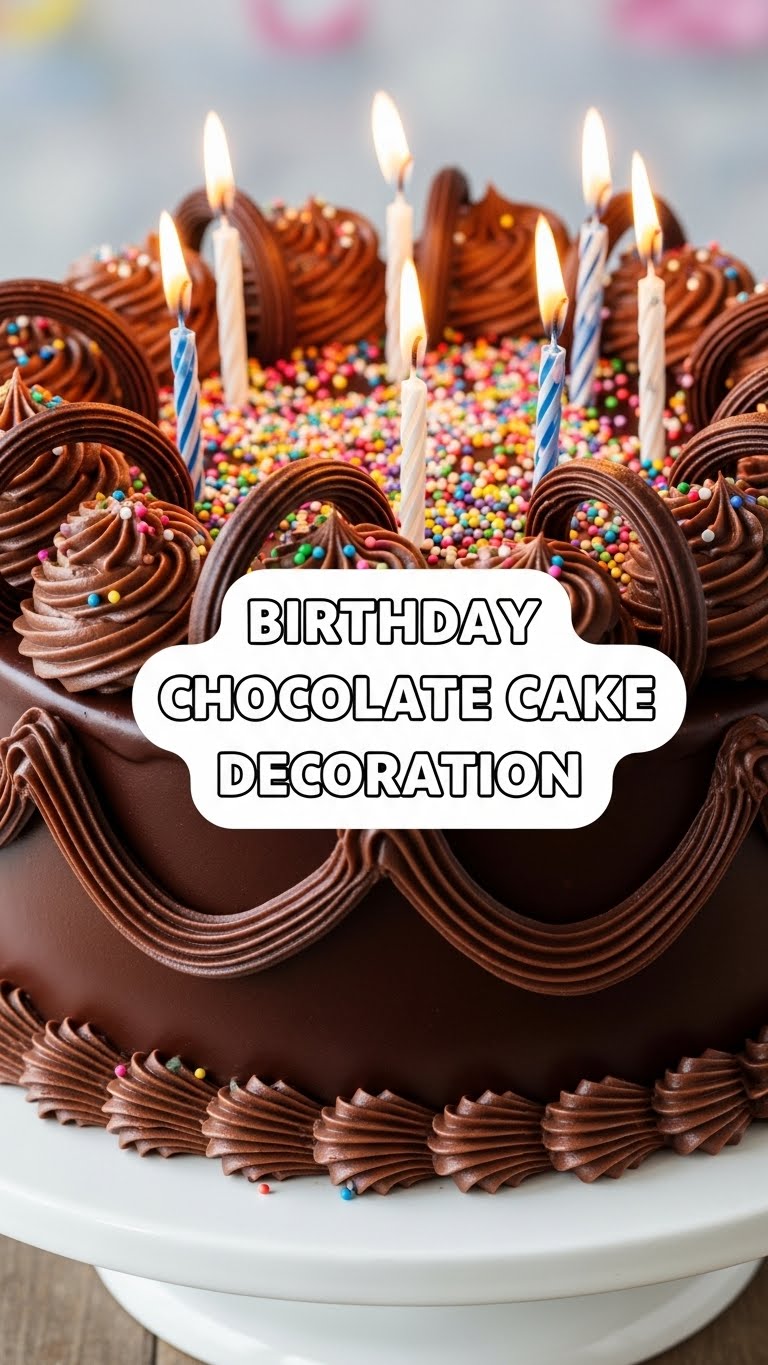
So, you’ve conquered the baking part of the birthday cake. Congrats! Your kitchen might look like a flour bomb went off, but that cake base is solid. Now comes the *real* fun, the part that makes everyone ooh and aah and ask, “OMG, you made that?!” even if you just slapped on some sprinkles. Yep, we’re talking about birthday chocolate cake decoration, and we’re making it look pro without needing an art degree or a steady hand after your third coffee. Let’s get creative (and a little messy)!
Why This Decoration “Recipe” is Awesome
Because let’s be real, baking is one thing, but making it look like it belongs on Pinterest without actually *being* a Pinterest-perfect human? That’s the real magic. This isn’t just decoration; it’s **deception** (the good kind!). We’re going for maximum impact with minimal fuss. It’s super customizable, meaning you can basically throw anything at it and call it ‘artistic.’ Plus, it’s a fantastic way to unleash your inner child, because who *doesn’t* love playing with sprinkles?
Ingredients You’ll Need
Think of these less as ingredients and more as your artistic palette. No fancy equipment needed, just your awesome self and a willingness to have fun.
- Your (hopefully) cooled chocolate cake: The star of the show! Seriously, don’t even *think* about decorating it warm unless you want a chocolatey puddle of regret. We’re aiming for cake, not soup.
- Buttercream/Ganache: Your canvas! Store-bought is totally fine, no judgment here. Or whip up your own if you’re feeling ambitious (or just have extra butter lying around). Make sure it’s smooth and spreadable.
- Sprinkles: The fairy dust of the cake world. Go wild, go subtle, go rainbow, go metallic. The more, the merrier, **IMO**. They hide a multitude of sins!
- Chocolate shavings/chips: Because it’s a *chocolate* cake, duh. Extra chocolate is always the answer.
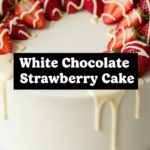
- Fresh berries (strawberries, raspberries): Adds a pop of color and makes it look “healthy” (don’t tell anyone it’s still cake). Plus, they taste amazing.
- Birthday Candles: Crucial. Otherwise, how will they make a wish? And how will we all sing off-key?
- Optional fun stuff: Mini chocolate bars, Oreos, edible glitter, mini marshmallows, M&Ms, crushed cookies… your cake, your rules!
Step-by-Step Instructions
Alright, apron on (or not, we’re friends here), let’s get this party started!
- **Cool it down, seriously:** We already said it, but it bears repeating. Your cake needs to be completely, utterly, unquestionably cool. Like, room temperature, no warmth at all. Patience is a virtue, especially when cake is involved.
- **The Crumb Coat (your secret weapon):** Apply a super thin layer of your chosen frosting all over the cake. This traps any rogue crumbs and gives you a smooth base for your final, glorious coat. Think of it as edible primer. Stick it in the fridge for 15-20 minutes to firm up. **Don’t skip this step!**
- **The Grand Frosting Finale:** Now, apply a thicker, generous layer of frosting over your chilled crumb coat. Use an offset spatula or a butter knife. Don’t stress too much about perfect smoothness; a little texture can be charming. Or, if you’re feeling fancy, try to smooth it out.
- **Side Show (Sprinkles & Shavings):** This is where it gets fun. Gently press sprinkles or chocolate shavings onto the sides of the cake. You can cup handfuls and press them against the cake, or for an easier (and less messy) method, place the cake on a tray, pour sprinkles/shavings on the tray, and roll the sides of the cake through them. So easy, so effective!
- **Top Tier Tactics:** Arrange your berries, chocolates, candies, and whatever other fun stuff you’ve chosen on top of the cake. Think “organized chaos.” A little asymmetry is totally chic, **FYI**. You can pile them high in the middle, create a border, or even spell out an initial with candies.
- **Candle Time:** Stick those birthday candles in! Make sure they’re secure but don’t stab the cake all the way through.
- **Admire Your Masterpiece:** Step back. Take pictures. Pat yourself on the back. You’ve created a work of art!
Common Mistakes to Avoid
We’ve all been there. Learn from my chocolatey errors!
- **Decorating a warm cake:** This is the cardinal sin. Your frosting will melt, slide, and turn into a sad, sticky mess. It’s an instant melt-down party, and not the fun kind.
- **Skimping on the crumb coat:** Hello, crumb-ageddon! Your cake will look like it had a bad hair day, covered in crumbs that refuse to stay hidden. Embrace the crumb coat; it’s your friend.
- **Overthinking it:** It’s cake, not a Rembrandt. It’s meant to be eaten and enjoyed. A little imperfection adds character, right? Relax and have fun!
- **Not having enough sprinkles:** Is there even such a thing as ‘too many’ sprinkles? The answer is no. If in doubt, add more.
Alternatives & Substitutions
Feeling adventurous? Or maybe you just ran out of raspberries (tragedy!). Here are some swaps:
- **Frosting:** Instead of standard buttercream, try a decadent chocolate ganache for a super shiny, rich look, or a lighter cream cheese frosting for a tangy counterpoint. Whipped cream is an option too, but it’s less stable and needs to be chilled constantly.
- **Toppings:** Crushed Oreos, pretzels (for that sweet-and-salty vibe), toasted coconut flakes, mini chocolate chips, nuts, or even edible flowers can totally elevate your cake. Want to make it super elegant? A few gold leaf flakes will do the trick!
- **Theme it up:** Swap out generic sprinkles for ones that match a party theme (e.g., sports, favorite colors, specific characters). Use mini candy bars if it’s for a chocolate lover, or gummy bears if it’s for a kiddo (or a kid-at-heart!).
FAQ (Frequently Asked Questions)
Got questions? I’ve got (casual, mostly helpful) answers!
- My frosting isn’t smooth! Help! Chill your cake a bit after crumb coating, then use a warm offset spatula or bench scraper for your final layer. Or, you know, just embrace the “rustic” look; it’s totally in!
- How do I make those cool chocolate drips down the side? Melt some chocolate (about 1 cup) with a tiny bit of heavy cream (1-2 tablespoons). Let it cool slightly until it’s still pourable but not hot. Spoon it around the edge of the cake, letting it drip naturally. It’s easier than it looks, promise!
- Can I decorate it the day before the party? Absolutely! Just store it in an airtight container in the fridge. Berries are best added closer to serving, though, to keep them fresh and avoid them weeping into your beautiful frosting.
- What if I don’t have a piping bag for fancy designs? A Ziploc bag with a tiny corner snipped off works wonders for simple piping! Or just use a spoon to create swirls or dollops for a charmingly homemade look.
- Is there a trick to getting sprinkles evenly on the sides? Roll the sides of the cake in a shallow tray of sprinkles for maximum coverage with minimal effort. For the top, just rain them down like confetti – aim for even distribution, but don’t sweat it if it’s not perfect.
- My cake looks a bit… lopsided. What now? Distract everyone with extra sprinkles! Or strategically place larger decorations (like berries or a mini chocolate bar) to hide the offending lean. No one will notice, I swear.
Final Thoughts
See? Not so scary, right? You’ve just transformed a simple cake into a celebratory masterpiece that looks like it came from a fancy bakery (but tastes way better because you made it!). Now you’re basically a cake boss, ready to tackle any birthday, anniversary, or Tuesday that needs a little extra sparkle. Go forth and impress someone—or just yourself—with your new culinary *and* artistic skills. You’ve earned it!

