So, you’ve got a birthday coming up (or just want to celebrate Tuesday, which, let’s be real, is a valid reason), and you’re thinking, “Cake! But also… ice cream?” And then your brilliant brain goes, “Why not BOTH, *on top of each other*?” Yes, my friend, you’re officially a genius. Welcome to the club. This isn’t some fussy, fancy-pants recipe that requires a culinary degree. This is for us, the people who want maximum WOW factor with minimum “did I just break my kitchen?” stress. Let’s make some magic!
Why This Recipe is Awesome
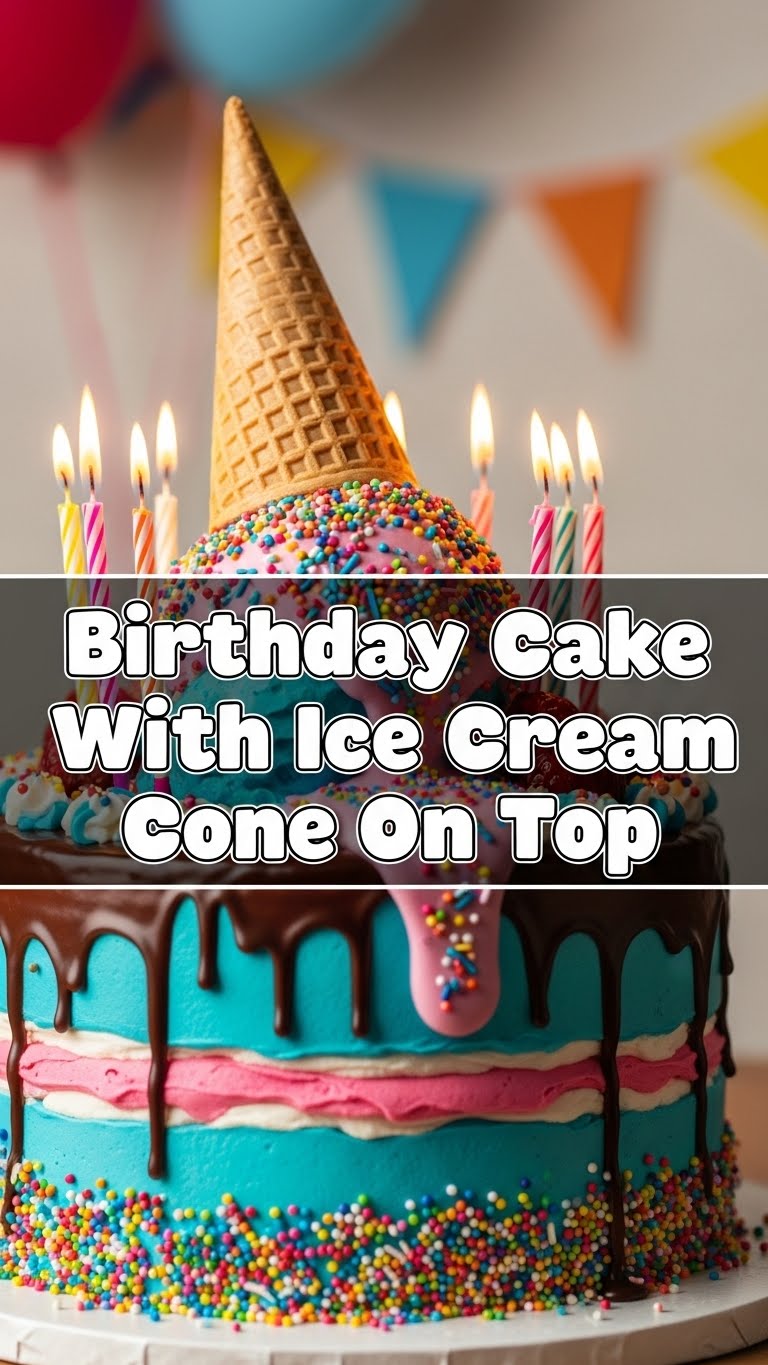
Okay, real talk: this recipe is awesome because it looks like you spent hours slaving away, when in reality, it’s pretty much a cheat code for impressing people. It’s a classic birthday cake, jazzed up with a ridiculously cute (and edible!) ice cream cone topper. Think of it as a party hat for your cake, but one you can munch on. It’s surprisingly easy, incredibly customizable, and, frankly, idiot-proof. Even I didn’t mess it up, and my track record with ovens is… let’s just say “adventurous.” Plus, who doesn’t love a cake that screams, “I’m fun AND I taste good!”?
Ingredients You’ll Need
Gather ’round, my fellow kitchen adventurer! Here’s your loot list:
- For the Cake (Classic Vanilla, because it plays well with others):
- 1 ½ cups (3 sticks) unsalted butter, softened (Not melted! That’s a rookie mistake, my friend.)
- 3 cups granulated sugar (Yes, that much. It’s a birthday cake, not a health food.)
- 6 large eggs, room temperature (Helps with that fluffy texture, trust me.)
- 3 cups all-purpose flour (Sifted, if you’re feeling fancy, but no judgment if you just scoop.)
- 1 tablespoon baking powder (The magic lift-off stuff.)
- ½ teaspoon salt (Balances all that sweet goodness.)
- 1 ½ cups whole milk, room temperature (Again, temperature matters!)
- 2 teaspoons pure vanilla extract (Go for the good stuff, it makes a difference.)
- For the Buttercream Frosting (The cloud-like goodness):
- 1 cup (2 sticks) unsalted butter, softened (See a pattern? Softened is key!)
- 4-5 cups powdered sugar (Sifted, unless you like lumpy frosting, which, to each their own.)
- ¼ cup heavy cream or milk (Your call, cream makes it richer.)
- 1 teaspoon pure vanilla extract (More vanilla, please!)
- Pinch of salt (Because science!)
- Food coloring (Optional, but let’s be real, you want that rainbow cake, don’t you?)
- For the Awesome Topping:
- 6-8 sugar or waffle cones (The cute, pointy kind. Avoid the flat-bottomed ones unless you want a flat hat!)
- Sprinkles, mini candies, or small scoops of ice cream (if serving immediately!)
- Optional: Melted chocolate or candy melts (for “gluing” sprinkles to the cones, if you’re extra.)
Step-by-Step Instructions
- Get Your Oven Warm & Cozy: Preheat that bad boy to 350°F (175°C). Grease and flour two 9-inch round cake pans. Or, if you’re smart, use parchment paper circles. Less drama, trust me.
- Cream It Up, Buttercup: In a large bowl, cream together the softened butter and granulated sugar until it’s light and fluffy. This usually takes about 3-5 minutes with an electric mixer. Don’t rush it!
- Egg-cellent Addition: Add the eggs one at a time, beating well after each addition. Scrape down the sides of the bowl. You want everything incorporated perfectly.
- Dry Stuff In: In a separate bowl, whisk together the flour, baking powder, and salt.
- Alternating Act: Now for the dance! Add about a third of the dry ingredients to the wet mixture, mix until just combined. Then add half the milk and vanilla, mix. Repeat, ending with the dry ingredients. Don’t overmix! A few lumps are okay; a tough cake is not.
- Bake It Baby: Divide the batter evenly between your prepped pans. Bake for 30-35 minutes, or until a toothpick inserted into the center comes out clean.
- Cool Down: Let the cakes cool in the pans for about 10 minutes, then invert them onto a wire rack to cool completely. This is crucial. Do NOT frost a warm cake unless you want a frosting-puddle disaster.
- Whip Up That Frosting: While the cakes are chilling, beat the softened butter until creamy. Gradually add the powdered sugar, a cup at a time, beating well after each addition. Drizzle in the heavy cream (or milk), vanilla, and salt. Beat until light and fluffy. If you want colored frosting, now’s the time to add your food coloring!
- Assemble Your Masterpiece: Once the cakes are completely cool, place one layer on your serving plate. Spread a generous layer of frosting on top. Place the second cake layer on top, and then frost the entire cake – top and sides! Go wild, make it smooth or give it some fun swirls.
- Cone Zone!: For the grand finale, carefully place the ice cream cones on top of the cake. You can fill them with sprinkles, mini M&Ms, or even a small scoop of ice cream if you’re serving it immediately. If you want the sprinkles to stick to the *outside* of the cone, quickly dip the rim in melted chocolate and then into sprinkles before placing it on the cake. Ta-da!
Common Mistakes to Avoid
- Not using room temperature ingredients: Seriously, it makes a huge difference in texture. Cold butter and eggs make for sad, dense cakes. Don’t be sad, be fluffy!
- Overmixing the batter: Once you add the flour, mix just until combined. Overmixing develops the gluten too much, leading to a tough cake. We want tender, not chewy!
- Frosting a warm cake: I’m telling you again because it’s that important. Warm cake + frosting = melty mess. Patience, padawan.
- Thinking you don’t need to preheat the oven: Rookie mistake. An evenly preheated oven ensures even baking. Cold spots mean raw spots. Nobody wants that.
- Skipping the salt: It’s a tiny amount, but it brightens and balances all that sweetness. Think of it as the secret flavor enhancer.
Alternatives & Substitutions
Feeling rebellious? Here are some ways to shake things up:
- Cake Flavors: Not a vanilla fan? Use your favorite chocolate cake recipe instead! Or a lemon cake for a zesty twist. This ice cream cone topper works with almost any flavor.
- Frosting Fun: Instead of vanilla buttercream, try chocolate buttercream, cream cheese frosting, or even a tangy lemon curd filling with vanilla frosting. Fun fact: you can totally swap out half the butter for shortening in the frosting for a super stable, pipe-able consistency, especially if it’s hot outside.
- Cone Fillings: Beyond sprinkles, think mini cookies, gummi bears, jelly beans, or even a few birthday candles sticking out of the cone like a tiny forest. For the truly adventurous, if you’re serving right away, a tiny scoop of a fun ice cream flavor in each cone is next level!
- Dairy-Free/Gluten-Free: Many great dairy-free milk and butter alternatives exist, and there are excellent gluten-free all-purpose flour blends that work beautifully in this recipe. Just be sure to check that your baking powder is also gluten-free!
FAQ (Frequently Asked Questions)
Got questions? I’ve got (casual) answers!
Can I make the cake ahead of time? Absolutely! You can bake the cake layers a day or two in advance. Once cooled, wrap them tightly in plastic wrap and store at room temperature. You can even freeze them for up to a month! Just thaw before frosting. Smart thinking, eh?
My frosting is too thin/thick, what do I do? Too thin? Add more powdered sugar, a tablespoon at a time. Too thick? Add a tiny bit more heavy cream or milk, a teaspoon at a time. It’s all about balance, like life itself.
What kind of sprinkles should I use? Whatever makes your heart sing! Rainbow jimmies are classic, nonpareils are fun and crunchy, or try some themed sprinkles for a specific party. Pro tip: the more, the merrier!
How do I keep the cones from getting soggy? If you’re filling them with actual ice cream, only do it right before serving. If using sprinkles or candy, they should be fine. For extra protection, you can paint the inside of the cone with a thin layer of melted chocolate and let it set before filling. IMO, totally worth the extra step if you’re worried!
Can I use margarine instead of butter? Well, technically yes, but why hurt your soul like that? Butter just tastes better. For special occasions like a birthday cake, splurge on the real stuff. Your taste buds will thank you.
How long will this cake last? Covered and stored at room temperature, it’s good for 2-3 days. In the fridge, it’ll last a bit longer, up to 5 days, but let it come to room temp before serving for best flavor and texture. FYI, it usually doesn’t last that long anyway!
Is this cake too over-the-top? Is the sky blue? Is pizza delicious? Never! It’s a birthday cake with an ice cream cone on top! It’s meant to be fun and a little extra. Embrace the glorious chaos!
Final Thoughts
There you have it, folks! A ridiculously fun, incredibly tasty, and surprisingly easy birthday cake with the coolest topper around. This isn’t just a cake; it’s a statement. A statement that says, “I’m here to party, and I brought dessert!” So go ahead, whip up this bad boy, crank up the tunes, and get ready to celebrate. Now go impress someone—or yourself—with your new culinary skills. You’ve earned it!


