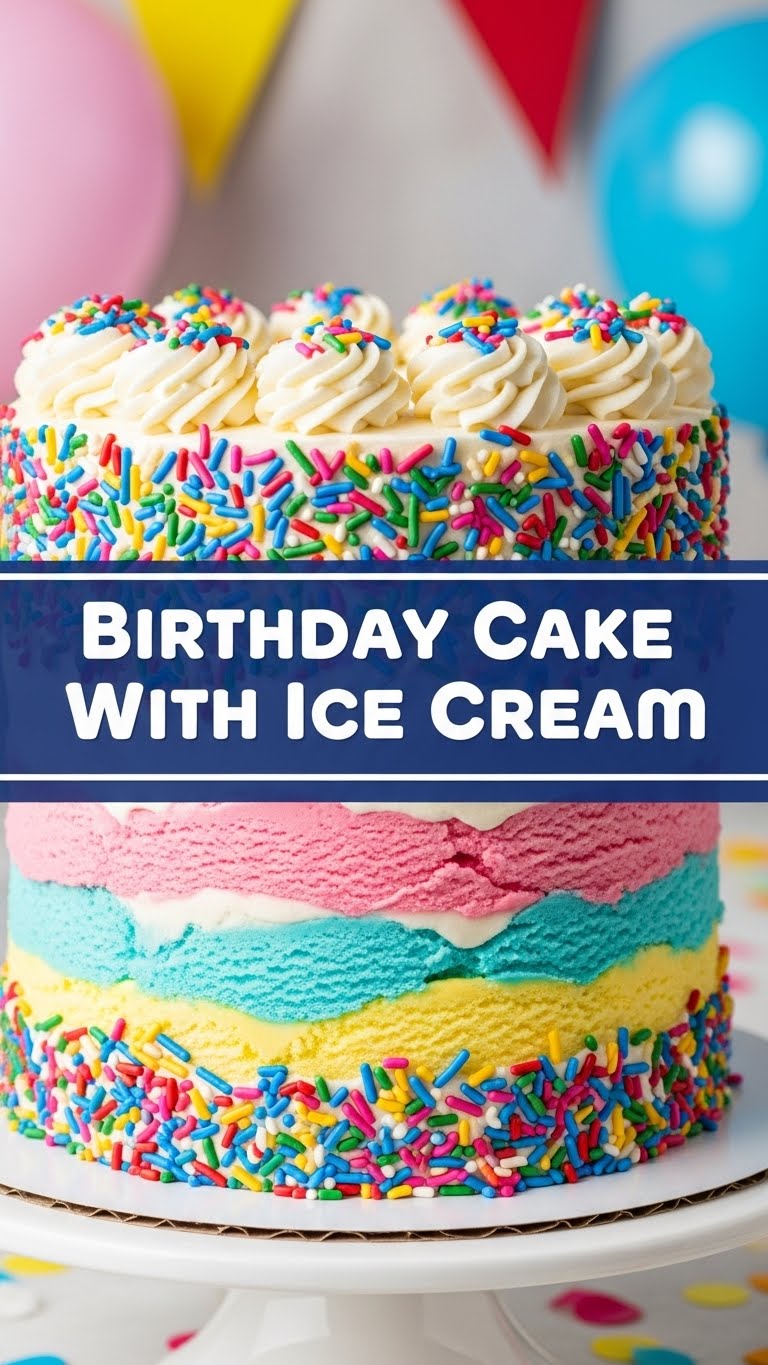
So, you’ve hit that sweet spot in life where you appreciate the finer things, like a ridiculously delicious dessert, but you also understand the profound joy of not spending your entire Saturday in the kitchen, huh? Same. High five! Today, we’re diving headfirst into a classic that gets a major glow-up: Birthday Cake With Ice Cream. Because why choose between two legends when you can marry them in a glorious union of sugar and happiness?
Why This Recipe is Awesome
Okay, let’s be real. This isn’t just a recipe; it’s a declaration of dessert independence. This bad boy is idiot-proof – and trust me, I’ve put that to the test more times than I care to admit. It’s simple enough for a Tuesday night craving but impressive enough to fool your friends into thinking you’re some kind of culinary wizard. Plus, it marries two of the best things on earth: fluffy cake and creamy, dreamy ice cream. It’s like a party in your mouth, and everyone’s invited!
Ingredients You’ll Need
Get ready for a grocery list that won’t make your eyes water. We’re keeping it simple, classic, and utterly delicious. Grab your apron (or don’t, I won’t tell).
- **All-Purpose Flour:** About 1 ½ cups. The foundational magic dust for our cake.
- **Granulated Sugar:** 1 cup. Sweet, sweet joy, plain and simple.
- **Baking Powder:** 1 ½ teaspoons. Our little lift-off agent!
- **Salt:** ½ teaspoon. Just a pinch to make all that sweetness sing.
- **Unsalted Butter:** ½ cup (that’s one stick), softened. Because everything is better with butter, no arguments.
- **Large Eggs:** 2, at room temperature. Give ’em a warm welcome, they work better that way.
- **Whole Milk:** ½ cup, also at room temperature. Or whatever milk you have, but whole milk makes it extra lush.
- **Vanilla Extract:** 1 ½ teaspoons. Don’t skimp on the good stuff!
- **Powdered Sugar:** 2 cups, for the frosting. The cloud-like sweetness.
- **More Unsalted Butter:** ¼ cup (half a stick), softened, for the frosting.
- **A Splash of Milk or Cream:** 1-2 tablespoons, for the frosting. Just enough to get that perfect spreadable consistency.
- **Your Favorite Ice Cream:** One large tub. This is the MVP, folks. Choose wisely.
- **Sprinkles:** A generous amount. Because is it even a birthday cake without confetti? Nope.
Step-by-Step Instructions
Alright, let’s get down to business. Follow these steps, and you’ll be a cake-and-ice-cream guru in no time. Promise!
- **Get Ready for Cake Fun:** Preheat your oven to 350°F (175°C). Grease and flour two 8-inch round cake pans or line them with parchment paper. This is key, unless you like your cake glued to the pan.
- **Dry Mix Magic:** In a medium bowl, whisk together the flour, sugar, baking powder, and salt. Give it a good swirl; you want everything nicely combined.
- **Wet Mix Wonders:** In a separate, larger bowl, cream together the softened butter and granulated sugar until it’s light and fluffy. Then, beat in the eggs one at a time, followed by the vanilla extract. Scrape down the sides of the bowl to make sure everything’s incorporated.
- **Combine & Conquer:** Slowly add the dry ingredients to the wet ingredients, alternating with the milk. Start and end with the dry ingredients. Mix until *just* combined. And I mean just! Overmixing is the enemy of fluffy cake.
- **Bake It Till You Make It:** Divide the batter evenly between your prepped cake pans. Bake for 25-30 minutes, or until a toothpick inserted into the center comes out clean.
- **Chill Out:** Let the cakes cool in the pans for about 10 minutes, then invert them onto a wire rack to cool completely. This is crucial! Don’t try to frost a warm cake, trust me.
- **Frosting Time!:** While the cakes are cooling, beat the softened butter for the frosting until creamy. Gradually add the powdered sugar, then the vanilla extract and a tablespoon of milk or cream. Beat until smooth and fluffy, adding more milk/cream if needed for a spreadable consistency.
- **Assemble Your Masterpiece:** Once the cakes are completely cool, place one layer on your serving plate. Spread a generous layer of frosting on top. Place the second cake layer on top, and then frost the top and sides of the entire cake.
- **The Ice Cream Grand Finale:** You’ve got options! You can serve slices of cake with a scoop of your favorite ice cream on the side, or, if you’re feeling fancy, cut a small circle out of the center of the top cake layer and fill it with ice cream just before serving.
- **Sprinkle Some Joy:** Go wild with the sprinkles! Seriously, this is not the time for restraint.
Common Mistakes to Avoid
Nobody’s perfect, especially in the kitchen. But we can learn from past blunders, right? Here’s a quick list of “oopsies” to sidestep:
- **Not Preheating the Oven:** Rookie mistake! Your cake won’t rise properly if it doesn’t hit that consistent heat from the get-go. Patience, young grasshopper.
- **Overmixing the Batter:** We talked about this, but it bears repeating. Mixing too much develops the gluten, making your cake tough and dense. Nobody wants a cake brick.
- **Frosting a Warm Cake:** This isn’t a challenge, it’s a disaster waiting to happen. Your beautiful frosting will melt and slide right off, creating a sad, sticky mess. Cool. Your. Cake. Completely.
- **Using Cold Ingredients:** For best results, butter, eggs, and milk should be at room temperature. They combine much more smoothly, leading to a lighter, more even batter.
- **Forgetting the Salt:** It seems tiny, but it balances the sweetness and enhances flavor. Don’t skip it!
Alternatives & Substitutions
Cooking is all about flexibility and making it your own. Here are some ideas to jazz things up or adapt to what you’ve got:
- **Cake Flavor Swap:** Instead of vanilla, try almond extract for a marzipan-y vibe, or lemon zest for a bright, citrusy twist. Chocolate cake base? Yes, please!
- **Milk Matters:** Don’t have whole milk? Skim milk works, though it might make the cake slightly less rich. Buttermilk can also be used for a tangier, moist crumb – just make sure to reduce the baking powder slightly (about ¼ teaspoon) to account for the acidity.
- **Butter Alternatives:** Vegetable oil can be used instead of butter for a super moist cake, though you’ll lose some of that rich, buttery flavor. IMO, butter is king here.
- **Frosting Fun:** Not feeling buttercream? A simple cream cheese frosting is divine, or even a store-bought glaze if you’re really pressed for time (no judgment here!).
- **Ice Cream Extravaganza:** Vanilla ice cream is classic, but dare to be bold! Strawberry, chocolate chip cookie dough, mint chocolate chip – the world is your oyster. Or, you know, your ice cream freezer.
- **Decoration Station:** Beyond sprinkles, think chocolate shavings, fresh berries, a drizzle of caramel, or even edible glitter for extra sparkle!
FAQ (Frequently Asked Questions)
Got questions? I’ve got answers! (Mostly.)
Q: Can I make this cake ahead of time?
A: Absolutely! The unfrosted cake layers can be baked, cooled, and then wrapped tightly in plastic wrap and stored at room temperature for up to 2 days, or frozen for up to a month. Just thaw before frosting!
Q: My cake sank in the middle! What did I do wrong?
A: Oh, the dreaded crater! This usually happens if you opened the oven door too early, used too much baking powder, or the oven temperature was inconsistent. Next time, resist the urge to peek until the last 5-10 minutes of baking!
Q: My frosting is too thin/thick, help!
A: Easy fix! If it’s too thick, add more milk or cream, a teaspoon at a time, until you reach your desired consistency. If it’s too thin, beat in a tablespoon or two more of powdered sugar until it thickens up. You’ve got this!
Q: What’s the best ice cream flavor to pair with a vanilla cake?
A: While vanilla is a no-brainer, I’m a huge fan of classic chocolate, a tart raspberry swirl, or even coffee ice cream for a sophisticated kick. But honestly, anything goes. It’s *your* dessert adventure!
Q: Do I *have* to use sprinkles?
A: Is water wet? Is the sky blue? Yes, you absolutely *have* to use sprinkles! It’s a birthday cake with ice cream, it demands celebratory confetti. It’s mandatory fun. Seriously though, it adds to the aesthetic and the joy factor.
Q: Can I just buy a pre-made cake and add ice cream?
A: Well, technically yes, but why deprive yourself of the smug satisfaction of saying, “I made this!”? Plus, homemade always tastes better. But if you’re in a super bind, no one’s judging your shortcuts. Just don’t tell me!
Final Thoughts
There you have it, friend! A cake-and-ice-cream combo that’s delicious, impressive, and won’t make you want to throw your mixer across the room. Whether you’re celebrating a birthday, a Tuesday, or just the fact that you successfully adulted today, this recipe has your back. Now go impress someone—or yourself—with your new culinary skills. You’ve earned it!


