So, your little dude’s birthday is zooming ’round the corner, and you’re officially on ‘Operation: Epic Cake’ duty, huh? Don’t sweat it, friend. We’re about to dive into some seriously cool (and ridiculously easy) ideas that’ll make you look like a pastry wizard without actually breaking a sweat. Or a whisk. Forget those Pinterest-perfect nightmares; we’re going for maximum impact with minimal effort. Because, let’s be real, who has time for fondant sculptures when there’s an actual small human to entertain?
Why These Ideas Are Awesome
Because it’s not a “recipe,” it’s a **survival guide** for making a birthday cake that’ll blow their little minds, even if your baking skills are… shall we say, ‘experimental.’ This isn’t about perfectly piped rosettes; it’s about raw, unadulterated kid joy and making *you* look like the coolest parent/aunt/uncle/friend ever. It’s idiot-proof, honestly. Even I managed to pull off some pretty epic concoctions, and my oven usually just judges me.
Ingredients You’ll Need (aka Your Arsenal)
Think of these less as “ingredients” and more as “tools for awesome.”
- Your Cake Base: A store-bought cake, a trusty box mix, or your go-to reliable sheet cake recipe. Let’s be real, sometimes a box mix is a lifesaver. No judgment here!
- Frosting, Glorious Frosting: Store-bought tubs are your friend. Or whip up your favorite buttercream if you’re feeling fancy. This is the glue for your cake dreams.
- Food Coloring: Gels are better than liquid for vibrant colors. Think electric blues, grass greens, fiery reds, sunbeam yellows.
- Assorted Candies & Chocolates: Gummy worms, M&M’s, chocolate rocks, mini marshmallows, sprinkles (duh), chocolate bars, Oreos. Anything edible that adds texture and a sugar rush.
- Small Toys & Figurines: This is your secret weapon! Think mini dinosaurs, cars, LEGO figures, action heroes, space shuttles. These transform a basic cake into an instant themed masterpiece. Make sure they’re clean!
- Edible Glitter/Dust (Optional): For that extra sparkle on a space cake or “magic” on a superhero theme. Go big or go home, right?
- Oreo Crumbs/Graham Cracker Crumbs: Perfect for “dirt” on a construction or dino cake, or “sand” for a beach theme.
Step-by-Step Instructions (aka How to Conquer Cake Mountain)
- Prep Your Canvas: Get your cake baked, cooled, and leveled. If it’s store-bought, just unbox it! Place it on your serving platter or cake board. Seriously, don’t try to move it later.
- Pick Your Battlefield (Theme!): This is the fun part! What’s your little guy into?
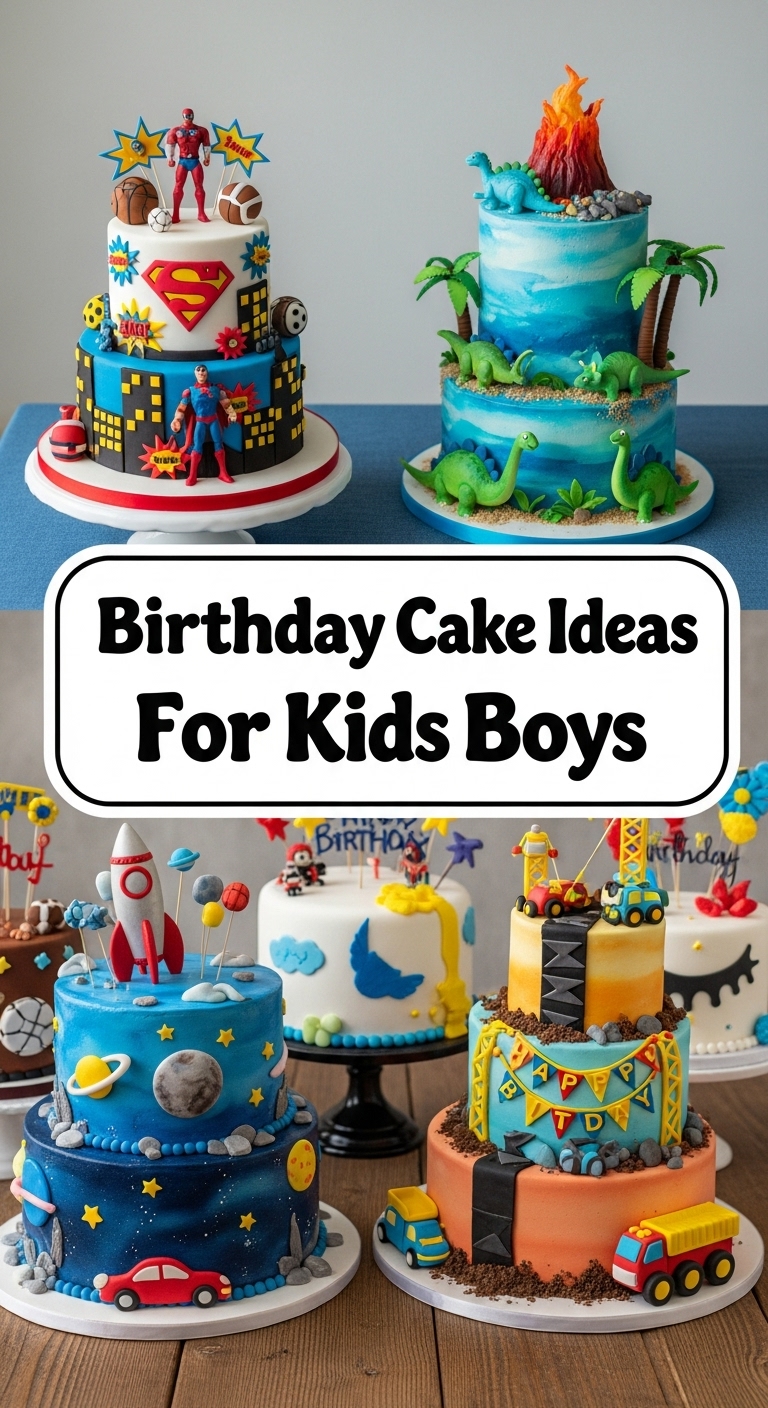
- Dino Dig: Crumble Oreos for dirt, add green frosting swirls for vines, and plop those plastic dinosaurs strategically. Maybe a few chocolate rocks?
- Race Track Rumble: Frost the cake green (grass), pipe a grey or black track down the middle. Add some toy cars, traffic cones, and maybe some checkered flag picks. Zoom!
- Space Explorer: Blue or black frosting as the base. Swirl some white and purple for nebulae. Sprinkle edible glitter for stars. Add a toy astronaut, rocket ship, and maybe some celestial candies.
- Superhero City: Light blue base frosting for the sky. Use a spatula to create ‘buildings’ with grey or black frosting on the sides. Add superhero figurines, yellow ‘explosions’ with frosting, and maybe some yellow star sprinkles. POW!
- Frosting Fun: Generously cover your entire cake with a base layer of frosting. Smooth it out with an offset spatula or knife. Don’t stress about perfection; character is key!
- Color Splash & Details: Now, add your themed colors. If you’re doing a multi-color design, like a nebula for space or grass patches for a dino scene, gently swirl or dab different colored frostings.
- Toy Invasion: Carefully place your clean plastic figurines and toys onto the cake. Arrange them to tell a story. This is where the magic happens and the cake instantly comes alive.
- Candy Chaos: Sprinkle with your chosen candies, M&M’s, gummies, or chocolate rocks. Use Oreo crumbs for dirt or sand where appropriate. This adds texture and even more fun.
- Final Flourish: Add candles, maybe some custom toppers or a birthday message. Step back, admire your masterpiece, and prepare for squeals of delight. You’ve earned it!
Common Mistakes to Avoid (aka How Not to Have a Cake Catastrophe)
- Overthinking It: Seriously, simple is often best. Kids care more about the toys and candy than your perfectly executed buttercream ombre.
- Trying to Bake a Complex 3D Cake for the First Time: Rookie mistake. Stick to flat or layered cakes and let the decorations do the heavy lifting. **Nobody needs that stress on a birthday.**
- Using Too Much Food Coloring at Once: Go little by little. You can always add more; you can’t take it away. Unless you like cakes that stain everyone’s teeth black.
- Forgetting the Candles: Seems obvious, but in the heat of the moment, it happens. Keep ’em handy.
- Not Chilling Your Cake (Sometimes): If you’re doing intricate frosting work or stacking, a quick chill can firm up your layers and make life easier.
Alternatives & Substitutions
Feeling creative? Or just ran out of sprinkles? No biggie!
- Cake Base: Instead of a big cake, why not make themed **cupcakes**? Each kid gets their own mini masterpiece! Or a simple sheet cake for easy serving.
- Frosting: Whipped cream is lighter but less stable. A chocolate ganache can be super decadent. Cream cheese frosting is always a winner.
- Decorations: Don’t have toys? Use themed cookies, fruit cutouts, or even edible printed toppers. Chocolate shavings or crushed candy bars can also add great texture.
- Theme Mash-Up: Can’t decide between dinosaurs and superheroes? **Combine them!** Dino-Superheroes! Space Ninjas! The possibilities are endless (and hilarious). IMO, the more ridiculous, the better for kids.
FAQ (Frequently Asked Questions)
Got questions? I’ve got (casual) answers!
- Do I *really* need to bake from scratch? Nah, dude. Box mixes exist for a reason. And store-bought cakes are pre-baked canvases waiting for your magic. Save your energy for the decorating!
- What if my frosting skills are… elementary? Good! This isn’t about perfection; it’s about fun. Rough edges? Call it “rugged terrain” for your dinosaurs. Uneven frosting? “Cloud patterns” for your space scene. It’s all about marketing, FYI.
- Can I make it ahead of time? Absolutely! You can bake the cake a day or two in advance and frost it. The actual decorating with toys and candy is best done closer to party time so things stay fresh and exciting.
- How do I pick a theme? Ask the birthday boy! Seriously. Or observe what he’s obsessed with right now. Is it cars? Dinosaurs? Superheroes? Minecraft? Go with what sparks joy for him.
- Is it okay to use non-edible toys on the cake? Yes, totally! Just make sure they’re clean and that guests know to remove them before eating. They’re props, not dessert.
- What if I mess it up? Mess up what? There are no mistakes, only happy accidents! If a toy falls over, it’s “part of the action.” If the frosting isn’t smooth, it’s “rustic charm.” Kids won’t care; they’ll just be stoked there’s cake and toys!
Final Thoughts
So there you have it, future cake wizard! You’re now armed with the knowledge (and permission) to create an absolutely epic birthday cake without losing your mind. The key is to have fun with it and embrace the imperfections. Your little guy is going to love it because *you* made it, and it’s full of all the stuff he loves. Now go impress someone—or yourself—with your new culinary (and creative) skills. You’ve earned it!


