So, your little dude’s birthday is zooming around faster than a sugar-fueled toddler, and you’ve volunteered to bake the cake? Bless your heart. Before you spiral into a Pinterest-induced panic attack over fondant sculptures and edible glitter, let’s get real. We need a cake that screams “I love you!” without also screaming “I spent my entire weekend covered in flour and tears.” Mission accepted! This isn’t just any cake; it’s the “My kid thinks I’m a superhero” cake that even *you* can pull off.
Why This Recipe is Awesome (and You’re About to Be a Legend)
Okay, let’s be honest. This isn’t a recipe for the faint of heart; it’s for the smart baker who knows when to cut corners without cutting flavor. Why is it awesome? Let me count the ways:
- It’s practically **idiot-proof**. Seriously, if I didn’t mess it up, you’re golden.
- It uses ingredients you probably already have, so no last-minute, frantic dash to the store in your pajamas. (Unless you’re out of sprinkles, then all bets are off.)
- It’s ridiculously moist and delicious. Kids will devour it, and adults will secretly ask for seconds.
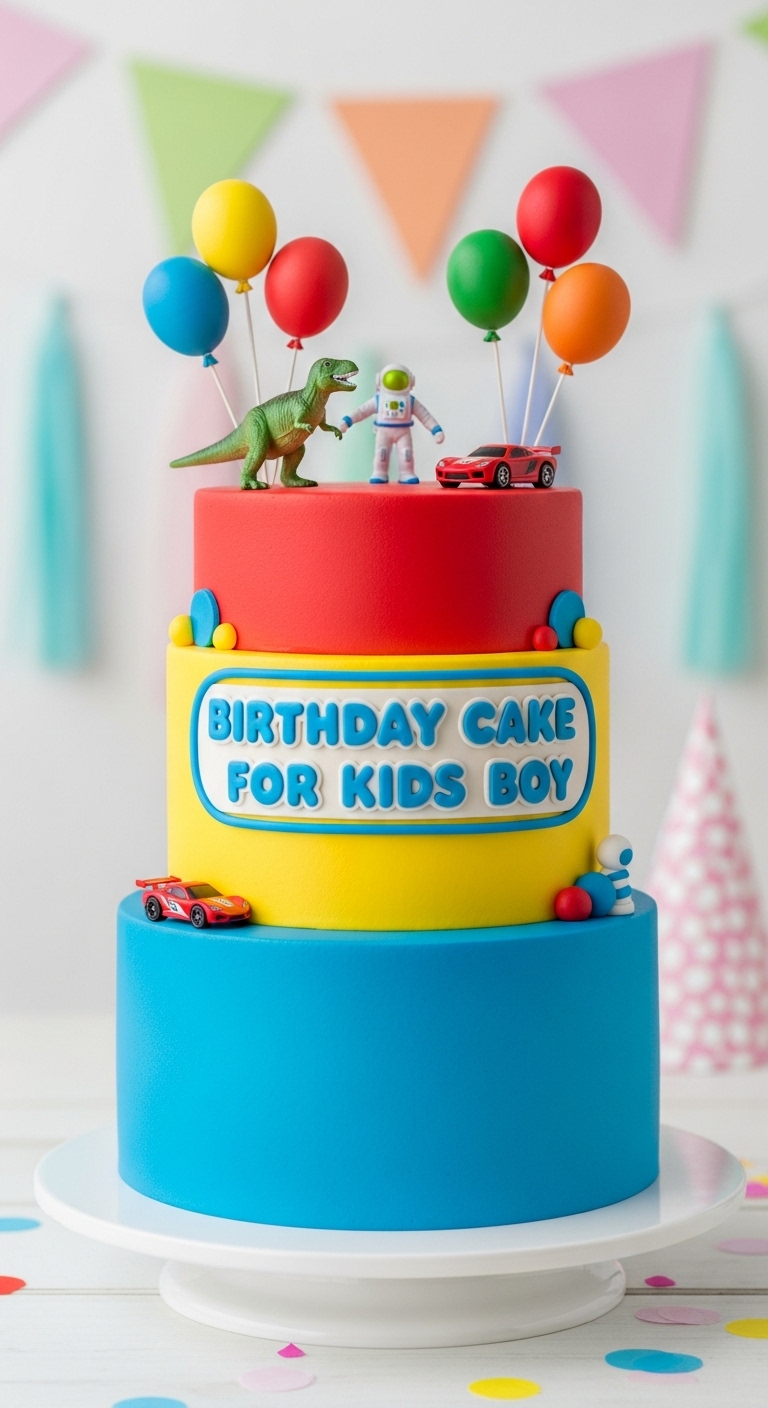
- **Customization is king here!** Want a dinosaur cake? A space cake? A “just throw sprinkles on it” cake? You got it.
- It tastes homemade because, well, it IS. But it’s also low-stress homemade. Win-win, baby!
Ingredients You’ll Need (The Goods)
No fancy schmancy stuff, just good old basics. Grab these:
- For the Cake:
- 1 ½ cups all-purpose flour (the basic white stuff, not the weird almond or coconut flours, unless you’re feeling adventurous – don’t say I didn’t warn you!)
- 1 ½ teaspoons baking powder (your cake’s little lift-off secret)
- ½ teaspoon salt (just a pinch, for balance, like in life)
- ¾ cup unsalted butter, softened (let it chill on the counter for a bit, it’s a diva)
- 1 ½ cups granulated sugar (the good stuff that makes kids bounce)
- 2 large eggs (straight from the fridge is fine, we’re not baking a soufflé here)
- 1 teaspoon vanilla extract (the MVP of flavor, don’t skimp!)
- 1 cup whole milk (or 2%, but whole just feels more celebratory, doesn’t it?)
- For the Best Buttercream Frosting EVER:
- 1 cup unsalted butter, softened (more divas!)
- 3-4 cups powdered sugar (aka confectioners’ sugar, the super fine stuff)
- 2-3 tablespoons milk (any kind works, just to get that creamy consistency)
- 1 teaspoon vanilla extract (hello again, MVP!)
- A pinch of salt (seriously, don’t skip it, it cuts the sweetness)
- Food coloring (gel is best for vibrant colors, unless you want pastel dinosaur poop, your call)
- **SPRINKLES!** (The more, the merrier. This is for a kid, after all!)
Step-by-Step Instructions (Let’s Get Baking!)
- Prep Like a Pro: Preheat your oven to 350°F (175°C). Grease and flour two 8-inch round cake pans. Don’t have two? Bake one at a time. No biggie. If you have parchment paper, line the bottoms. **It makes removal a breeze!**
- Dry Mix Boogie: In a medium bowl, whisk together the flour, baking powder, and salt. Set it aside. This is the “no lumps allowed” zone.
- Wet Mix Whiz: In a large bowl (or stand mixer if you’re fancy), cream the softened butter and sugar together until it’s light and fluffy. This usually takes about 3-5 minutes. Don’t rush this step; it builds structure.
- Egg-cellent Addition: Add the eggs one at a time, beating well after each addition. Then stir in the vanilla extract. Scrape down the sides of the bowl to make sure everything is incorporated.
- Alternate Wet & Dry: Now for the magic! Gradually add the dry ingredients to the wet ingredients, alternating with the milk. Start and end with the flour. Mix until just combined – **don’t overmix!** Overmixing leads to tough cakes, and nobody wants that.
- Into the Oven: Divide the batter evenly between your prepared cake pans. Bake for 25-30 minutes, or until a wooden skewer inserted into the center comes out clean.
- Cool Down: Let the cakes cool in the pans for about 10-15 minutes before inverting them onto a wire rack to cool completely. **Patience is a virtue here!** Don’t frost a warm cake unless you want a melty, disastrous mess.
- Frosting Fun Time: While the cakes cool, make your buttercream! Beat softened butter until creamy. Gradually add powdered sugar, a cup at a time, alternating with splashes of milk and the vanilla and salt. Beat until light and fluffy. If it’s too thick, add more milk; too thin, more powdered sugar. Add food coloring now if you want a vibrant cake!
- Assemble Your Masterpiece: Once cakes are completely cool, level them if needed (a serrated knife works great). Place one layer on your serving plate, spread with a generous layer of frosting, then top with the second cake. Frost the top and sides, then go wild with sprinkles! This is where you unleash your inner child.
Common Mistakes to Avoid (Unless You Enjoy Chaos)
Listen, we’ve all been there. Here’s how to gracefully sidestep some common cake-baking blunders:
- Not Preheating Your Oven: Rookie move. Your oven needs to be at temperature from the start for an even bake. Don’t rush it, or you’ll end up with a sad, uneven cake.
- Overmixing the Batter: Remember when I said “mix until just combined”? I meant it. Overmixing develops the gluten, making your cake tough and chewy instead of tender and fluffy. It’s cake, not bread, people!
- Frosting a Warm Cake: Unless you’re going for a “rustic, melted puddle” look, just don’t. That frosting will slide right off, taking your hopes and dreams with it. **Seriously, cool cakes completely.**
- Eyeballing Ingredients (especially flour): Baking is a science, not an art project (yet!). Use measuring cups correctly – level off that flour, don’t just scoop and pack.
- Forgetting the Salt in the Frosting: Sounds weird, but that tiny pinch of salt cuts through the sweetness and makes the frosting taste so much better. Trust me on this one.
Alternatives & Substitutions (Get Creative, You Rebel!)
Feeling a little wild? Want to tweak things? Here are some ideas:
- Milk Matters? While whole milk gives the best richness, 2% or even a plant-based milk (like almond or oat) will work in a pinch. Just know the texture might be *slightly* different. Don’t swap for water unless you want a very sad, watery cake.
- Flour Power: All-purpose is your go-to. I wouldn’t recommend swapping for gluten-free flour unless you’re experienced with GF baking – it’s a different beast, my friend.
- Flavor Frenzy: Want a chocolate cake? Replace ¼ cup of flour with ¼ cup of unsweetened cocoa powder. Add a few drops of almond extract to the frosting for a fancy twist. Lemon zest in the batter or frosting is also divine!
- Frosting Fun: Not a buttercream fan? A simple cream cheese frosting is always a winner. Or, grab a tub of store-bought frosting (gasp!) and just doctor it up with extra vanilla and food coloring. No judgment here, we’re all about making life easier.
- Decoration Domination: Sprinkles are non-negotiable IMO. But feel free to add candies, chocolate chips, fresh berries, or even small toy figures (clean ones!) for a themed cake.
FAQ (Because You Know You Have Questions)
- Can I make this cake ahead of time?
- Absolutely! You can bake the cake layers up to 2 days in advance. Once completely cool, wrap them tightly in plastic wrap and store at room temperature. Frost the day of the party for peak freshness and bragging rights.
- What if I don’t have two 8-inch cake pans?
- No worries! You can use two 9-inch pans (bake time might be slightly less, closer to 20-25 mins) or bake the layers one at a time in your single 8-inch pan. Just remember to re-grease and flour for the second batch. Or, make cupcakes! Bake for 18-22 minutes.
- Can I use margarine instead of butter?
- Well, technically yes, but why hurt your soul like that? Butter truly makes the cake and frosting taste infinitely better. If you *must* use margarine, go for the stick kind, not the tub, for better baking results. But seriously, butter is your friend here.
- My frosting is too runny/too stiff! Help!
- Easy fix! If it’s too runny, gradually add more powdered sugar until it thickens. If it’s too stiff, add a tiny splash of milk (like half a teaspoon at a time) until it reaches your desired consistency. It’s a delicate dance!
- How should I store leftover cake?
- Cover any leftover cake tightly with plastic wrap or in an airtight container. It’ll be good at room temperature for 2-3 days, or in the fridge for up to a week. If it lasts that long, you’re doing something wrong. Kidding! (Mostly.)
- Can I add sprinkles *into* the batter for a funfetti cake?
- OMG, yes! Gently fold in about ½ cup of sprinkles at the very end of mixing the batter. Make sure they’re good quality sprinkles (like jimmies), not the cheap ones that melt into colored streaks. **Pro tip:** Don’t overmix once sprinkles are added!
Final Thoughts (You Nailed It!)
So there you have it! A birthday cake that’s sure to bring huge smiles, sticky fingers, and zero stress-induced breakdowns for you. You’ve baked, you’ve frosted, you’ve conquered. Now go impress someone—or just yourself—with your new culinary skills. You’ve earned that extra slice (or three, I won’t tell!). Happy baking, and happy celebrating!


