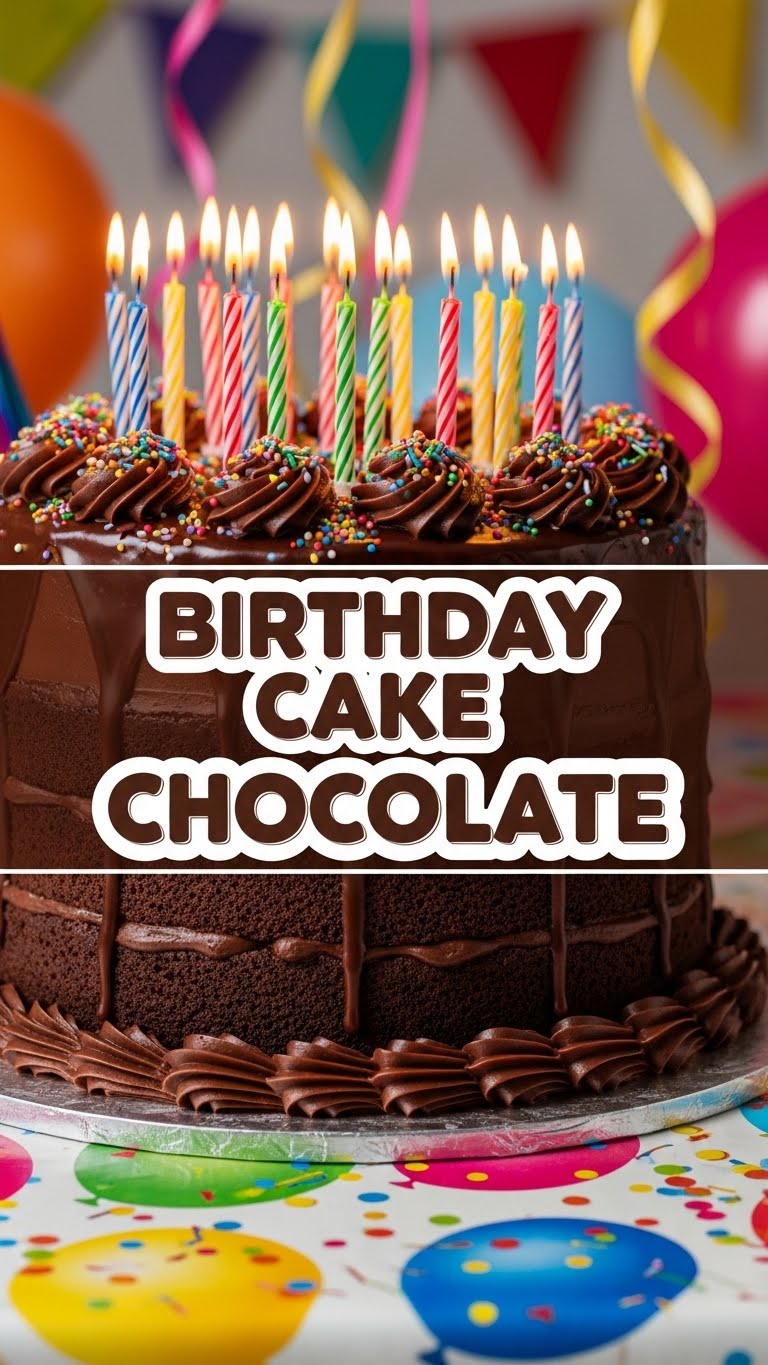
So, you’re looking for a chocolate cake that screams “birthday!” even if the only one celebrating is your couch and a good TV show? Or maybe, just maybe, it actually *is* someone’s birthday, and you don’t want to buy one of those cardboard-tasting grocery store numbers. Either way, you’re in the right place. We’re about to dive into a chocolate birthday cake recipe that’s so good, it should probably be illegal. But shhh, don’t tell anyone. Let’s get baking!
Why This Recipe is Awesome
Okay, let’s be real. There are a million chocolate cake recipes out there. So why *this* one? Well, for starters, it’s pretty much **idiot-proof**. Seriously, if I can make it without setting off the smoke alarm (mostly), you can too. It’s got that rich, deep chocolate flavor that makes your taste buds do a happy dance, and it’s incredibly moist. Like, *melt-in-your-mouth* moist. No dry, crumbly sadness here. Plus, it looks super impressive, but it’s actually a breeze to whip up. It’s the kind of cake that makes people ask, “You *made* this?!” Yes, yes you did, you culinary genius.
Ingredients You’ll Need
Alright, gather your goodies! Nothing too wild here, just the usual suspects for a chocolatey masterpiece. Think of it as assembling your dream team for a delicious victory.
- 2 cups All-Purpose Flour: The foundation of our chocolate empire. No fancy stuff needed.
- 2 cups Granulated Sugar: For sweetness, obviously. Don’t skimp, it’s a birthday cake!
- ¾ cup Unsweetened Cocoa Powder: The MVP for that deep, dark chocolate flavor. Use good quality if you can; it makes a difference.
- 2 tsp Baking Soda: Our main leavening agent. Gives it that beautiful rise.
- 1 tsp Baking Powder: The backup leavening agent, because teamwork makes the dream work.
- 1 tsp Salt: Don’t skip this! It balances all that sweetness and deepens the chocolate flavor.
- 1 cup Whole Milk (or buttermilk for extra tang!): For moisture and tenderness.
- ½ cup Vegetable Oil (or melted butter for richer flavor): Keeps it super moist.
- 2 Large Eggs: Binders of deliciousness, at room temp if you’re feeling fancy.
- 2 tsp Vanilla Extract: A little hug of flavor that makes everything better.
- 1 cup Hot Water or Hot Brewed Coffee: **This is the secret weapon!** It truly brings out the chocolate flavor. Coffee won’t make it taste like coffee, promise!
For the Dreamy Chocolate Buttercream:
- 1 cup Unsalted Butter: Softened, please! Don’t be impatient.
- 3-4 cups Powdered Sugar (Confectioners’ Sugar): Sifted, unless you like lumpy frosting.
- ¾ cup Unsweetened Cocoa Powder: Sifted! Seriously, just do it.
- ¼ cup Whole Milk or Heavy Cream: For creaminess.
- 1 tsp Vanilla Extract: More vanilla, because why not?
- Pinch of Salt: To cut through the sweetness.
Step-by-Step Instructions
Get ready, set, BAKE!
- Prep Your Stage: Preheat your oven to 350°F (175°C). Grease and flour two 8-inch or 9-inch round cake pans. Or, even better, line the bottoms with parchment paper. Trust me on the parchment.
- Whisk the Dry Crew: In a large bowl, whisk together the flour, sugar, cocoa powder, baking soda, baking powder, and salt. Make sure there are no lumpy bits.
- Bring in the Wet Wonders: Add the milk, oil (or melted butter), eggs, and vanilla extract to the dry ingredients. Beat with an electric mixer on medium speed for about 2 minutes, until everything is just combined and smooth. **Don’t overmix!**
- The Secret Weapon Entry: Carefully pour in the hot water (or coffee). The batter will be thin, and that’s perfectly okay! Stir it in until it’s fully incorporated. It’ll look like magic is happening, because it is.
- Pan It Up: Divide the batter evenly between your prepared cake pans. Give them a gentle tap on the counter to release any air bubbles.
- Bake Away: Bake for 30-35 minutes, or until a wooden skewer inserted into the center comes out clean. **Resist the urge to open the oven door constantly!**
- Cool Down: Let the cakes cool in the pans for about 10-15 minutes before inverting them onto a wire rack to cool completely. **This is crucial! Don’t frost warm cakes unless you like a melted mess.**
- Frosting Time! While the cakes are chilling, make your buttercream. Beat the softened butter on medium speed until creamy. Gradually add the sifted powdered sugar and cocoa powder, alternating with the milk/cream and vanilla extract, beating until light and fluffy. Add that pinch of salt. Adjust consistency with more milk or sugar as needed.
- Assemble Your Masterpiece: Once the cakes are completely cool, place one layer on your serving plate or stand. Spread a generous layer of buttercream on top. Place the second cake layer on top and then frost the entire cake to your heart’s content. Decorate with sprinkles if you’re feeling extra festive!
Common Mistakes to Avoid
We all make mistakes, but let’s try to minimize them, shall we? Consider these pro tips from someone who’s definitely made all of these more than once.
- Not Preheating the Oven: Rookie move. Your oven needs to be at the correct temperature from the get-go for proper rise and baking.
- Overmixing the Batter: Once you add the wet ingredients to the dry, mix just until combined. **Overmixing develops the gluten, leading to a tough, dry cake.** Nobody wants that!
- Opening the Oven Door Too Early: Your cakes are delicate during baking. Peeking causes temperature drops, leading to sunken centers. Be patient!
- Not Cooling Cakes Completely: I know, the smell is intoxicating. But frosting a warm cake equals a slidey, melty disaster. **Patience, young padawan!**
- Skipping Sifting the Cocoa Powder (and powdered sugar): Cocoa powder especially can be lumpy. Sifting ensures a smooth batter and lump-free frosting. Trust me, it’s worth the extra 30 seconds.
Alternatives & Substitutions
Feeling adventurous? Or maybe you’re just out of milk. No worries, here are some ideas!
- Buttermilk Bonanza: If you want an even more tender and slightly tangy cake, use buttermilk instead of regular milk. If you don’t have buttermilk, you can DIY it: add 1 tablespoon of white vinegar or lemon juice to a measuring cup, then fill to the 1 cup line with regular milk. Let it sit for 5 minutes before using.
- Oil vs. Butter: Vegetable oil generally makes cakes more moist, while melted butter adds a richer flavor. Feel free to swap them out in the cake batter. For frosting, stick with butter for the best texture.
- Frosting Fun: Not feeling the chocolate buttercream? Go for a simple vanilla buttercream, a rich chocolate ganache, or even a tangy cream cheese frosting. It’s your cake, your rules!
- Add-Ins: Throw in a cup of chocolate chips to the batter for extra chocolate explosions! Or, fold in some sprinkles for a truly festive “funfetti chocolate” vibe.
FAQ (Frequently Asked Questions)
Got questions? I’ve got (mostly sarcastic) answers!
- Can I use margarine instead of butter in the frosting? Well, technically yes, but why hurt your soul (and your taste buds) like that? For the best flavor and texture, stick with good old butter, IMO.
- How long does this cake keep? Covered tightly at room temperature, it’s usually good for 3-4 days. In the fridge, it can stretch to a week, but honestly, it probably won’t last that long.
- Can I make cupcakes instead? Absolutely! Line cupcake tins and fill about two-thirds full. Bake for 18-22 minutes. You’ll likely get about 24 cupcakes.
- My cake came out dry, what happened? Chances are, you either overbaked it or overmixed the batter. Keep an eye on that oven and mix just until combined!
- Do I *really* need to use hot water/coffee? For this recipe, yes! It truly makes a noticeable difference in deepening the chocolate flavor and contributing to the moistness. Don’t skip this step!
- Can I halve or double this recipe? You can definitely halve it for a single-layer cake or a smaller batch of cupcakes. Doubling works too, but you might need more pans or bake in batches.
- What kind of cocoa powder should I use? Unsweetened natural cocoa powder works great. If you have Dutch-processed, that’s fine too, it just results in a slightly darker cake with a milder chocolate flavor.
Final Thoughts
So there you have it, folks! Your new go-to recipe for a show-stopping (and ridiculously delicious) chocolate birthday cake. Whether it’s for a special occasion or just a Tuesday craving, this cake has got your back. Now go impress someone—or yourself—with your new culinary skills. You’ve earned it! Seriously, go make it, then grab a fork and enjoy every single crumb. Happy baking!

