So you’re craving something warm, gooey, and sweet, but the thought of yeast and proofing makes you want to curl up and cry? Been there, friend. Lucky for us, there’s a cheat code to deliciousness that’s so simple, it feels like cheating. We’re talking about taking those *perfectly fine* (but let’s be real, a little dry) store-bought cinnamon rolls and transforming them into something that tastes like it came from your grandma’s kitchen, but with zero all-day fuss. Get ready to elevate your breakfast game!
Why This Recipe is Awesome
Because life’s too short for mediocre cinnamon rolls, and frankly, too busy for making them from scratch every time a craving hits. This “recipe” (if you can even call it that, it’s more of a magical upgrade) is your new best friend. It’s **idiot-proof** – even I, someone who once mistook baking soda for baking powder and ruined a cake, can pull this off. It’s fast, requires minimal effort, and the results? Pure, unadulterated, sticky-sweet bliss. Plus, your kitchen will smell like a dream, which is a bonus, IMO.
Ingredients You’ll Need
Here’s what you’ll need to turn those humble tubes into a masterpiece:
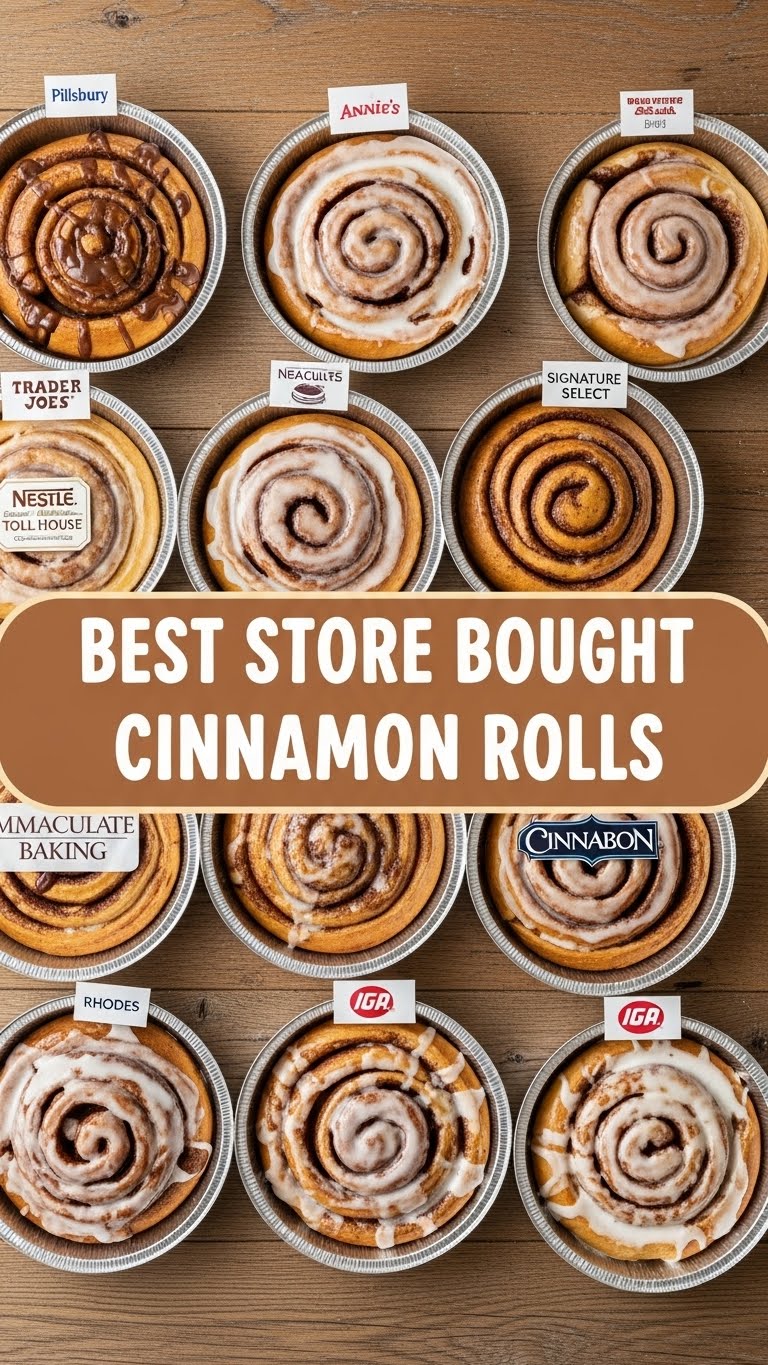
- One tube of your favorite store-bought cinnamon rolls: Pillsbury, Annie’s, the generic brand that’s always on sale – whatever floats your sweet boat. We’re about to make them glorious.
- 1/2 cup heavy cream: Yes, heavy cream. Don’t skimp. This is the secret sauce, literally.
- 1/4 cup unsalted butter: Melted. Because everything’s better with butter, right?
- 1/4 cup packed light brown sugar: For that extra caramelized goodness.
- 1 teaspoon vanilla extract: A splash of liquid magic to deepen the flavor.
- Pinch of salt: Just a tiny bit to balance the sweetness. Don’t skip it!
- The icing packet that comes with the rolls: We’re not reinventing the wheel there, just enhancing the experience.
Step-by-Step Instructions
Get ready for the easiest “baking” adventure of your life!
- First things first, preheat your oven according to the cinnamon roll package instructions. This is crucial for even baking, duh.
- Grab a baking dish – an 8×8 or 9×13 will work, depending on how many rolls you have. Lightly grease it if you’re feeling fancy, but it’s not strictly necessary.
- Pop open that tube of cinnamon rolls and place them in a single layer in your prepared dish. Don’t squish them too much!
- In a small bowl, whisk together the melted butter, brown sugar, vanilla extract, and a tiny pinch of salt. This is your flavor bomb.
- Now, here’s where the magic happens: **pour the heavy cream evenly over the cinnamon rolls**. Then, drizzle your butter-sugar mixture over the top. Make sure every roll gets some love!
- Bake for the time recommended on the package, or until they’re golden brown and bubbly. Keep an eye on them, because different ovens behave differently.
- Once they’re out of the oven, let them cool for about 5 minutes. This lets all that deliciousness really soak in.
- Finally, open that little packet of icing and drizzle it generously over the warm rolls. You can warm the icing packet in a bowl of hot water for a minute to make it extra runny and spreadable, if you’re feeling extra.
- Serve immediately and prepare for compliments. You’re welcome!
Common Mistakes to Avoid
Even an idiot-proof recipe has its pitfalls, mostly for the truly determined:
- Thinking you don’t need to preheat the oven: Rookie mistake! Your rolls will bake unevenly and probably be sad in the middle. Don’t do it.
- Skimping on the heavy cream: This isn’t a diet plan, friend. The cream is what makes them ridiculously moist and gooey. Embrace the cream!
- Overbaking: Keep an eye on them! Nobody wants dry, crispy cinnamon rolls. Pull them out when they’re golden brown, not burnt offerings.
- Not letting them cool slightly before icing: If you ice them fresh out of the oven, it’ll all just melt into a sugary puddle. Give them 5 minutes to chill.
Alternatives & Substitutions
Feeling adventurous? Or just out of an ingredient? No worries, I got you:
- No heavy cream? You *can* use half-and-half or whole milk, but fair warning, they won’t be quite as rich or gooey. It’s a noticeable difference, IMO.
- No brown sugar? White sugar with a tablespoon of molasses works in a pinch, or just use white sugar if that’s all you have. The flavor will be slightly different but still tasty.
- Want extra spice? Add a pinch of ground cinnamon or nutmeg to your butter-sugar mixture. Mmm, cozy.
- Fancy icing: Whisk some cream cheese (softened) into the store-bought icing, or make your own quick cream cheese frosting (powdered sugar, cream cheese, butter, splash of vanilla). Next level stuff!
FAQ (Frequently Asked Questions)
- Can I use margarine instead of butter? Well, technically yes, but why hurt your soul like that? Butter just tastes better and contributes to a richer flavor. You deserve butter!
- How do I store leftovers? Haha, leftovers? What are those? But seriously, cover them tightly and store at room temperature for a day or two, or in the fridge for up to 3-4 days. Reheat gently in the microwave.
- Can I make these ahead of time? You can prep them by placing the rolls in the dish and pouring over the cream/butter mixture, then cover and refrigerate overnight. Bake them fresh in the morning! **Best decision ever.**
- My rolls look a little sad and flat, what gives? You might have over-spaced them, or your oven isn’t quite hot enough. Make sure they’re snuggled relatively close in the baking dish for that classic “pull-apart” vibe.
- Is this actually healthier than making them from scratch? LOL, absolutely not. But it’s faster, and sometimes, that’s all that matters.
Final Thoughts
See? I told you it was easy! Now you have no excuse for boring breakfasts. Go forth and conquer your cravings with these unbelievably delicious, ridiculously simple cinnamon rolls. Whether you’re impressing guests (they’ll never know your secret, trust me) or just treating yourself to a sweet morning moment, you’ve earned it. Now go impress someone—or yourself—with your new culinary skills. You’ve earned it!


