So, you’ve scrolled through enough food porn to know exactly what you’re craving, and today, it’s that dreamy, dramatic, utterly irresistible Red Velvet Cake, right? Good. Because we’re about to dive into making the moistest, most ridiculously delicious version that’ll make your taste buds sing opera and your grandma a little bit jealous. No need to be a Michelin-star chef; if you can follow instructions and not eat all the ingredients beforehand, you got this!
Why This Recipe is Awesome
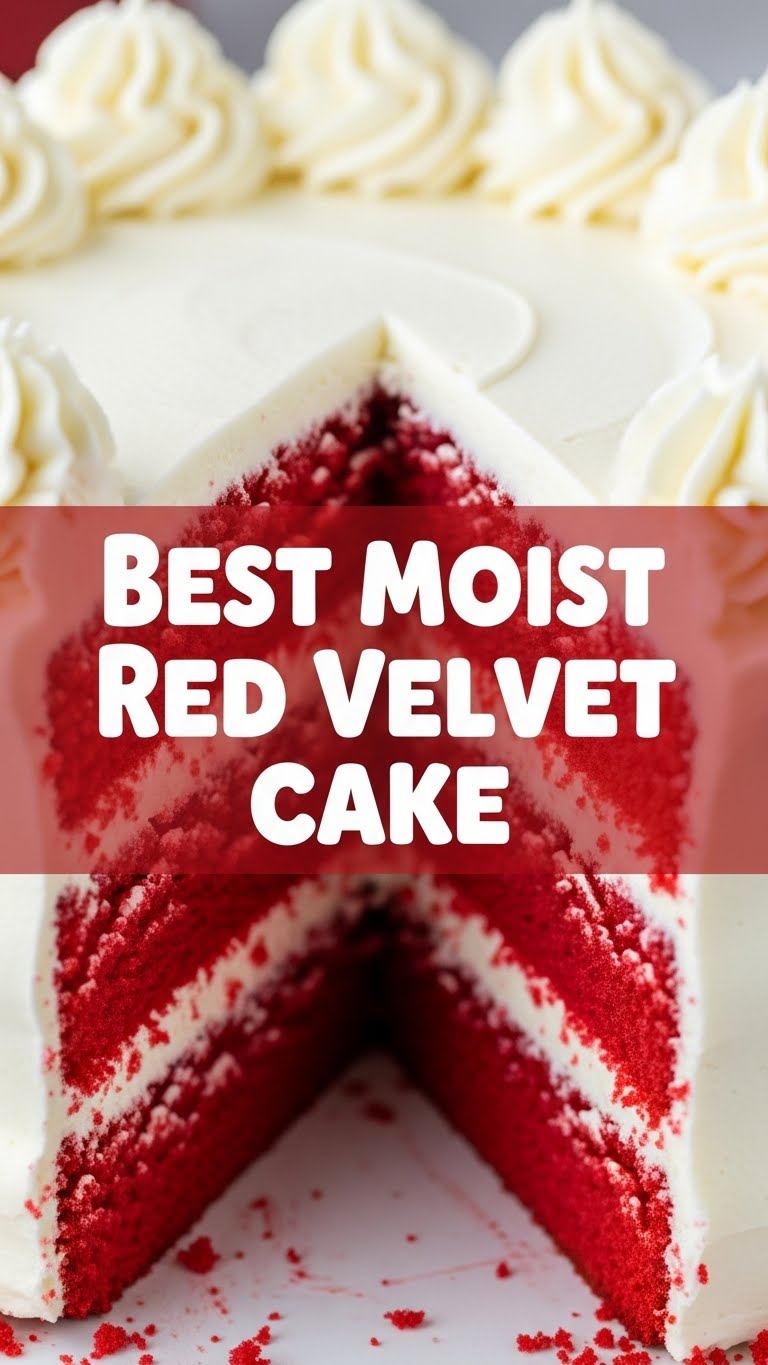
Okay, let’s cut to the chase. This isn’t just *any* red velvet. It’s THE red velvet. First off, it’s not just red; it’s RED. Like, “stop traffic and declare your undying love for cake” red. We’re talking vibrant, show-stopping gorgeousness that practically screams, “Eat me!” Secondly, “moist” isn’t just a word here; it’s a lifestyle. This cake is so tender and velvety, it practically melts in your mouth. You’ll be saying, “I need another slice before I even finish this one.” And the absolute best part? It’s pretty much **foolproof**. Seriously, if I can bake it without setting off the smoke detector, you totally can too. It’s simple, spectacular, and guaranteed to earn you major dessert cred.
Ingredients You’ll Need
Gather ’round, my baking buddies! Here’s what you need for this masterpiece. Don’t skimp on the good stuff; your cake deserves it!
- Unsalted Butter (room temperature): 1 cup (2 sticks). The good stuff. Don’t even *think* about cold butter, you rebel.
- Granulated Sugar: 2 cups. For sweetness, duh.
- Large Eggs: 2, also at room temperature. Happy chickens lay happy eggs, which make happy cakes.
- Unsweetened Cocoa Powder: 2 tablespoons. The darker, the sexier. This is for that subtle cocoa tang.
- Red Gel Food Coloring: 1-2 tablespoons. **This is key!** Gel is your best friend here for that deep, rich color. Go bold or go home!
- Vanilla Extract: 1 teaspoon. Pure vanilla, please. It makes a difference.
- All-Purpose Flour: 2 ½ cups. Sifted, if you’re feeling fancy (but not strictly necessary).
- Baking Soda: 1 teaspoon. Your cake’s lift-off mechanism.
- Salt: ½ teaspoon. Balances all that sweetness.
- Buttermilk (room temperature): 1 cup. Essential for that signature tang and moisture. No substitutes allowed… unless you wanna get weird.
- White Vinegar: 1 teaspoon. Reacts with the baking soda to give it that extra lift and signature Red Velvet crumb.
For the Cream Cheese Frosting (because what’s Red Velvet without it?):
- Cream Cheese (full-fat, softened): 8 oz (1 block). Don’t you dare use low-fat; we’re making cake, not a health drink.
- Unsalted Butter (softened): ½ cup (1 stick). More butter, more happiness.
- Powdered Sugar (confectioners’ sugar): 4-5 cups, sifted. To taste, really.
- Vanilla Extract: 1 teaspoon.
Step-by-Step Instructions
Alright, apron on, game face ready! Let’s bake some magic.
- Prep Time! Preheat your oven to 350°F (175°C). Grease and flour two 9-inch round cake pans. Or line them with parchment paper if you’re smart.
- Cream Dream: In a large mixing bowl, beat the softened butter and granulated sugar together until light and fluffy. This should take about 3-5 minutes. Don’t rush perfection!
- Egg-cellent Addition: Add the eggs one at a time, beating well after each addition. Scrape down the sides of the bowl to make sure everything gets acquainted.
- Red Alert! In a separate small bowl, mix the cocoa powder with the red gel food coloring and vanilla extract until it forms a paste. Add this vibrant paste to your butter-sugar mixture and beat until thoroughly combined and gloriously red.
- Wet & Dry Dance: In another bowl, whisk together the flour, baking soda, and salt. Then, in a small jug, lightly whisk the buttermilk and vinegar together. Now, we’re going to alternate adding the dry ingredients and the buttermilk mixture to your red batter. Start and end with the dry ingredients. Mix on low speed, just until combined. **Do NOT overmix!**
- The Fizz Factor: In a super tiny bowl (or just your hand), combine the baking soda and vinegar. It’ll fizz! Immediately fold this into your cake batter. This adds that last little boost of magic.
- Bake It Up: Divide the batter evenly between your prepared cake pans. Pop them in the preheated oven and bake for 25-30 minutes, or until a wooden skewer inserted into the center comes out clean.
- Cool Down: Once baked, let the cakes cool in their pans for about 10-15 minutes before inverting them onto a wire rack to cool completely. Patience is a virtue, especially when cake is involved!
- Frosting Fun: While the cakes cool, let’s make that legendary cream cheese frosting! In a mixing bowl, beat the softened cream cheese and butter until smooth and creamy. Gradually add the sifted powdered sugar, beating until fluffy. Stir in the vanilla extract. If it’s too thick, add a tiny splash of milk; too thin, add more powdered sugar.
- Assemble! Once the cakes are completely cool (this is super important!), spread a generous layer of frosting on top of the first cake layer. Place the second cake layer on top, and then frost the top and sides. Decorate with sprinkles, cake crumbs, or just admire its beauty!
Common Mistakes to Avoid
We’ve all been there, staring at a baking disaster. Learn from my oopsies (and others’)!
- Thinking you don’t need to preheat the oven: Rookie mistake! An oven that’s not up to temp will mess with your cake’s rise and texture. **Always preheat!**
- Overmixing the batter: This is the cardinal sin of moist cakes! Once you add the flour, mix just until combined. **Overmixing develops gluten, leading to a tough, dry cake.** Nobody wants that.
- Using cold ingredients: Butter, eggs, buttermilk – they all need to be at room temperature. Cold ingredients don’t emulsify properly, which means a lumpy batter and a less uniform cake. Plan ahead, people!
- Skimping on the red food coloring: It’s called RED velvet for a reason, not “pale pink disappointment” velvet. Don’t be shy with the gel!
- Opening the oven door too early: Peek if you must, but don’t leave it open. The sudden temperature drop can cause your beautiful cake to sink in the middle. Tears will flow.
- Frosting a warm cake: Seriously, don’t. Your beautiful frosting will melt into a sad, sugary puddle. Be patient, let those cakes cool completely!
Alternatives & Substitutions
Life happens, and sometimes you gotta adapt! Here are a few ways to tweak things:
- Buttermilk Hack: No buttermilk? No problem (sort of). You can make your own by adding 1 tablespoon of white vinegar or lemon juice to a measuring cup, then filling the rest with regular milk until you hit 1 cup. Let it sit for 5-10 minutes until it slightly curdles. It’s not quite the same tangy goodness as real buttermilk, but it’ll do in a pinch if you’re desperate.
- Food Coloring: While gel food coloring is superior for vibrant color, liquid food coloring works too. You’ll just need a *lot* more of it to get that deep red hue, and it might thin your batter slightly.
- Cocoa Powder: This recipe calls for unsweetened natural cocoa powder, which typically works best with the baking soda and acidic ingredients. If you only have Dutch-processed cocoa, it’s generally fine, but some purists might argue for a slight adjustment in leavening. For this recipe, either works, just stick to unsweetened.
- Frosting Variations: Want to get wild? Add a tiny bit of orange zest to your cream cheese frosting for a zippy flavor, or a touch of almond extract for a different aromatic twist.
FAQ (Frequently Asked Questions)
Got questions? I’ve got answers (and maybe some sass).
- Can I use oil instead of butter in the cake? You *can*, and it might make for an even softer cake, but why would you want to rob yourself of that buttery goodness? For a slightly different texture, sure, but butter is king for flavor, **IMO**.
- Why is my cake not red enough? Did you use enough gel food coloring? Seriously, don’t be shy! Or perhaps your cocoa powder is quite dark, which can make it harder for the red to shine through.
- My cake sank in the middle, help! Ah, the dreaded sinkhole! This usually means you either overmixed, opened the oven too early, or your leavening agents (baking soda) are expired. **Check those dates, people!**
- Can I make this as cupcakes instead? Absolutely! Just reduce the baking time, usually 18-22 minutes. Keep a close eye on them with the toothpick test. They’re dangerously easy to eat this way!
- How long does red velvet cake last? Covered tightly and stored in the fridge, it’s usually good for 3-4 days. But let’s be real, it rarely lasts that long in my house!
- Can I freeze the cake? Yep! If you’re planning ahead, bake the layers, let them cool completely, then wrap each tightly in plastic wrap and then foil. Freeze for up to a month. Thaw at room temperature before frosting.
- Is red velvet just chocolate cake with food coloring? **HERESY!** While it contains cocoa, Red Velvet has a unique, slightly tangy flavor and signature velvety texture due to the specific combination of buttermilk, vinegar, and a smaller amount of cocoa compared to a traditional chocolate cake. So, no, it’s special!
Final Thoughts
There you have it, folks! Your new favorite Red Velvet Cake, ready to impress or just satisfy that deep-seated cake craving. Go on, channel your inner baking superstar. Make it for a fancy dinner party, make it for a random Tuesday because you deserve it, or make it just for *yourself*. You deserve a huge slice of this heavenly goodness. Now go on and impress someone—or yourself—with your new culinary skills. You’ve totally earned it! Don’t forget to send me a slice (just kidding… unless?).


