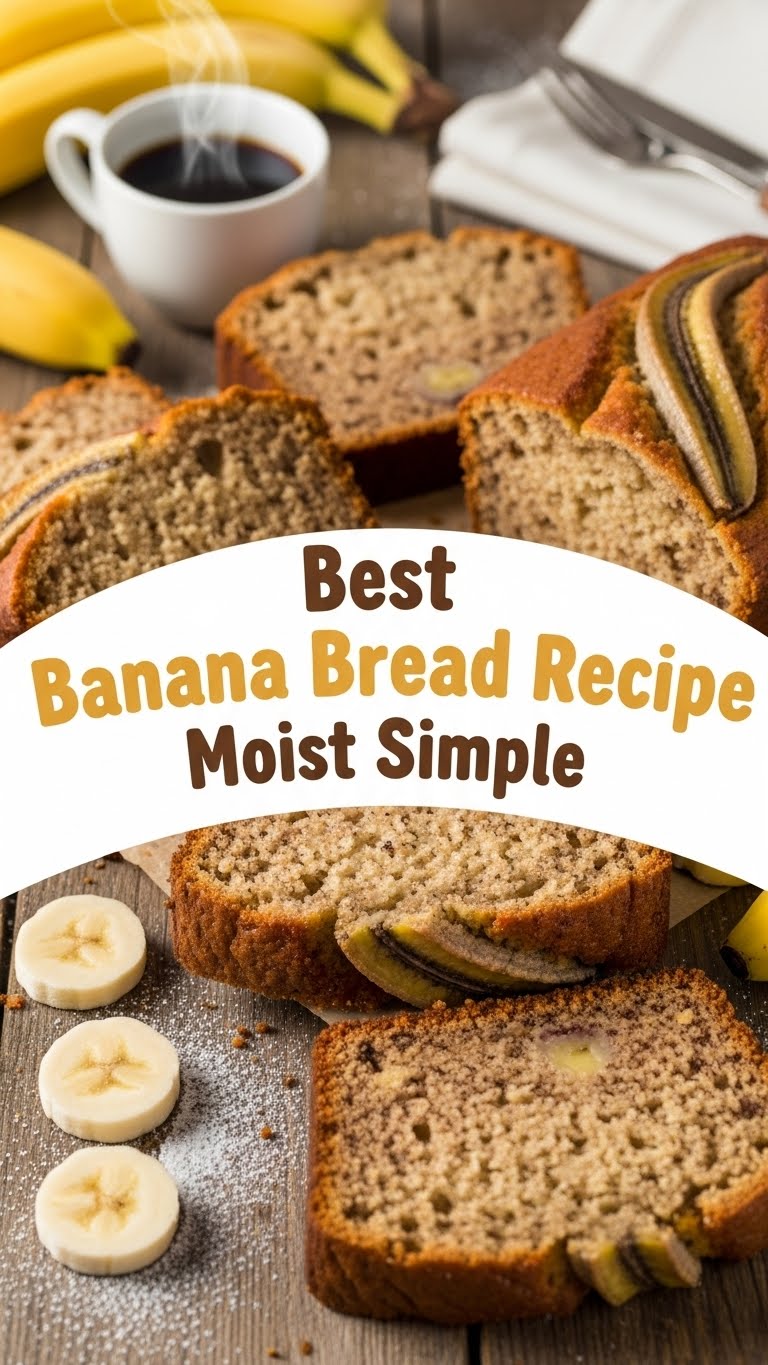
So, you’ve got those sad-looking, spotty bananas glaring at you from the counter, practically begging for a glow-up? And you’re craving something comforting, but you can’t be bothered with anything complicated? My friend, you’ve come to the right place. We’re about to turn those overripe humble fruits into the most incredibly moist, simple, and utterly delicious banana bread you’ve ever had. And guess what? It’s so easy, you might just wonder if you accidentally cheated.
Why This Recipe is Awesome
Let’s be real, life’s too short for complicated recipes. This banana bread? It’s the ultimate “dump-and-stir” kind of magic. It’s so simple, even your pet hamster could probably follow along (if it had opposable thumbs, of course). Seriously, it’s idiot-proof, I swear. I’ve made it on 3 hours of sleep, and it still came out perfect. The best part? It turns those neglected, brown-speckled bananas into a moist, flavourful masterpiece, saving them from the dreaded trash can and saving you from a bland afternoon snack. Win-win!
Ingredients You’ll Need
Gather your troops! Here’s what you’ll need for this culinary conquest:
- 2-3 extra-ripe bananas: The browner, the better! We’re talking “looks like it’s seen better days, maybe even a zombie apocalypse” brown. This is where all the flavour comes from, so don’t skimp on the ripeness.
- 1 large egg: Our trusty binder-upper.
- 1/2 cup (113g) unsalted butter: Melted and slightly cooled. Or salted if you’re feeling rebellious and like a little savory kick.
- 3/4 cup (150g) granulated sugar: For that sweet, sweet bliss.
- 1 1/2 cups (180g) all-purpose flour: No fancy stuff needed. Unless you *want* to be fancy, I guess.
- 1 teaspoon baking soda: Our leavening superhero. Don’t skip this, unless you want a flat banana brick.
- 1/2 teaspoon salt: Just a pinch, to make everything pop and balance the sweetness.
- 1 teaspoon vanilla extract: Optional, but highly recommended for that “oomph” factor.
Step-by-Step Instructions
Alright, let’s get messy (but not too messy)!
- Preheat & Prep: First things first, crank up that oven to 350°F (175°C). Then, grease and flour a 9×5 inch loaf pan. Or, if you’re feeling modern, line it with parchment paper with an overhang – makes for easy lifting!
- Mash ‘Em Up: In a medium bowl, get those brown beauties mashed up with a fork. You want them mostly smooth but a few small lumps are totally fine. We’re going for rustic, not baby food.
- Wet Ingredients Unite: To your mashed bananas, add the melted butter, granulated sugar, egg, and vanilla extract (if using). Stir ’em up until they’re all friendly-like and well combined.
- Dry Ingredients Dance: In a separate, larger bowl, whisk together the flour, baking soda, and salt. Give them a little dance to ensure they’re evenly distributed.
- Combine Gently: Now, pour the wet banana mixture into the dry ingredients. Stir just until combined. Do NOT overmix! A few lumps of flour are totally fine, even desirable. Overmixing develops the gluten too much, giving you tough bread – and nobody wants that.
- Into the Pan: Pour the glorious batter into your prepared loaf pan. You can sprinkle a little extra sugar on top for a nice crust, if you’re feeling extra.
- Bake It Till You Make It: Pop it in the preheated oven and bake for 50-65 minutes. You’ll know it’s done when a wooden skewer or toothpick inserted into the center comes out clean or with a few moist crumbs attached. The hardest part is waiting for that heavenly smell to fill your kitchen.
- Cool Down: Let it cool in the pan for about 10-15 minutes before attempting to remove it. Then, transfer it to a wire rack to cool completely. Patience, grasshopper. This helps prevent it from falling apart.
Common Mistakes to Avoid
We’ve all been there, trust me. Learn from my (numerous) banana bread blunders:
- Not using ripe bananas: Trying to bake with yellow bananas? Bless your heart. It’s like trying to make coffee without coffee beans. The flavour just won’t be there, and neither will the moisture.
- Overmixing the batter: Whippy-whipping it into oblivion? You’ll end up with tough, chewy bread. Just fold gently, like you’re tucking a kitten into bed. A few lumps are your friends!
- Not preheating the oven: Thinking the oven will magically heat up *with* your bread in it? Rookie mistake. Your bread deserves a warm, consistent welcome from the get-go for even baking.
- Impatience: Cutting into it hot off the oven. Yes, the smell is intoxicating, but let it cool for at least 15-20 minutes, preferably longer. It needs time to set and solidify, otherwise, it might crumble.
Alternatives & Substitutions
Feeling creative? Here are some simple tweaks to make this recipe even more “you”:
- Chocolate Chips: Because everything’s better with chocolate, right? Fold in about 1/2 cup to 1 cup of chocolate chips (dark, milk, white – your call, your adventure) with the dry ingredients.
- Nuts for Crunch: Walnuts or pecans add a nice texture. Chop about 1/2 cup and fold them in. Toast them first for extra flavour, you fancy thing!
- Spice it Up: A dash of cinnamon (1/2 to 1 teaspoon) or nutmeg can elevate your game. Add it with the dry ingredients. Go wild!
- Brown Sugar Swap: You can replace half or all of the granulated sugar with light brown sugar for a deeper, more caramel-y flavour. Yum!
- Oil Instead of Butter: If you’re out of butter, vegetable oil or even a light olive oil can work in equal measure. The texture might be slightly different (often a bit more dense and moist), but still delicious.
FAQ (Frequently Asked Questions)
Got questions? I’ve got answers (mostly humorous ones):
- Can I use fresh, yellow bananas? Well, technically, you *can*, but don’t expect the same intense banana flavour or moisture. Ripe, spotted bananas are the secret sauce, my friend. Don’t deprive yourself of the good stuff!
- My banana bread is dry. What did I do wrong? Oh, the horror! Usually means overmixing the batter or overbaking. Keep a close eye on that oven towards the end, and remember: less mixing is more.
- How do I store leftover banana bread? Leftovers? What are those? Kidding! Wrap it tightly in plastic wrap or foil, or pop it in an airtight container. It’ll stay fresh on the counter for a couple of days, or in the fridge for up to a week. FYI, it freezes beautifully too – just slice and freeze for easy grab-and-go treats!
- Can I add less sugar? Sure, you do you! Just know that sugar isn’t just for sweetness; it also contributes to the bread’s moisture and browning. If you cut too much, it might affect the texture a bit, but it’ll still be edible.
- What if I don’t have baking soda? Uh oh! Baking soda is key for lift in this recipe. You *might* be able to substitute with baking powder, but you’d need more (about 3 times the amount, so 3 teaspoons) and the results won’t be quite the same. It’s definitely best to stick with baking soda for this one.
Final Thoughts
So there you have it, folks! The holy grail of easy, moist, and ridiculously delicious banana bread. You’ve conquered those spotty bananas, filled your home with an intoxicating aroma, and created something truly magnificent. Go on, take a bite! You deserve it. Now go impress someone—or yourself—with your new culinary skills. You’ve earned it! Maybe make another loaf. Just kidding. (Mostly.)


