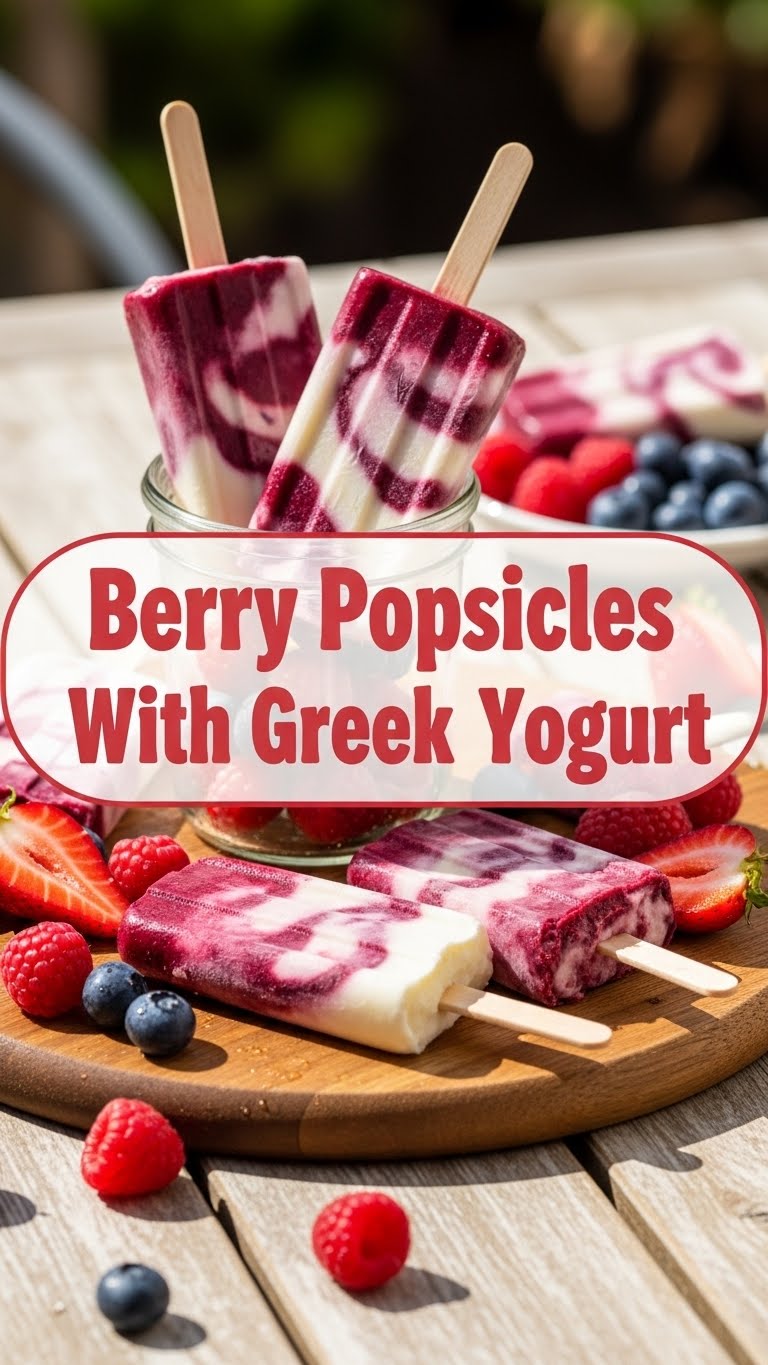
So, you just scrolled past another perfectly styled food photo on Instagram and now you’re drooling, but the idea of actually making something feels like too much effort, huh? Been there, done that, bought the T-shirt. But what if I told you there’s a ridiculously easy, super refreshing treat that’ll make you feel like a domestic goddess (or god) with minimal fuss? Enter: Berry Popsicles with Greek Yogurt. Your lazy, foodie self is about to thank me.
Why This Recipe is Awesome
Okay, let’s be real. This isn’t just another popsicle recipe. This is ‘I forgot to buy dessert but want something bougie’ level awesome. It’s **foolproof**, seriously. If I can whip these up after a long day, you definitely can. Plus, it’s packed with actual fruit and that creamy Greek yogurt goodness, so you can pretend it’s healthy while you’re devouring three in a row. It’s also **minimal cleanup**, which, let’s be honest, is half the battle when cooking, right?
Ingredients You’ll Need
- Mixed Berries (frozen or fresh): About 2 cups. Go wild! Strawberries, blueberries, raspberries, a whole berry party. No judgment if you just use what’s in your freezer from that forgotten smoothie phase.
- Greek Yogurt (plain, full-fat is best IMO): 1.5 cups. Full-fat equals creamier, trust me. We’re not calorie counting here, we’re flavor-chasing.
- Honey or Maple Syrup: 2-4 tablespoons, or to taste. This is where you get to play God with sweetness. Start small, taste, add more.
- A splash of milk (optional): Any kind! Just a tiny bit if your mixture feels too thick. Think of it as a helpful lubricant for your blender.
- Popsicle Molds & Sticks: Duh! Unless you’re planning on free-forming frozen yogurt blobs, which… actually, maybe don’t do that.
Step-by-Step Instructions
Prep Your Berries: If using fresh berries, give ’em a quick rinse. If frozen, you can let them thaw a bit to make blending easier, but it’s not strictly necessary. We’re going for chill here, literally.
Blend It Up: Toss your berries, Greek yogurt, and your chosen sweetener into a blender. If it’s struggling, add that optional splash of milk. Blend until it’s smooth and beautifully swirled. We’re aiming for creamy, not chunky, unless you like berry chunks – then, by all means, leave some!
Taste Test (Crucial Step!): Grab a spoon and taste a tiny bit. Does it need more sweetness? More tartness? Adjust to your heart’s content. This is your popsicle journey.
Fill ‘Em Up: Carefully pour the mixture into your popsicle molds. Don’t overfill! Leave a little room at the top, like you’re leaving space for dessert after a big meal.
Insert Sticks: Pop your popsicle sticks into the molds. Make sure they’re relatively centered so you don’t end up with a wonky stick.
Freeze, Baby, Freeze: Transfer those beauties to the freezer. **Let them chill out for at least 4-6 hours**, or ideally, overnight. Patience is a virtue, especially when deliciousness is involved.
Enjoy! Once solid, run the molds under warm water for a few seconds to help release your popsicles. Peel ’em out and get ready for a taste explosion!
Common Mistakes to Avoid
- **Not sweetening enough (or too much):** Taste as you go, people! Don’t just blindly follow the recipe and end up with sour pops or a sugar rush that sends you to the moon.
- **Overfilling the molds:** They expand slightly, and then you’ve got a sticky mess in your freezer. Nobody wants that.
- **Impatience:** Trying to pull them out after an hour? That’s just a tragic, half-frozen smoothie on a stick. **Give them adequate freeze time!**
- **Using watery yogurt:** If your Greek yogurt is super thin, your popsicles might be icy instead of creamy. **Stick to thicker Greek yogurt for the best texture.**
Alternatives & Substitutions
- **Different Fruits:** Not a berry fan? (Gasp!) Try mango, peach, kiwi, or even banana. Just keep the fruit-to-yogurt ratio roughly the same. Tropical pops, anyone?
- **Flavor Boosts:** A tiny bit of vanilla extract can elevate these. Or a squeeze of lime juice for extra zing. A pinch of cinnamon, perhaps? Get creative!
- **Dairy-Free Option:** Swap out the Greek yogurt for a thick, plain dairy-free yogurt (like coconut or almond yogurt). Just be mindful of the sweetness levels as some dairy-free options are already quite sweet.
- **Sweetener Swap:** Agave nectar, stevia, or even a ripe banana can replace honey/maple syrup. Your call, your sweetness.
FAQ (Frequently Asked Questions)
- **Can I use regular yogurt instead of Greek yogurt?** Well, you can, but why would you want to miss out on that glorious creaminess? Regular yogurt has more water, so your popsicles might be icier and less rich. But hey, if that’s all you’ve got, go for it!
- **Do I have to use fresh berries?** Nope! Frozen berries are your best friend here, especially if you’re like me and your fresh berries always seem to mysteriously disappear (into your mouth) before you can use them.
- **My popsicles are too hard/icy. What did I do wrong?** Probably too much fruit or not enough fat from the yogurt. Or maybe you forgot the sweetener, which helps prevent ice crystals. **Next time, reduce the fruit slightly, use full-fat yogurt, and ensure enough sweetener.**
- **How long do these last in the freezer?** Ideally, about 1-2 weeks for peak freshness. After that, they might start getting a bit icy, but they’re still edible. They never last that long in my house, though, FYI.
- **Can I add chocolate chips?** You’re asking the real questions now! Absolutely. Stir in some mini chocolate chips (or even finely chopped chocolate) after blending, before pouring into molds. Prepare for bliss.
- **What if I don’t have popsicle molds?** You can use small paper cups and wooden craft sticks. Just remember to tear the paper cup away before eating. Less fancy, still delicious.
Final Thoughts
See? I told you it was easy! Now you’ve got a batch of homemade, guilt-free(ish), incredibly tasty Berry Popsicles with Greek Yogurt chilling in your freezer. You basically just won summer (or at least your snack game). Go ahead, pat yourself on the back, you culinary genius. Now go impress someone—or yourself—with your new skills. You’ve earned it, and a delicious treat!


