So, you’ve got a hankering for something ridiculously delicious but also kinda want to wear your pajamas all day and exert minimal effort? Me too, friend. Welcome to your new favorite dessert: the Berry Crisp. It’s the kind of dish that screams “I tried!” but secretly whispers “I whipped this up in 10 minutes flat.”
Why This Recipe is Awesome
Let’s be real: who needs a fancy patisserie when you can make something this good in your own kitchen? This Berry Crisp is **legitimately idiot-proof**. I mean, if I, a person who once set off a smoke alarm trying to boil water (don’t ask), can make this, you absolutely can too. It’s warm, it’s comforting, it’s bursting with juicy berries, and that crunchy, buttery topping? *Chef’s kiss*.
Plus, it pairs perfectly with vanilla ice cream, which is basically non-negotiable, IMO. It’s the ultimate ‘hug in a bowl’ dessert without any of the fussy steps. Lazy Sunday, unexpected guests, or just a Tuesday night craving – this recipe has your back.
Ingredients You’ll Need
Time to gather your culinary arsenal! Here’s what you’ll need to conjure this masterpiece:
- For the Berry Filling:
- 4-6 cups mixed berries (fresh or frozen – no judgment here, just make sure they’re not freezer-burnt from 2019!)
- 1/4 cup granulated sugar (or more if your berries are super tart, taste and adjust!)
- 1 tablespoon cornstarch (our secret weapon for a luscious, not-runny filling)
- 1 teaspoon lemon juice (brightens everything up, trust me)
- 1/2 teaspoon vanilla extract (because vanilla makes everything better, duh)
- For the Crispy Topping:
- 1/2 cup all-purpose flour
- 1/2 cup rolled oats (the old-fashioned kind, not instant mush)
- 1/2 cup packed light brown sugar (adds that cozy caramel note)
- 1/4 teaspoon salt (balances out the sweetness like a pro)
- 1/2 cup unsalted butter, cold and cut into cubes (the colder, the better for that perfect crumble)
- The Essential Sidekick:
- Vanilla ice cream (or custard, or whipped cream… but let’s be honest, it’s gotta be vanilla ice cream)
Step-by-Step Instructions
Alright, let’s get cooking! Even if you think “cooking” means microwaving a burrito, you got this.
- Prep Your Oven & Pan: First things first, preheat your oven to 375°F (190°C). Grab an 8×8 or 9×9-inch baking dish. Give it a light spritz with cooking spray if you’re feeling fancy, or just trust the process.
- Mix the Berry Goodness: In a large bowl, gently combine your berries, granulated sugar, cornstarch, lemon juice, and vanilla extract. Give it a good, gentle toss until the berries are evenly coated. Pour this vibrant mix into your prepared baking dish.
- Whip Up the Crumble: Now for the star of the show! In another bowl, whisk together the flour, rolled oats, brown sugar, and salt. Add the cold, cubed butter.
- Get Crumbly: Time to get your hands dirty! (Or use a pastry blender if you’re too posh.) Use your fingertips to work the butter into the dry ingredients until the mixture resembles coarse crumbs with some pea-sized bits of butter remaining. This is crucial for that ideal crisp texture.
- Top it Off: Sprinkle that glorious crumble mixture evenly over the berries in the baking dish. Don’t be shy; cover every berry!
- Bake to Perfection: Pop the dish into your preheated oven. Bake for 35-45 minutes, or until the topping is golden brown and the berry filling is bubbly and thick. The smell alone will drive you wild, FYI.
- Cool (If You Can Wait): Remove from the oven and let it cool for at least 10-15 minutes. It’s hot, bubbly, and incredibly tempting, but trust me, a slight cool-down prevents a lava-mouth situation.
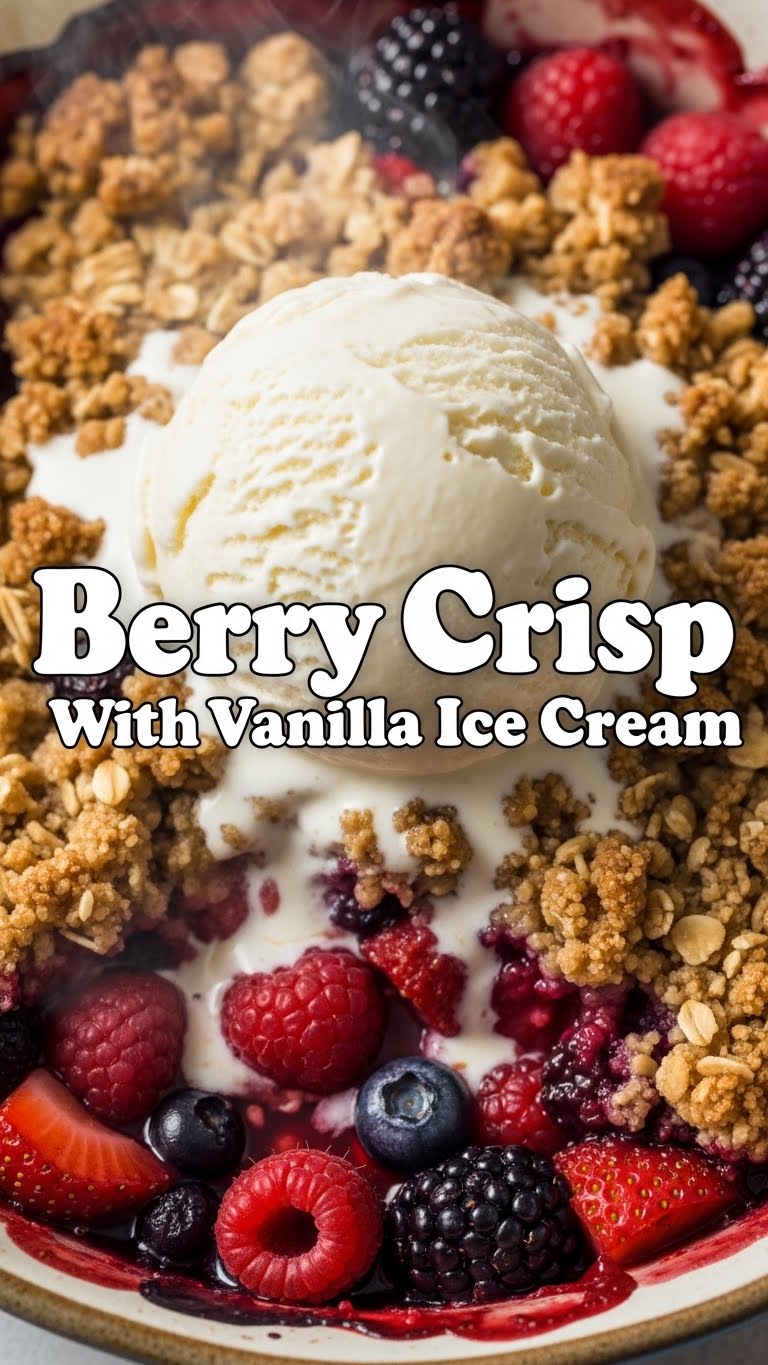
- Serve & Devour: Scoop generous portions into bowls and top with a big ol’ dollop (or two, or three) of vanilla ice cream. Enjoy the pure bliss!
Common Mistakes to Avoid
Because nobody’s perfect, here are a few rookie errors to steer clear of:
- Forgetting to Preheat the Oven: Seriously, it makes a difference. Don’t skip it unless you enjoy unevenly baked goods and disappointing crisps.
- Overmixing the Topping: You want a crumbly texture, not a paste. Work the butter in just until combined; big lumps are good!
- Skipping the Cornstarch: Unless you prefer a soupy berry mess, don’t ditch the cornstarch. It’s what thickens the filling into that perfect consistency.
- Eating it Straight from the Oven: I know, I know, it smells divine. But **super hot berries + super cold ice cream = a very messy, painful, yet delicious experience**. A few minutes of cooling down is worth it.
- Not Adding Enough Vanilla Ice Cream: Is there such a thing as “enough”? Probably not. Be generous.
Alternatives & Substitutions
Feeling adventurous? Or maybe you just ran out of something vital. No worries, I got you.
- Berry Swaps: Don’t have mixed berries? Use just blueberries, raspberries, strawberries (sliced), or even peaches or apples (if you’re feeling autumnal). Adjust sugar if using sweeter fruits.
- Gluten-Free Topping: Swap the all-purpose flour for a 1:1 gluten-free baking flour blend and ensure your oats are certified GF. Easy peasy!
- Nutty Crunch: Add a handful of chopped pecans, walnuts, or almonds to the topping mixture for an extra layer of crunch and flavor. Because who doesn’t love nuts? (Wait, that sounded wrong. You know what I mean.)
- Spice it Up: A pinch of cinnamon, nutmeg, or even a tiny bit of cardamom in the topping or berry mixture can add a lovely warm depth.
- Less Sugar: If your berries are super sweet or you’re watching your sugar intake, feel free to reduce the sugar in the berry filling. Taste as you go!
FAQ (Frequently Asked Questions)
- Can I use frozen berries?
Absolutely! No need to thaw them first. Just toss them in like normal. They might release a bit more liquid, but that cornstarch will work its magic. - What if I don’t have oats? Can I still make the topping?
You can, but it won’t be a “crisp” in the traditional sense; more of a “crumble.” Just use 1 cup of flour instead of 1/2 cup flour and 1/2 cup oats. It’ll still be delicious, just a slightly different texture. - My topping isn’t getting crispy, what gives?
This usually means your oven might be running a bit cool, or you took it out too soon. Crank up the heat a tiny bit (maybe 10-20 degrees) for the last 5-10 minutes, or just bake it longer until it’s golden brown. **Don’t be afraid of a little color!** - Can I make this ahead of time?
You sure can! You can assemble the whole thing and keep it in the fridge for up to a day before baking. Or bake it completely, let it cool, and reheat gently in the oven when you’re ready to serve. It’s best fresh, but leftovers are still pretty darn good. - Is this healthy?
Look, it has fruit. And oats. So, yes! Ish. It’s certainly healthier than a deep-fried candy bar, right? Don’t overthink it, just enjoy. Life’s too short. - What if my berries are really tart?
Add a little extra granulated sugar to the berry mixture, one tablespoon at a time, until it tastes right to you. Trust your taste buds!
Final Thoughts
So there you have it, your new go-to dessert for when you want maximum deliciousness with minimum fuss. This Berry Crisp is proof that you don’t need a culinary degree to make something truly spectacular. Now go impress someone—or just yourself, which is arguably more important—with your newfound baking prowess. You’ve earned it!
Happy crisp-making, my friend!


