Ever stared at those impossibly gorgeous chocolate cakes on Instagram and thought, “Yeah, no way in hell I’m making that”? Same, friend, same. My go-to design usually involves strategically placed sprinkles to hide my frosting woes. But what if I told you we could achieve ‘gallery-worthy’ chocolate cake designs without needing a pastry chef degree, a steady surgeon’s hand, or even *that* much patience? You’d probably call me a liar. But hey, stick around, because we’re about to make a chocolate cake that tastes incredible and looks like you spent hours on it (when really, you spent 20 minutes max on the ‘design’ part). Let’s get fancy, shall we?
Why This Recipe is Awesome
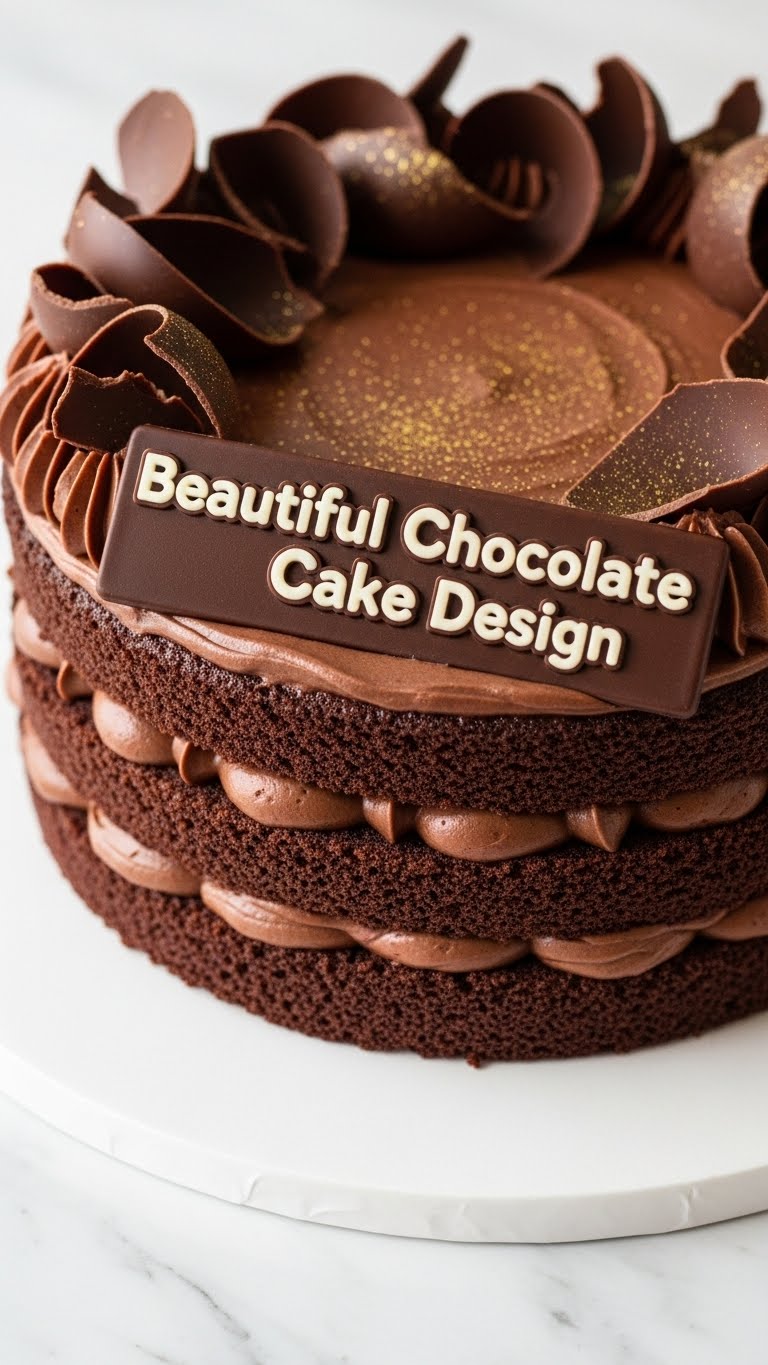
Okay, so this isn’t just *any* chocolate cake recipe. This is the “OMG, you made that?!” chocolate cake recipe that’s surprisingly easy to execute and even easier to make look stunning. We’re talking about a moist, rich chocolate cake base that’s basically idiot-proof (trust me, I’ve tested this theory extensively). But the real magic? We’re going to focus on making it look like a million bucks with minimal fuss. It’s all about smart, simple decorating techniques that elevate your cake from ‘homemade’ to ‘haute cuisine.’ Plus, you get to eat chocolate cake, so what’s not to love?
Ingredients You’ll Need
Get ready to raid your pantry! No weird, hard-to-find stuff here, just good ol’ deliciousness.
- For the Cake:
- 1 ¾ cups all-purpose flour (the basic stuff, no need for fancy heirloom grains)
- 1 ¾ cups granulated sugar (sweetness is key, my friends)
- ¾ cup good quality cocoa powder (because life’s too short for sad chocolate)
- 2 teaspoons baking soda (the magic leavener)
- 1 teaspoon baking powder (its trusty sidekick)
- 1 teaspoon salt (enhances all the chocolatey goodness)
- 1 cup buttermilk (or milk + a tablespoon of vinegar/lemon juice, let it sit for 5 mins – DIY alert!)
- ½ cup vegetable oil (or any neutral oil)
- 2 large eggs (happy chickens make happy cakes)
- 1 teaspoon vanilla extract (the unsung hero)
- 1 cup boiling water (this is where the super moist magic happens!)
- For the Frosting & Design (pick your poison!):
- 1 batch of your favorite chocolate buttercream (store-bought is fine, no judgment here!)
- Optional: A few ounces of dark chocolate, melted (for a simple drip, if you’re feeling extra)
- Optional: Fresh berries (raspberries, strawberries – for that pop of color and freshness)
- Optional: Chocolate shavings or curls (super easy, looks pro!)
- Optional: Sprinkles (because sprinkles make everything a party)
- Optional: Edible flowers (for an elegant touch, if you’re fancy)
Step-by-Step Instructions
Let’s get baking and designing, buttercup! Don’t overthink it, we’re aiming for beautiful, not perfection.
- Get Prepped: Preheat your oven to 350°F (175°C). Grease and flour two 8-inch round cake pans. Or, even easier, line them with parchment paper circles. Future you will thank you when the cakes slide right out.
- Dry Mix: In a large bowl, whisk together the flour, sugar, cocoa powder, baking soda, baking powder, and salt. Make sure there are no lumpy bits!
- Wet Mix: In a separate bowl, whisk together the buttermilk, oil, eggs, and vanilla extract.
- Combine & Conquer: Pour the wet ingredients into the dry ingredients and mix until just combined. Don’t overmix, unless you like dense, chewy cake (which, to each their own, but probably not what you’re going for).
- Add the Secret Weapon: Carefully pour in the boiling water and mix until the batter is smooth. It will be thin, and that’s perfectly normal!
- Bake It Up: Divide the batter evenly between your prepared cake pans. Bake for 30-35 minutes, or until a wooden skewer inserted into the center comes out clean.
- Cool Down: Let the cakes cool in their pans for about 10-15 minutes before inverting them onto a wire rack to cool completely. This part is crucial for decorating – no warm cakes, unless you want melty frosting!
- Level Up (Literally): Once completely cool, use a serrated knife to carefully level the tops of your cakes if they have a dome. Flat cakes are easier to stack and frost beautifully.
- Crumb Coat Magic: Place one cake layer on your serving plate or cake stand. Spread a thin layer of buttercream over the top and sides. This is your “crumb coat” – it traps any stray crumbs so your final frosting layer is smooth and crumb-free. Chill in the fridge for 15-20 minutes until firm.
- The Main Frosting Event: Once the crumb coat is firm, apply a generous second layer of buttercream. Use an offset spatula or a bench scraper to smooth the sides and top. For a rustic look, you can create swirls with your spatula. Don’t strive for perfection; textured frosting is super chic!
- Design Time! (Here’s where the beauty happens):
- Simple Drip: If using melted chocolate, let it cool slightly but remain pourable. Spoon it around the edge of the cake, letting it naturally drip down the sides. Then fill in the center.
- Berry Bliss: Arrange fresh berries artfully on top of the cake. Think clusters, lines, or a wreath pattern.
- Chocolate Shavings/Curls: Hold a block of chocolate and use a vegetable peeler to create delicate curls directly onto the cake, or sprinkle them on the sides.
- Sprinkle Party: Gently press sprinkles onto the sides of the cake, or go wild and cover the entire top!
- Flower Power: Place a few edible flowers strategically on top for a truly elegant, effortless design.
- Chill Out (Again!): Pop your masterpiece back in the fridge for another 30 minutes for the frosting to set. Then, admire your handiwork!
Common Mistakes to Avoid
We’ve all been there, trust me. Here are some pitfalls to dodge on your path to cake glory:
- Frosting a Warm Cake: This is like trying to ice skate uphill. Your frosting will melt, slide, and generally make a giant, gooey mess. Always, always, ALWAYS wait for your cakes to be completely cool.
- Overmixing the Batter: Unless you’re into hockey pucks, don’t keep mixing after the ingredients are just combined. Overmixing develops the gluten too much, leading to a tough, dry cake.
- Skipping the Crumb Coat: Rookie mistake! That thin layer saves you from having a cake that looks like it’s shedding. It takes an extra 15 minutes, but it’s worth it for a flawless finish.
- Expecting Perfection on Your First Try: Chill out! Cake decorating is a skill. Embrace the rustic charm, the slightly uneven drip, the perfectly imperfect berry placement. It’s homemade, and that’s beautiful.
- Not Cleaning As You Go: Okay, not a cake mistake, but a life mistake. Future you will resent past you when you’re faced with a mountain of sticky dishes. Just a heads-up.
Alternatives & Substitutions
Feeling creative? Here are some ways to shake things up or swap ingredients like a culinary wizard:
- Frosting Frenzy: Not a fan of chocolate buttercream? Try a luscious cream cheese frosting, a simple vanilla buttercream, or even a decadent whipped ganache. For a lighter look, whipped cream can be delightful, but it won’t hold up as long.
- Cake Flavor Swap: While this article is all about chocolate, you could totally use a vanilla or red velvet cake base with the same design principles. FYI, the design works with almost any cake!
- Topping Tantrum: No berries? No problem! Use toasted nuts (pecans, walnuts), shredded coconut, crushed candy bars, mini chocolate chips, or even edible glitter for extra sparkle.
- Design Drama: If you want to try something a bit more advanced without going full patisserie, consider piping simple buttercream borders with a star tip, or using a stencil with cocoa powder for a pretty pattern on top.
- Buttermilk Blues: No buttermilk? Just add 1 tablespoon of white vinegar or lemon juice to a measuring cup, then fill the rest with regular milk until it reaches 1 cup. Let it sit for 5 minutes. Boom, instant buttermilk!
FAQ (Frequently Asked Questions)
- Can I use a box mix instead of making the cake from scratch?
Oh, absolutely! No judgment here, my friend. If a box mix gets you to the decorating part faster, go for it! The design principles remain the same.
- Do I really need a cake turntable for decorating?
Technically no, but it’s a game-changer! It makes smoothing sides and applying drips so much easier. If you don’t have one, just slowly rotate your cake plate as you work. It just takes a little more patience, IMO.
- How do I get super smooth frosting on the sides?
Ah, the holy grail! Key tips: a well-chilled crumb coat, plenty of frosting on your final layer, and a warm offset spatula or bench scraper. Dip your tool in hot water, wipe it dry, then smooth. Practice makes perfect!
- My cake looks lopsided! What do I do?
Don’t panic! Frosting is a master of disguise. You can often trim a little from the higher side, or simply add a bit more frosting to the lower side to balance it out. Berries and sprinkles are also excellent camouflage artists.
- How far in advance can I decorate this cake?
You can bake the cakes a day or two in advance (wrap tightly and store at room temp or freeze). Frosting can be done the day before. For best fresh berry results, add those a few hours before serving, as they can sometimes “bleed” onto the frosting over time.
- What if I mess up the drip?
Hey, imperfect drips are charmingly rustic! If it looks really bad, you can sometimes gently scrape it off and reapply (if it hasn’t set). Or just lean into it and add more berries/shavings to strategically hide the “oopsie.” No one needs to know!
Final Thoughts
So there you have it, your secret weapon for creating a chocolate cake that looks like it came straight out of a fancy bakery, but with all the love (and maybe a little bit of playful chaos) of a homemade treat. Remember, the goal isn’t perfection; it’s deliciousness and a design that makes *you* happy. Now go impress someone—or yourself, which is arguably more important—with your new culinary (and artistic!) skills. You’ve earned it!


