So, you’ve got that irresistible chocolate craving hitting hard, but the thought of spending an entire afternoon wrangling a fussy recipe sounds… less than ideal? Trust me, I get it. We want beautiful, show-stopping chocolate cake without the usual kitchen dramatics or a post-baking emotional breakdown. And guess what? We’re about to make that happen. No culinary degree required, just a love for all things chocolate and a willingness to have a little fun.
Why This Recipe is Awesome
Let’s be real, most “beautiful” cake recipes come with a mile-long ingredient list and instructions that feel like deciphering ancient scrolls. Not this one, my friend. This recipe for a truly *beautiful* chocolate cake is practically a cheat code for deliciousness. It’s **super forgiving**, meaning even if you accidentally hum a little too loud while mixing, it’ll probably still turn out amazing. It’s also **insanely moist** and rich, thanks to a few clever tricks (no spoilers yet!). Plus, it scales well, so you can make it for a quiet night in or to impress everyone at the next potluck. Seriously, people will ask for the recipe, and you can just casually shrug and say, “Oh, this old thing?” (Wink, wink.)
Ingredients You’ll Need
Time to gather your edible treasures! Don’t fret, most of these are probably chilling in your pantry already. No obscure, hard-to-find items here – just good ol’ reliable deliciousness.
- All-Purpose Flour: The foundation of our cakey dreams. Make sure it’s fresh!
- Granulated Sugar: For that sweet, sweet goodness. We’re making cake, not a diet snack. Embrace it.
- Unsweetened Cocoa Powder: This is where the magic happens. Go for a good quality one; it really makes a difference.
- Baking Soda & Baking Powder: Our dynamic duo for lift and fluffiness. Don’t confuse them!
- Salt: Just a pinch! It enhances all the chocolatey flavors. **Do not skip the salt**, it balances the sweetness beautifully.
- Eggs: Room temperature, please! They mix better and create a lighter crumb.
- Milk (or Buttermilk): Also room temperature. Buttermilk adds an extra layer of moisture and tang that’s divine.
- Vegetable Oil (or Melted Butter): Oil makes for a super moist cake, but melted butter adds an extra layer of richness if you’re feeling decadent. Your call!
- Vanilla Extract: Pure vanilla, always. It’s like the secret handshake of delicious desserts.
- Hot Water or Hot Brewed Coffee: This is **the secret ingredient** for really deepening that chocolate flavor. The coffee won’t make it taste like coffee, it just boosts the cocoa like crazy!
Step-by-Step Instructions
Alright, apron on, game face ready! Let’s get this chocolate cake party started. These steps are designed to be quick and painless.
- Get Prepped: First things first, **preheat your oven to 350°F (175°C)**. Grease and flour two 8-inch round cake pans. Or, even easier, line the bottoms with parchment paper after greasing – makes removal a breeze!
- Whisk the Dry Stuff: In a large bowl, whisk together your flour, sugar, cocoa powder, baking soda, baking powder, and salt. Make sure there are no lumps of cocoa. We want a smooth, dry blend.
- Combine the Wet Crew: In a separate medium bowl, whisk together the eggs, milk (or buttermilk), vegetable oil (or melted butter), and vanilla extract. Ensure everything is well combined.
- Unite & Mix: Pour the wet ingredients into the dry ingredients. Mix on low speed (or by hand) until *just* combined. You don’t want to overmix! A few small lumps are okay.
- The Magic Touch: Now, carefully pour in the hot water or hot coffee. Mix on low speed until the batter is smooth. The batter will be thin, and that’s perfectly normal! Don’t panic.
- Bake It Off: Divide the batter evenly between your two prepared cake pans. Pop them into the preheated oven and bake for **30-35 minutes**, or until a wooden skewer inserted into the center comes out clean.
- Cool Down: Let the cakes cool in their pans for about 10-15 minutes before inverting them onto a wire rack to cool completely. **Patience is a virtue here!** Don’t try to frost a warm cake unless you want a melted, crumbly mess.
- Frost & Devour: Once completely cool, frost with your favorite chocolate buttercream, ganache, or even a simple dusting of powdered sugar. Then, slice, serve, and accept all the compliments!
Common Mistakes to Avoid
Even the best of us have our “oops” moments. Here are a few common pitfalls to sidestep for a flawless chocolate cake experience:
- Ignoring the Preheat: Thinking you don’t need to preheat your oven? Rookie mistake! An unheated oven can lead to dense, unevenly baked cakes. Always preheat!
- Overmixing the Batter: This is probably the number one culprit for dry, tough cakes. Mix until *just* combined. Lumps are better than gluten overdevelopment, trust me.
- Opening the Oven Door Too Soon: It’s tempting, I know, but opening the oven door before your cake is mostly set can cause it to sink in the middle. Resist the urge, grasshopper!
- Skipping Room Temperature Ingredients: Cold eggs and milk don’t emulsify as well with the other ingredients, leading to a less cohesive batter and potentially a denser cake.
- Not Letting It Cool Completely: Frosting a warm cake is like trying to ice skate uphill in flip-flops. It’s a disaster waiting to happen. **Seriously, let those cakes cool!**
Alternatives & Substitutions
Life happens, and sometimes you just don’t have exactly what the recipe calls for. No worries, we’re flexible!
- No Buttermilk? No Problem! If you only have regular milk, add 1 tablespoon of white vinegar or lemon juice to a measuring cup, then fill to the 1 cup line with milk. Let it sit for 5 minutes, and voila – DIY buttermilk!
- Coffee vs. Water: While hot coffee really deepens the chocolate flavor, hot water works perfectly fine if you’re not a coffee person or just don’t have any brewed. The cake will still be delicious!
- Different Fat: If you’re out of vegetable oil, any neutral-flavored oil (like canola or grapeseed) will work. Melted unsalted butter is also a fantastic (and slightly more luxurious) option.
- Gluten-Free Version: You can absolutely make this cake gluten-free! Just use a good quality 1:1 gluten-free all-purpose flour blend that contains xanthan gum. The baking time might vary slightly, so keep an eye on it.
- Frosting Fun: Feeling adventurous? Try a luscious cream cheese frosting, a simple chocolate ganache, or even a raspberry buttercream for a delightful twist!
FAQ (Frequently Asked Questions)
Got questions? I’ve got (casual and hopefully helpful) answers!
Q: Can I use semi-sweet chocolate chips instead of cocoa powder?
A: Hmm, not for *this* recipe, my friend. The cocoa powder is key for that deep, rich chocolate flavor and beautiful color we’re going for. Chocolate chips are better for melting into ganache or adding to the batter for extra pockets of melty goodness, but not as a direct substitute for the cocoa powder here.
Q: My cake sank in the middle! What went wrong?
A: Ah, the dreaded sinkhole! It usually means one of a few things: overmixing the batter, opening the oven door too early, or your oven temperature might be a bit off (invest in an oven thermometer, they’re super helpful!). Don’t worry, it happens to the best of us, and it usually still tastes great!
Q: How long does this beautiful chocolate cake keep?
A: If you can resist devouring it all in one sitting, this cake, covered tightly at room temperature, will stay fresh and moist for about 3-4 days. In the fridge, it’ll last a bit longer, maybe up to a week. But honestly, it rarely lasts that long in my house, LOL!
Q: Can I make this into cupcakes instead?
A: You absolutely can! Just line a muffin tin with paper liners, fill them about two-thirds full with batter, and bake for about 18-22 minutes, or until a toothpick comes out clean. Adjust baking time accordingly!
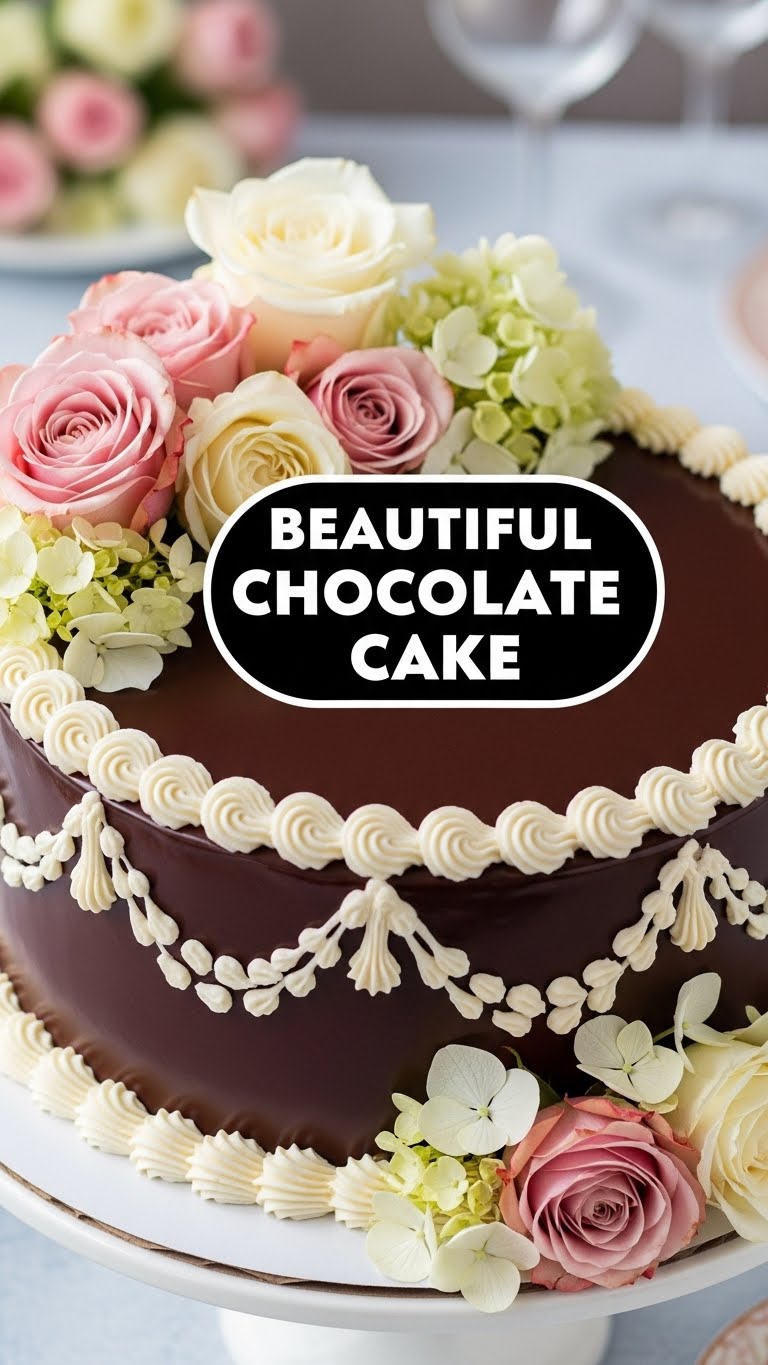
Q: Is this cake *actually* beautiful, or just beautiful on the inside?
A: Both, darling! With a little frosting flair (even a simple swirl will do!), it looks like it came straight from a fancy bakery. But the real beauty is in how wonderfully moist, rich, and utterly delicious it tastes. It’s a crowd-pleaser, guaranteed. **FYI**, prepare for compliments!
Final Thoughts
See? That wasn’t so bad, was it? You just whipped up a genuinely beautiful (and unbelievably tasty) chocolate cake. Go ahead, take a bow! Whether you share it with friends, family, or just a spoon and a good movie, you’ve earned every single bite. Now go forth and impress someone—or yourself—with your new culinary superpower. You’ve earned it!
