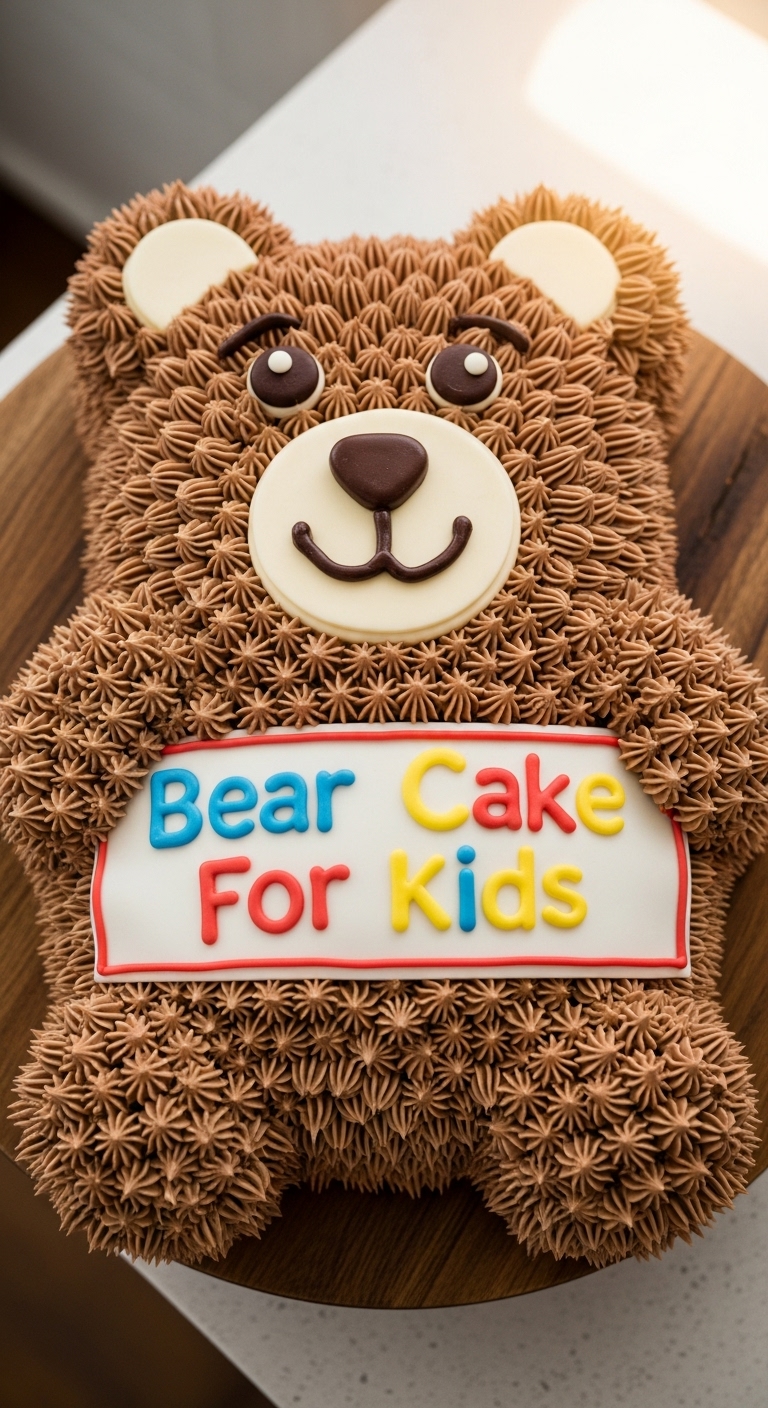
Okay, so you’ve promised the kids a “bear cake,” and now you’re wondering how you got yourself into this, right? Don’t worry, you’re not alone. We’re about to make a cake that looks like a bear, tastes amazing, and won’t make you want to hibernate from the kitchen for a week. Seriously. Let’s get baking!
Why This Recipe is Awesome
This isn’t some fussy, bake-off level creation, folks. This “Bear Cake for Kids” is your new best friend because:
It’s practically foolproof. I’ve tried it after only one coffee, and it still worked. That’s a testament, IMO.
It actually looks like a bear. Or at least, a charmingly rustic, maybe slightly sleepy bear. The kids won’t care; they’ll just see cake!
Minimal fancy equipment needed. You probably have everything in your kitchen right now. No need to buy a specific bear-shaped pan, unless you really want to.
It’s fun! Seriously, decorating this is a giggle-fest, especially if you let the kids get involved (and don’t mind a bit of frosting on the ceiling).
Ingredients You’ll Need
For the Cake:
1 ½ cups all-purpose flour: The backbone of our bear. Don’t skimp, unless you want a very sad, flat bear.
1 cup granulated sugar: Sweetness for our sweet bear.
1 teaspoon baking powder: Our little lift-off agent.
½ teaspoon baking soda: More lift! We want a fluffy bear.
¼ teaspoon salt: Balances everything out. Trust me on this.
½ cup unsalted butter, softened: The good stuff. If it’s rock hard, microwave it for about 10 seconds, but don’t melt it completely!
1 large egg: Our binder.
1 teaspoon vanilla extract: Vanilla makes everything better. It’s science.
1 cup buttermilk: Or milk with a tablespoon of lemon juice/vinegar, left to sit for 5 mins. Don’t have buttermilk? Get creative!
For the “Bear Fur” Frosting & Decorations:
½ cup unsalted butter, softened: Again, the good stuff.
2 cups powdered sugar: Also known as confectioners’ sugar. Sift it if you’re feeling fancy (or hate lumps).
2-3 tablespoons milk: Just enough to make it spreadable.
½ teaspoon vanilla extract: More deliciousness.
2-3 tablespoons cocoa powder: This is our bear’s fur color! Adjust for your desired shade of grizzly.
Chocolate chips or M&M’s: For eyes and nose – the bear’s personality, basically.
Oreo cookies (or similar chocolate cookies): These are for the ears. They’re perfect!
Step-by-Step Instructions
Preheat & Prep: Get that oven heated to 350°F (175°C). Grease and flour a round 9-inch cake pan. Seriously, don’t skip the greasing; nobody wants a stuck bear.
Dry Mix Fun: In a medium bowl, whisk together your flour, sugar, baking powder, baking soda, and salt. Make sure it’s all buddies.
Wet Mix Wonders: In a separate, larger bowl, cream together your softened butter and egg until light and fluffy. Stir in the vanilla extract.
Combine Forces: Gradually add the dry ingredients to the wet ingredients, alternating with the buttermilk. Start and end with the dry. Mix just until combined – overmixing is a bear’s worst enemy (makes it tough, FYI).
Bake the Bear: Pour your batter into the prepared pan. Bake for 25-30 minutes, or until a toothpick inserted into the center comes out clean.
Cool Down: Let your cake cool in the pan for 10 minutes before inverting it onto a wire rack to cool completely. Patience is a virtue here! Don’t try to frost a warm cake unless you want a melty disaster.
Frosting Frenzy: While the cake chills, make your “fur.” Beat softened butter until creamy. Gradually add powdered sugar, milk, vanilla, and cocoa powder. Beat until smooth and fluffy. If it’s too thick, add a tiny bit more milk; too thin, more powdered sugar.
Bear-ify It! Once the cake is completely cool, spread your chocolate frosting all over it. This is where the magic happens!
Feature Time:
Ears: Gently twist open two Oreo cookies. Discard the cream filling (or eat it, I won’t judge). Press the chocolate cookie halves onto the top sides of the cake for ears.
Eyes: Use two chocolate chips or M&M’s for the eyes.
Nose/Snout: Use another chocolate chip or M&M for the nose. You can even use a blob of frosting and then press a chip into it for a more prominent snout.
Mouth: Get a toothpick or small knife and gently draw a smile from the nose downwards. Voila! Instant adorable bear.
Common Mistakes to Avoid
Under-greasing the pan: This is the #1 way to turn your bear cake into a sad, stuck-to-the-pan blob. Grease and flour generously!
Overmixing the batter: You want a tender bear, not a rubbery one. Mix until just combined. Lumps are okay!
Frosting a warm cake: Unless you’re going for a “swamp monster” look, wait until the cake is completely cool. Seriously.
Ignoring oven temperatures: Thinking you don’t need to preheat the oven? Rookie mistake. Your cake will thank you for the consistent heat.
Using cold butter: For both cake and frosting, softened butter is key. It creams better and incorporates more smoothly.
Alternatives & Substitutions
No buttermilk? No problem! Just mix 1 cup of regular milk with 1 tablespoon of lemon juice or white vinegar and let it sit for 5 minutes. Instant buttermilk stand-in.
Different frosting flavor? Skip the cocoa powder for a vanilla “polar bear” cake, or add a little coffee powder for a mocha bear. Get creative!
Don’t have Oreos for ears? Use other round chocolate cookies, or even cut out circles from a slice of chocolate roll cake, or just pipe two round blobs of frosting. Necessity is the mother of bear invention.
Nutella instead of chocolate chips for features? Go for it! Spread a little dab and press the chip on for a shinier nose.
Whip cream frosting: If you want a lighter, less sweet option, you can use whipped cream, but it won’t be as sturdy. It might look more like a fluffy cloud bear.
FAQ (Frequently Asked Questions)
Can I use oil instead of butter in the cake? Well, technically yes, but why hurt your soul like that? Butter adds so much flavor and tenderness. If you must, use an equal amount of neutral oil, but be warned, it’s not quite the same.
My cake sunk in the middle! What happened? Oh, the horror! Usually, this means your oven door was opened too early, or your leavening agents (baking powder/soda) are past their prime. Check their dates, folks!
How do I get my frosting extra fluffy? Beat that butter until it’s super pale and fluffy before adding anything else. Then add ingredients gradually and beat on medium-high speed for a good 3-5 minutes. Arm workout, anyone?
Can I make this into cupcakes? Absolutely! Just fill cupcake liners about two-thirds full and bake for 18-22 minutes. Then decorate them into mini bear faces! So cute!
How long does this bear cake last? Covered at room temperature, it’s usually good for 2-3 days. If you manage to make it last that long without devouring it all, you’re a stronger person than I am.
Final Thoughts
There you have it, your very own adorable, delicious, and shockingly easy Bear Cake for Kids (and let’s be real, for you too). Now go impress someone—or yourself—with your new culinary skills. You’ve earned it! Remember, it’s about having fun in the kitchen, making memories, and eating something yummy. Happy baking, my friend!


