Alright, listen up, buttercup! So you’re craving something ridiculously tasty, packed with flavor, but also… *gasp*… super easy, and ideally something you can just shove in the oven and forget about for a bit? Yeah, me too. Every single day. And because I believe in good food with minimal fuss, I’m about to drop a Barque Chicken recipe on you that’ll make your taste buds do a happy dance without making your kitchen look like a disaster zone. Prepare to be amazed (or at least mildly impressed).
Why This Recipe is Awesome (And Why You’ll Love Me For It)
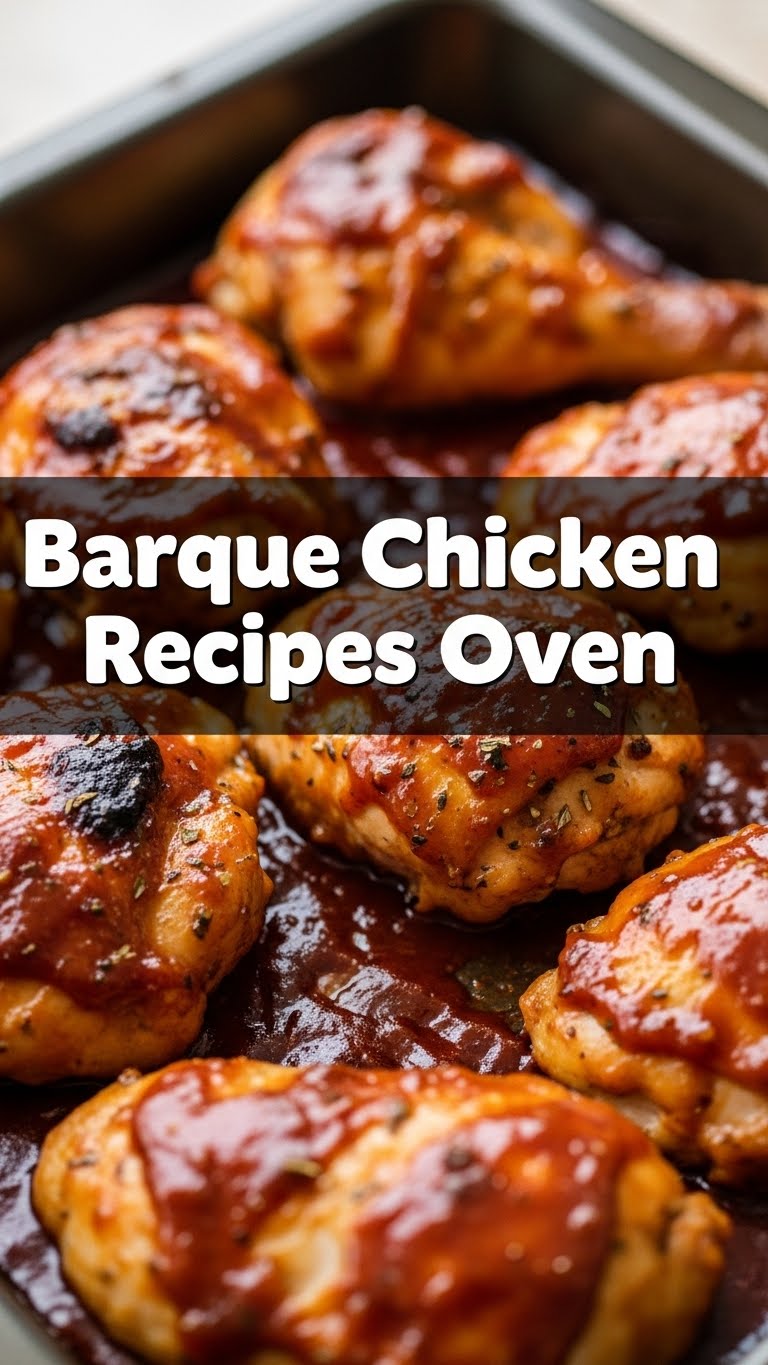
First off, it’s oven-baked. Which, let’s be real, is just a fancy way of saying “set it and forget it” for foodies. You get all that gorgeous, tender, juicy chicken goodness without having to babysit a grill or worry about flare-ups. This recipe is practically **idiot-proof**. Seriously, I once almost set my kitchen on fire making toast, and even I managed to nail this one. Plus, the “Barque” part? It means we’re infusing it with some seriously deep, smoky, slightly sweet flavors that usually take hours. We’re getting that campfire vibe, but from the comfort of your cozy kitchen. Magic? Maybe. Delicious? Absolutely.
Ingredients You’ll Need (The Good Stuff)
- **Chicken Pieces:** About 2-3 lbs of your favorite cuts – thighs, drumsticks, or even breast if you promise not to overcook it! Bone-in, skin-on is highly recommended for maximum juicy flavor. Trust me on this.
- **Olive Oil:** A couple tablespoons. Your standard kitchen MVP.
- **Brown Sugar:** 1-2 tablespoons, packed. For that gorgeous caramelization and touch of sweetness. Don’t skip it, it’s not just for dessert!
- **Smoked Paprika:** 1 tablespoon. This is where the “Barque” flavor really kicks in. Don’t even think about regular paprika. Go smoked or go home.
- **Garlic Powder:** 1 teaspoon. Because garlic makes everything better. It’s a universal truth.
- **Onion Powder:** 1 teaspoon. Garlic’s trusty sidekick.
- **Dried Thyme:** 1/2 teaspoon. For that herby, earthy undertone.
- **Cayenne Pepper:** 1/4 – 1/2 teaspoon (or more, if you like a little kick in the pants!). Totally optional, but fun.
- **Salt & Black Pepper:** To taste. Standard seasoning crew.
- **Apple Cider Vinegar (optional):** 1 tablespoon. A little tang cuts through the richness beautifully.
Step-by-Step Instructions (Let’s Get Cooking!)
- **Preheat Your Oven, Genius:** Seriously, do it. Set your oven to a nice, cozy **400°F (200°C)**. Line a baking sheet with parchment paper or foil for super easy cleanup later. You’ll thank me.
- **Chicken Prep Time:** Pat your chicken pieces super dry with paper towels. This is crucial for crispy skin! Place them in a large bowl.
- **Whip Up the Magic Rub:** In a small bowl, whisk together the olive oil, brown sugar, smoked paprika, garlic powder, onion powder, dried thyme, cayenne pepper (if using), salt, black pepper, and apple cider vinegar (if using). It should form a thick paste.
- **Rub-a-Dub-Dub:** Pour that glorious rub all over the chicken. Get in there with your hands (gloves recommended unless you want orange fingers for a day!) and make sure every single piece is coated evenly. Don’t be shy!
- **Arrange for Awesomeness:** Place the coated chicken pieces on your prepared baking sheet in a single layer, skin-side up. Make sure there’s a little space between each piece so they roast instead of steam.
- **Bake It ‘Til It’s Beautiful:** Pop that baking sheet into your preheated oven. Bake for **30-45 minutes**, depending on the size of your chicken pieces. You’re looking for an internal temperature of 165°F (74°C) and beautifully crispy, golden-brown skin.
- **Rest & Devour:** Once cooked, take the chicken out of the oven, cover loosely with foil, and let it rest for 5-10 minutes. This helps the juices redistribute, making it even more tender. Then, go nuts!
Common Mistakes to Avoid (So You Don’t Mess It Up Like I Used To)
- **Not Preheating:** Rookie move. Your chicken won’t cook evenly, and the skin won’t get that coveted crispiness. Patience, grasshopper.
- **Crowding the Pan:** If your chicken pieces are touching, they’ll steam instead of roast. You’ll end up with soggy skin and sad chicken. Give them their space!
- **Forgetting to Pat Dry:** Moist chicken skin is the enemy of crispy chicken skin. Seriously, get those paper towels out.
- **Eyeballing Temperatures:** While tempting, undercooked chicken is no fun (and unsafe!). **Grab a meat thermometer.** It’s cheap insurance for delicious, perfectly cooked poultry.
- **Skipping the Rest:** Your chicken needs a little chill time after its oven sauna. Let those juices settle! Otherwise, they’ll all run out when you cut into it, leaving you with dry chicken. Womp womp.
Alternatives & Substitutions (Because We’re Flexible Like That)
Okay, so maybe you’re out of smoked paprika (gasp!) or have dietary preferences. No worries, we can roll with the punches!
- **Chicken Cuts:** While bone-in, skin-on is king IMO, you can totally use boneless, skinless thighs or breasts. Just adjust your cooking time down – breasts especially will cook faster, so watch them like a hawk to avoid dryness.
- **Spices:** No smoked paprika? You could try a mix of regular paprika with a tiny pinch of liquid smoke (use sparingly!). Or experiment with chili powder for a different but equally delicious flavor profile.
- **Sweetener:** No brown sugar? A tablespoon of honey or maple syrup would work too, though the flavor will be slightly different. White sugar in a pinch, but brown sugar gives that deeper, molasses-y note.
- **Vinegar:** If you don’t have apple cider vinegar, white wine vinegar or even a squeeze of fresh lemon juice can provide that necessary bright tang.
- **Veggie Power-Up:** Want a full meal on one pan? Toss some chopped potatoes, carrots, or bell peppers with a little olive oil, salt, and pepper, and roast them alongside the chicken. Just make sure they’re cut small enough to cook in the same time frame.
FAQ (Because You Know You Have Questions)
- **”Can I make this ahead of time?”** Oh, you fancy huh? You can totally mix the rub and coat the chicken a few hours (or even overnight!) before baking. Just keep it covered in the fridge. The flavors will meld even more beautifully.
- **”My chicken isn’t getting crispy! What gives?”** Did you pat it dry? Did you crowd the pan? Is your oven actually at the right temp? **These are the usual suspects.** Also, make sure your chicken isn’t too cold when it goes in – let it sit out for 15-20 minutes before baking.
- **”Can I use a whole chicken?”** You bet! Just spatchcock it (cut out the backbone and flatten it) for even cooking, then adjust the baking time – it’ll likely need 45-60 minutes or more. Always check that internal temp!
- **”What should I serve with this?”** Oooh, great question! Roasted potatoes, a simple green salad, rice pilaf, or some steamed green beans would be amazing. Anything that lets the chicken shine!
- **”Is this healthy?”** Well, it’s chicken, so protein power! As for the rest, it’s all about balance, my friend. It’s definitely tastier than a sad desk salad. YOLO, right?
Final Thoughts (Now Go Forth and Conquer!)
There you have it! Your new go-to, ridiculously flavorful, impressively easy Barque Chicken recipe, straight from my kitchen to yours (metaphorically speaking, of course). This dish is proof that you don’t need a Michelin star to whip up something truly delicious. Now go impress someone—or yourself, which is arguably more important—with your new culinary skills. You’ve earned those bragging rights! Happy cooking, my friend!


