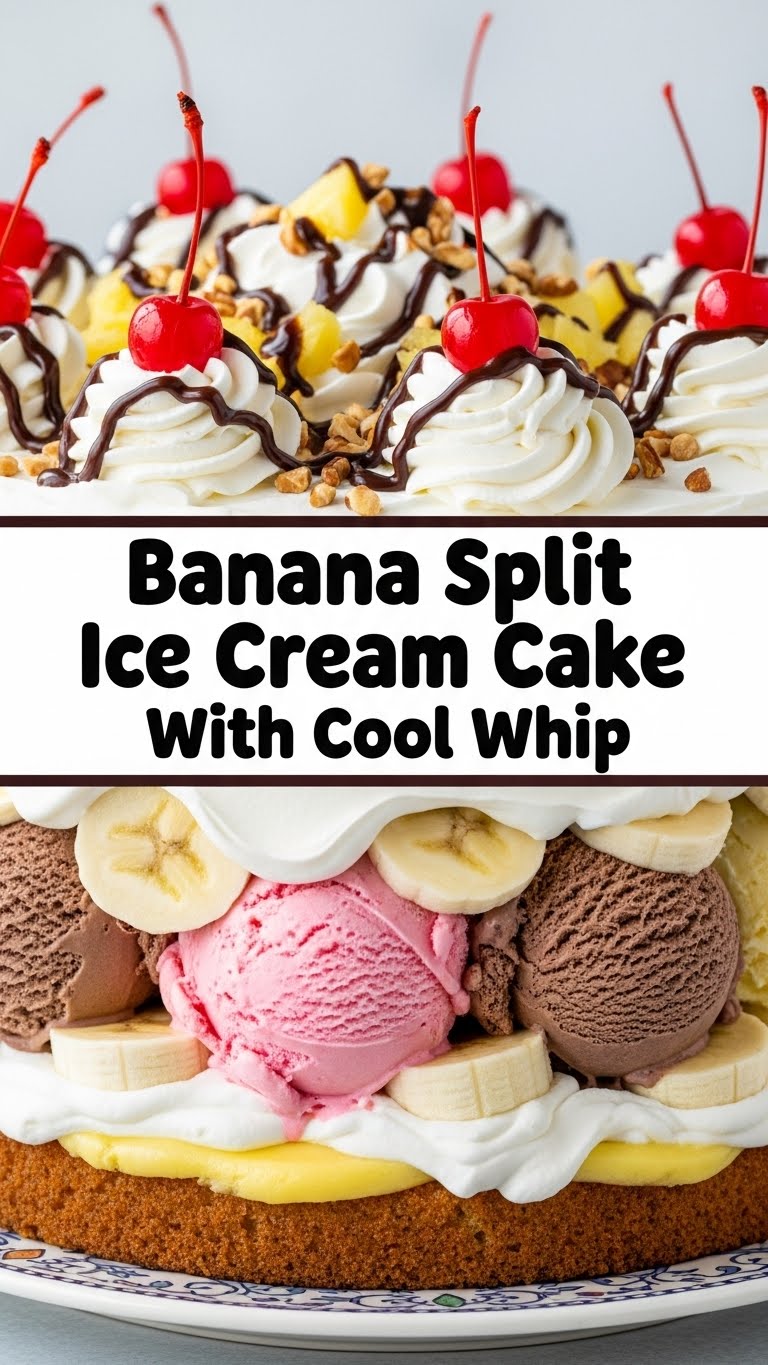
So you’re craving something absolutely epic, but the thought of spending hours slaving away in the kitchen makes you want to crawl back into bed? Been there, done that, bought the T-shirt. Good news: I’ve got a recipe that’s about to become your new best friend. We’re talking a Banana Split Ice Cream Cake with Cool Whip, and trust me, it’s so easy, even your cat could probably help (don’t let them, though, hygiene reasons). Get ready to impress everyone with minimal effort!
Why This Recipe is Awesome
Let’s be real, life’s too short for complicated desserts, especially when it’s hot out. This cake? It’s basically a party in your mouth that requires zero oven time. Seriously, no baking involved! It’s **idiot-proof**, I swear. I made it, and I’m notoriously good at setting off smoke detectors with toast. You get all the classic, joyful vibes of a banana split, but in a sliceable, shareable cake format. Plus, it looks super fancy, but your secret is safe with me: it takes almost no actual effort. It’s perfect for summer gatherings, Tuesday nights, or just because you deserve a treat. You’re welcome.
Ingredients You’ll Need
Gather your troops, because we’re about to assemble some deliciousness. No obscure spices or fancy equipment required, just pure, unadulterated goodness.
- For the Crust:
- 1 ½ cups graham cracker crumbs (or about 10-12 full graham cracker sheets, crushed. Easy peasy!)
- ¼ cup granulated sugar
- ½ cup unsalted butter, melted (the good stuff, no margarine heresy here!)
- For the Filling & Layers:
- 1 ½ quarts (about 6 cups) your favorite ice creams – think vanilla, chocolate, and strawberry for that classic banana split vibe. Softened a bit, but not soup!
- 3 medium bananas, sliced (don’t skimp on the star!)
- 1 (15-ounce) can crushed pineapple, well drained (seriously, drain it! No one likes a soggy cake.)
- 1 cup sliced fresh or frozen (and thawed) strawberries
- ½ cup hot fudge topping (or chocolate syrup, your call!)
- ¼ cup caramel sauce (because why not?)
- 1 (8-ounce) container Cool Whip, thawed (because who has time to whip cream from scratch when there’s cake to be eaten?)
- For Toppings (the fun part!):
- Maraschino cherries (the little red gems!)
- Chopped peanuts or walnuts (for that crunch!)
- Extra drizzles of hot fudge and/or caramel (because more is more, IMO)
Step-by-Step Instructions
Alright, let’s get down to business. These steps are so simple, you could probably do them in your sleep (but please don’t, sharp knives and dreams don’t mix).
- Crust Time: In a medium bowl, combine the graham cracker crumbs, sugar, and melted butter. Mix it up until it looks like wet sand. Press this mixture firmly into the bottom of a 9×13 inch baking pan. Use the back of a spoon or your clean fingers. Now, pop it in the freezer for about 15-20 minutes to firm up. **Don’t skip this chilling step!** It’s crucial for a solid crust.
- First Ice Cream Layer: Take your slightly softened vanilla ice cream (or whatever flavor you’re starting with). Spread about 2 cups evenly over the chilled crust. Work quickly so it doesn’t melt too much.
- Fruit & Drizzle Extravaganza: Arrange about half of your sliced bananas, drained pineapple, and sliced strawberries over the first ice cream layer. Drizzle about a third of your hot fudge and caramel sauce over the fruit.
- Second Ice Cream Layer: Now, spread about 2 cups of your next ice cream flavor (let’s say chocolate) over the fruit and sauces. Try to be gentle so you don’t mush everything together.
- More Goodness: Repeat the fruit and drizzle layering! Add the remaining bananas, pineapple, and strawberries, plus another third of your hot fudge and caramel.
- Third Ice Cream Layer: Finish off your ice cream layers with the last 2 cups of your chosen flavor (strawberry, perhaps?). Spread it carefully over the fruit.
- The Cool Whip Crown: Spread the entire container of thawed Cool Whip evenly over the top ice cream layer. Make it look pretty with swirls or peaks – you’re an artist!
- Freeze to Perfection: Cover the pan loosely with plastic wrap or foil. Stick this glorious creation back into the freezer for at least **4-6 hours**, or preferably overnight. The longer it freezes, the easier it will be to slice.
- Serve It Up: When you’re ready to serve, take the cake out of the freezer about 10-15 minutes before cutting. This makes it a bit easier to slice. Drizzle with the remaining hot fudge and caramel, sprinkle with chopped nuts, and top each slice with a maraschino cherry. Voila!
Common Mistakes to Avoid
Nobody’s perfect, but we can definitely avoid some rookie errors here. Learn from my past kitchen mishaps, friends!
- Not Draining the Pineapple: Seriously, I cannot stress this enough. Pineapple juice will make your cake watery and sad. Press that moisture out!
- Using Rock-Hard Ice Cream: Trying to spread frozen-solid ice cream is a battle you will lose. Let it soften on the counter for 10-15 minutes until it’s spreadable, but not melted.
- Skimping on Freeze Time: Impatience is a virtue sometimes, but not here. If you cut it too soon, you’ll have a melty, messy, delicious puddle instead of a cake. Give it the time it needs, FYI.
- Overloading on Fruit Between Layers: A little fruit is great, a lot can make it hard to cut and a bit too soggy. Find that sweet spot!
- Forgetting the Cool Whip: This is blasphemy. The Cool Whip adds that light, creamy finish that really makes it a cake, not just a layered sundae.
Alternatives & Substitutions
Feeling adventurous? Or maybe you just don’t have something on hand? No worries, here are some ideas to mix things up:
- Crust Swaps: Not a graham cracker fan? Try crushed Oreo cookies for a chocolatey base, or Nilla Wafers for a more vanilla vibe.
- Ice Cream Flavors: Go wild! Mint chocolate chip, coffee, cookie dough, even pistachio could be fun. Mix and match to your heart’s content.
- Fruit Fusion: Instead of (or in addition to) the classic banana split fruits, try sliced peaches, blueberries, raspberries, or even mango!
- Sauce Shenanigans: White chocolate sauce, Biscoff spread, or even a peanut butter drizzle could add a whole new dimension.
- Topping Tweak: Sprinkles, mini chocolate chips, coconut flakes, different types of nuts – get creative with your garnish game!
- Homemade Whipped Cream: If you’re feeling *really* ambitious and want to dirty more dishes, you can whip up your own heavy cream. But remember, the goal here is ease!
FAQ (Frequently Asked Questions)
Got questions? I’ve got answers. And probably a few bad jokes.
Q: Can I make this cake ahead of time for a party?
A: Heck yes! In fact, it’s encouraged. This is a freezer cake, so making it the day before (or even two!) is perfect. Just keep it well-covered.
Q: How long does it really need to freeze?
A: Minimum 4 hours to be sliceable, but 6 hours or overnight is truly ideal for a solid, less-melty experience. Patience is a virtue, especially when ice cream cake is involved.
Q: Can I use regular whipped cream instead of Cool Whip?
A: Technically, yes. But Cool Whip holds its shape better in the freezer and won’t get icy or collapse as easily. Plus, it’s easier. We’re going for easy, remember?
Q: What if I don’t like bananas? Is it still a banana split cake?
A: Well, without bananas, it’s more of a “super fancy layered ice cream cake.” But hey, you do you! Just leave them out or substitute with another fruit you love.
Q: What’s the best way to cut clean slices?
A: **Warm up your knife!** Run a sharp knife under hot water for a few seconds, wipe it dry, and then make your cut. Repeat for each slice. It’ll glide through like butter (or well, ice cream).
Q: My ice cream is too hard to spread. Help!
A: No stress! Just let it sit on the counter for another 5-10 minutes. You want it soft enough to spread without breaking your spoon, but not so soft it’s soup.
Final Thoughts
See? I told you it was easy! You just whipped up a show-stopping, crowd-pleasing, utterly delicious Banana Split Ice Cream Cake, and you barely broke a sweat. Now go impress someone—or yourself—with your new culinary skills. You’ve earned every single glorious bite. Enjoy, my friend, and don’t forget to save me a slice (or two!).


