So, you’ve got those sad, spotty bananas sitting on your counter, looking less like fruit and more like a science experiment gone wrong? Don’t even *think* about tossing them! Those neglected, brown-speckled beauties are actually culinary gold. Seriously, they’re practically begging to be transformed into something delicious and, dare I say, healthy. We’re talking about giving those overripe bananas their glow-up, without breaking a sweat or your calorie count. Let’s do this!
Why This Recipe is Awesome
Okay, let’s be real. In a world full of complicated recipes that require you to have a culinary degree and a pantry stocked like a gourmet grocery store, sometimes you just need something *easy*. This recipe? It’s basically the culinary equivalent of putting on sweatpants and watching your favorite comfort show. It’s **idiot-proof**, even if you’re usually the one who burns water. Plus, it uses up those bananas that were seconds away from becoming compost, which makes you a kitchen hero and a waste-reduction superstar. **You’ll feel good about eating it**, and even better about making it.
Ingredients You’ll Need
Get ready for a shockingly short list! No obscure ingredients here, just the good stuff you probably already have. We’re making some ridiculously easy, healthy-ish banana “boost” muffins.
- **3-4 Overripe Bananas:** The browner, the better! These are the stars of the show, bringing all the natural sweetness.
- **1 Large Egg:** Our binding hero.
- **1/4 cup Maple Syrup or Honey:** Just a touch more sweetness, if your bananas aren’t quite black. Or skip it if you’re a purist!
- **1/4 cup Unsweetened Applesauce (or melted coconut oil for a richer texture):** The secret to moisture without all the extra fat.
- **1 teaspoon Vanilla Extract:** Because everything is better with vanilla. Duh.
- **1.5 cups Whole Wheat Flour (or Oat Flour for gluten-free vibes):** The healthy backbone.
- **1 teaspoon Baking Soda:** Our fluffy-maker!
- **1/2 teaspoon Cinnamon:** Because bananas and cinnamon are soulmates.
- **Pinch of Salt:** Just to balance all that delicious sweetness.
- **Optional Add-ins:** A handful of chopped walnuts, a sprinkle of dark chocolate chips (because life’s too short for no chocolate), or a scoop of protein powder if you’re feeling extra buff.
Step-by-Step Instructions
Alright, let’s get this party started! Seriously, it’s so quick, you might wonder if you missed a step. (You didn’t, TBH.)
- **Preheat Your Oven & Prep:** First things first, get that oven fired up to **375°F (190°C)**. While it’s warming up, line a 12-cup muffin tin with paper liners or give it a good spray with non-stick spray.
- **Mash Those Bananas:** Grab a medium bowl and those sad-looking bananas. Mash ’em up with a fork until they’re mostly smooth with a few small lumps. We’re not going for baby food, just a nice chunky consistency.
- **Wet Ingredients Unite:** Into that same bowl with the mashed bananas, crack in the egg, add the maple syrup (or honey), applesauce (or oil), and vanilla extract. **Whisk it all together** until just combined. Don’t overmix; we’re not making soufflés here.
- **Dry Team Assembles:** In a separate, larger bowl, whisk together the whole wheat flour, baking soda, cinnamon, and salt. Make sure there are no lumpy bits of baking soda!
- **Combine & Conquer:** Pour the wet banana mixture into the dry ingredients. Stir gently with a spoon or spatula until *just* combined. A few streaks of flour are perfectly fine. **This is key: Do NOT overmix!** If you’re adding walnuts or chocolate chips, fold them in now.
- **Fill ‘Em Up & Bake:** Divide the batter evenly among your prepared muffin cups. Fill them about two-thirds full. Pop that muffin tin into your preheated oven.
- **The Grand Finale:** Bake for **18-22 minutes**, or until a toothpick inserted into the center of a muffin comes out clean. Let them cool in the pan for a few minutes before transferring them to a wire rack to cool completely (if you can wait that long, you’re a stronger person than me).
Common Mistakes to Avoid
Even though this recipe is practically foolproof, there are a few rookie errors that can turn your banana dreams into banana nightmares. Don’t be that person!
- **Using Under-Ripe Bananas:** Seriously, those yellow ones are for eating *as fruit*. For baking, you want the ones with more spots than a leopard. **The darker the banana, the sweeter and more flavorful your muffins will be.**
- **Overmixing the Batter:** This is the #1 culprit for tough, rubbery muffins. Once you add the wet to the dry, stir *just* until combined. A few lumps of flour are totally okay; they’ll disappear during baking. Your arm will thank you, and so will your taste buds.
- **Forgetting to Preheat the Oven:** Thinking you can just shove them in a cold oven? **Rookie mistake.** An oven needs to be at the correct temperature from the start for proper rising and browning. Patience, young padawan!
- **Not Greasing the Pan (or using liners):** Unless you enjoy chiseling your muffins out of the pan, don’t skip this step. Trust me, it’s not fun.
Alternatives & Substitutions
Feeling adventurous or just missing an ingredient? No stress, we’ve got options. This recipe is super forgiving!
- **Flour Power:** Don’t have whole wheat? All-purpose flour works just fine, though it won’t be quite as “healthy.” You can also use a 1:1 gluten-free flour blend, or even almond flour (though you might need to adjust liquid slightly).
- **Sweetener Swap:** Out of maple syrup? Honey is a fantastic alternative. Agave nectar also works. If your bananas are super ripe, you might even reduce the sweetener or omit it entirely. **Taste the mashed banana mixture before adding extra sweetener** – your bananas might be sweet enough!
- **Fat Replacement:** No applesauce? You can use mashed avocado, plain Greek yogurt, or even an extra mashed banana for moisture. Melted butter or any neutral oil (like canola or vegetable) will also work.
- **Spice It Up:** Want more flavor? Add a pinch of nutmeg or a tiny bit of ginger for a different vibe.
- **Mix-ins Galore:** Beyond walnuts and chocolate chips, try shredded coconut, dried cranberries, chopped pecans, or a sprinkle of oats on top for a little crunch.
FAQ (Frequently Asked Questions)
Got questions? I’ve got answers! (Mostly.)
- **Can I use slightly less ripe bananas?**
Well, technically yes, but why hurt your soul like that? You won’t get the same natural sweetness or moisture, and you might need to add more sweetener. **IMO, wait for those brown spots!** - **How long do these banana muffins last?**
If they even make it past day one, they’ll last about 3-4 days at room temperature in an airtight container. For longer storage, freeze ’em! - **Can I freeze them?**
Absolutely! These muffins are freezer superstars. Let them cool completely, then pop them into a freezer-safe bag or container. They’ll keep for up to 3 months. Just thaw them at room temp or give them a quick zap in the microwave. - **What if I don’t have a muffin tin?**
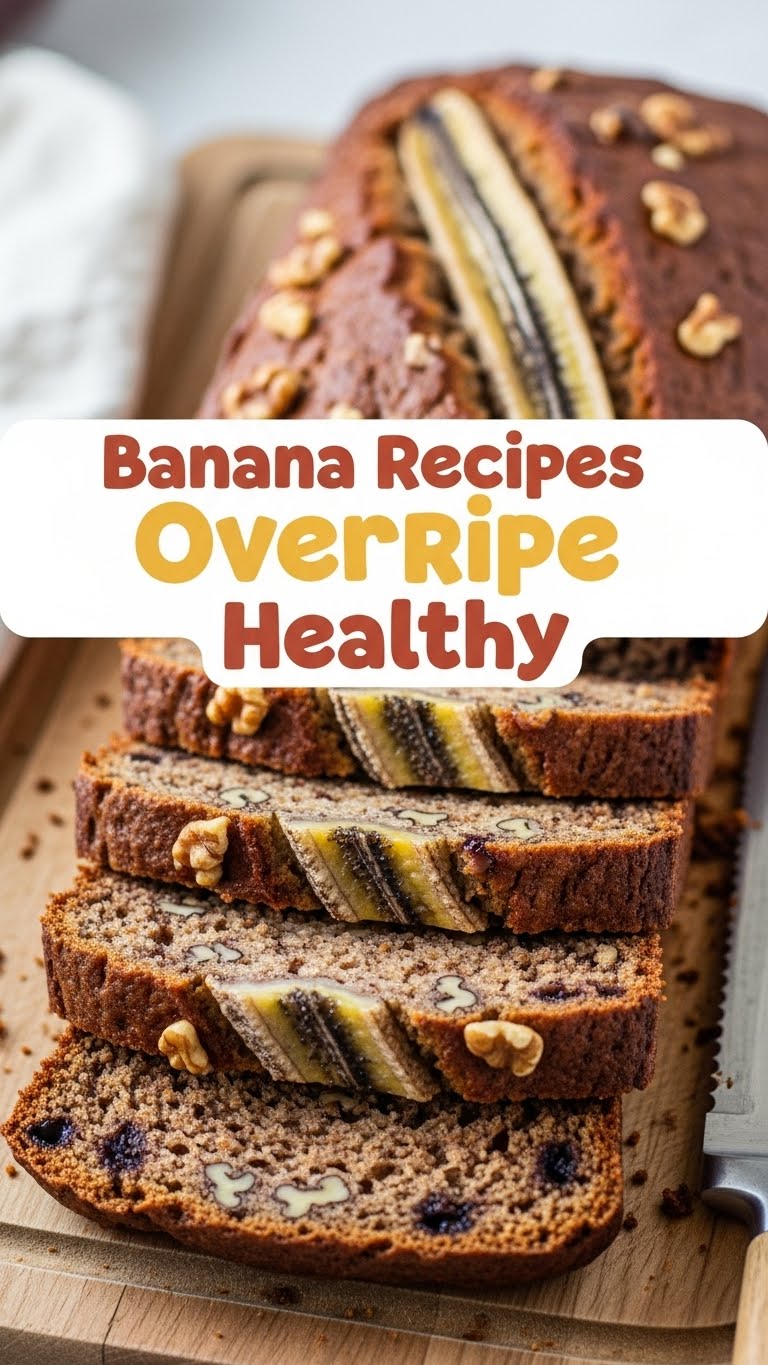
You can make a loaf! Just pour the batter into a greased 9×5 inch loaf pan and bake for 45-55 minutes at 350°F (175°C), or until a toothpick comes out clean. - **Can I add protein powder?**
Yep! Add a scoop or two (about 1/4 – 1/2 cup) with the dry ingredients. You might need to add a splash more applesauce or milk if the batter gets too thick. Whey protein can sometimes make baked goods a bit drier, FYI. - **Are these *really* healthy?**
Compared to your average store-bought muffin loaded with sugar and butter, YES! We’re using whole grains, natural sweeteners, and healthy fats. It’s all about balanced indulgence, my friend.
Final Thoughts
See? Told you it was easy! Now you’ve taken those forgotten, overripe bananas and turned them into something truly delightful. Whether you’re making these for a quick breakfast, a healthy snack, or just to impress yourself with your newfound (or rediscovered) baking prowess, you’ve totally nailed it. Go ahead, pat yourself on the back. You’ve earned it! Now go forth and enjoy your healthy banana boost muffins. And maybe share one… or not. No judgment here.


