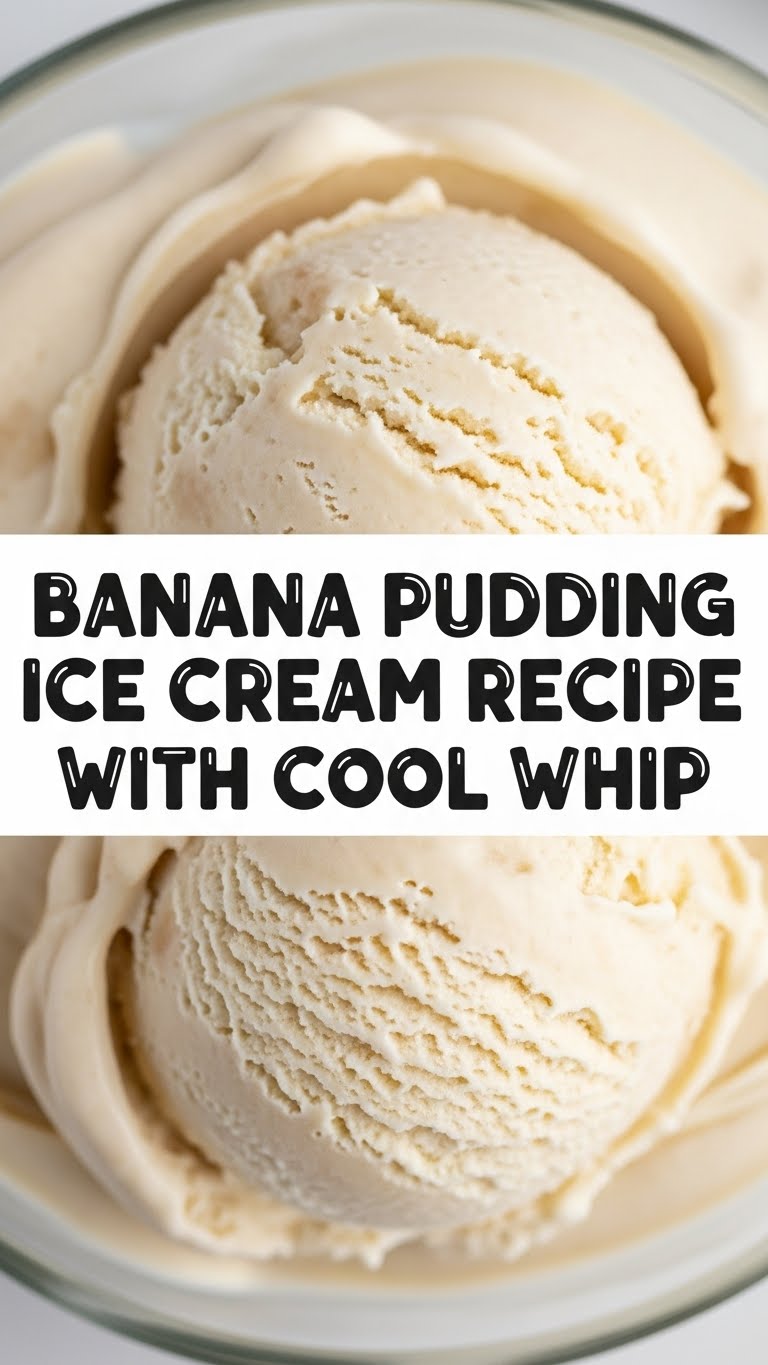
So you’re craving something tasty but too lazy to spend forever in the kitchen, huh? Same. High five! You’ve stumbled upon the holy grail of “dessert without the drama”: Banana Pudding Ice Cream. With Cool Whip, baby! Get ready to impress your taste buds (and anyone lucky enough to be in your orbit) with minimal effort and maximum deliciousness. It’s like a hug for your soul, in ice cream form, without needing an ice cream maker. You’re welcome.
Why This Recipe is Awesome
Let’s be real, who needs complicated kitchen gadgets or a culinary degree to make something ridiculously good? Not us, friend. This recipe is awesome because:
- It’s practically **idiot-proof**. Seriously, if you can open a container and stir, you’ve got this.
- **No fancy ice cream maker required.** Your freezer is the real MVP here, not some expensive appliance that collects dust.
- It tastes EXACTLY like banana pudding but in a super-cool, creamy, frozen format. It’s the best of both worlds, IMO.
- Minimal ingredients, maximum flavor. Less shopping, more chilling (pun intended!).
- It’s a fantastic way to use up those ripe-but-not-too-ripe bananas staring at you from the fruit bowl. Waste not, want not!
Ingredients You’ll Need
Gather ’round, humble chef, for the lineup of stars in this no-bake masterpiece:
- 1 (14 ounce) can Sweetened Condensed Milk: This is the magic goo that makes everything creamy and sweet without needing a sugar coma. Don’t even think about substituting it with regular milk. Just don’t.
- 1 teaspoon Vanilla Extract: A splash for that extra “oomph” and classic dessert vibe.
- 1 pinch Salt (optional, but recommended): Balances out all that lovely sweetness. Trust me on this one.
- 1 (8 ounce) container Cool Whip (thawed): Our airy, fluffy, shortcut hero. It makes the ice cream light and dreamy. No need to whip your own cream and get your arm tired!
- 2-3 ripe Bananas: Ripe, but not *too* ripe. We want banana-y goodness, not banana mush. Yellow with a few nice brown speckles is ideal.
- Approximately 1 cup Vanilla Wafers: The classic crunch! These are non-negotiable for that authentic banana pudding feel. Crush some, keep some whole, live your best life.
Step-by-Step Instructions
- Prep Your Bananas: Grab about half of your bananas and give ’em a good mash in a small bowl. The rest? Slice ’em up nice and pretty for layering. Set both aside.
- Whisk the Wet Stuff: In a large mixing bowl, combine the sweetened condensed milk, vanilla extract, and that tiny pinch of salt. Whisk it all together until it’s super smooth and happy.
- Fold in the Cool Whip: Now for the delicate part. Gently, oh so gently, fold the thawed Cool Whip into your condensed milk mixture. Use a spatula and fold until just combined. You want to keep all that beautiful airiness; don’t go crazy and deflate it! This is key for that light, dreamy texture.
- Crush Those Wafers: While the mixture is chilling (literally, soon!), roughly crush about half of your vanilla wafers. Leave some bigger chunks for texture!
- Layer It Up: Get yourself a freezer-safe container (a loaf pan, an 8×8 dish, whatever works!). Spread about a third of your ice cream mixture on the bottom. Sprinkle with some crushed wafers and a few mashed/sliced bananas.
- Repeat the Magic: Continue layering: ice cream mixture, then wafers, then bananas. Finish with a final layer of ice cream, and if you’re feeling fancy, top with a few extra wafer pieces and banana slices for garnish.
- Freeze Your Masterpiece: Cover your container with plastic wrap or a lid. Pop it into the freezer for at least **6 hours**, but preferably overnight. Patience, young padawan, it’s worth it!
- Scoop and Devour: Once fully frozen, let it sit out for 5-10 minutes if it’s super hard, then scoop generously and enjoy your glorious creation!
Common Mistakes to Avoid
Even the simplest recipes have their pitfalls. Here’s how to sidestep common blunders like a pro:
- Over-Mashing Your Bananas: Unless you prefer baby food texture, don’t turn your bananas into a completely smooth paste. We want little bits of banana goodness in there!
- Aggressively Mixing the Cool Whip: Remember that delicate folding? If you beat the Cool Whip too hard, you’ll lose all that lovely air, and your ice cream will be denser and icier. Gentle hands, my friend!
- Not Freezing Long Enough: Trying to scoop liquidy ice cream? Rookie mistake. Give it the full freeze time. Nobody wants “soup-cream.”
- Forgetting the Vanilla Wafers: This isn’t just banana-flavored ice cream; it’s *banana pudding* ice cream. The wafers are essential for that classic taste and texture. Don’t disappoint the pudding gods!
Alternatives & Substitutions
Feeling adventurous? Or just missing an ingredient? Here are some simple swaps:
- Cool Whip Swap: You *could* whip your own heavy cream (about 2 cups heavy cream + 1/4 cup powdered sugar), but honestly, Cool Whip makes this recipe so incredibly easy and stable. Why work harder, right?
- Vanilla Wafer Alternatives: No Nilla Wafers? No problem! Graham crackers, shortbread cookies, or even gingersnaps (for a spicy kick!) would be tasty. Just crush ’em up!
- Extra Add-ins: Want to jazz it up? Swirl in some caramel sauce before freezing, or even a sprinkle of mini chocolate chips (though that’s a bit controversial in traditional banana pudding, your ice cream, your rules!). A dash of cinnamon can also be a fun twist.
FAQ (Frequently Asked Questions)
Got questions? I’ve got answers!
- Can I use regular milk instead of condensed milk? Bless your heart, no. Sweetened condensed milk is the absolute MVP here for its thickness and sweetness, which is crucial for a no-churn ice cream base. Regular milk would just make… sad, icy banana milk. Trust me.
- How ripe should my bananas be? Just ripe enough! Yellow with a few speckles is perfect. They should be sweet but still firm enough to slice easily. Avoid super brown, mushy bananas unless you *really* love that intense, almost fermented banana bread flavor.
- Do I *have* to use Cool Whip? While you *can* make homemade whipped cream, Cool Whip is the secret to the no-fuss, no-fail, perfectly stable texture of this recipe. It holds up beautifully in the freezer. Why complicate things when simplicity tastes this good?
- How long does this last in the freezer? If you can manage to make it last, it’s usually good for up to 2 weeks. But let’s be real, it probably won’t. It’s too delicious to sit around for that long.
- Can I make this dairy-free? You absolutely can try! Look for dairy-free sweetened condensed coconut milk and a non-dairy whipped topping (like CocoWhip). The texture might vary slightly, but the banana-wafer love will still be there!
- My ice cream is too hard, what went wrong? A couple of things might be at play. Did you mix everything gently? Over-mixing can deflate the Cool Whip, leading to a denser, icier texture. Also, sometimes a very deep freeze can make it extra firm. Let it sit out for 5-10 minutes before scooping for optimal creaminess.
- Can I add other fruits? You totally can! Think strawberry slices, a swirl of peach preserves… But then it wouldn’t technically be *banana* pudding ice cream, would it? Just sayin’.
Final Thoughts
And there you have it! A ridiculously easy, incredibly delicious Banana Pudding Ice Cream that will make you feel like a culinary genius (without, you know, doing any actual genius-level work). This isn’t just a dessert; it’s a mood. It’s a celebration of simple pleasures. Now go forth and conquer that dessert craving! Impress your friends, yourself, or just your couch. You’ve earned it!


