So, you’ve got those sad, spotty bananas sitting on your counter, judging you? And you’re too busy (or, let’s be real, too lazy, no judgment here!) to turn them into something spectacular? My friend, I’ve got you. Forget complicated desserts. Today, we’re diving headfirst into the glorious, moist, and utterly delightful world of Banana Pound Cake. Get ready to impress yourself (and maybe everyone else, if you decide to share).
Why This Banana Pound Cake Will Change Your Life (or at least your afternoon snack game)
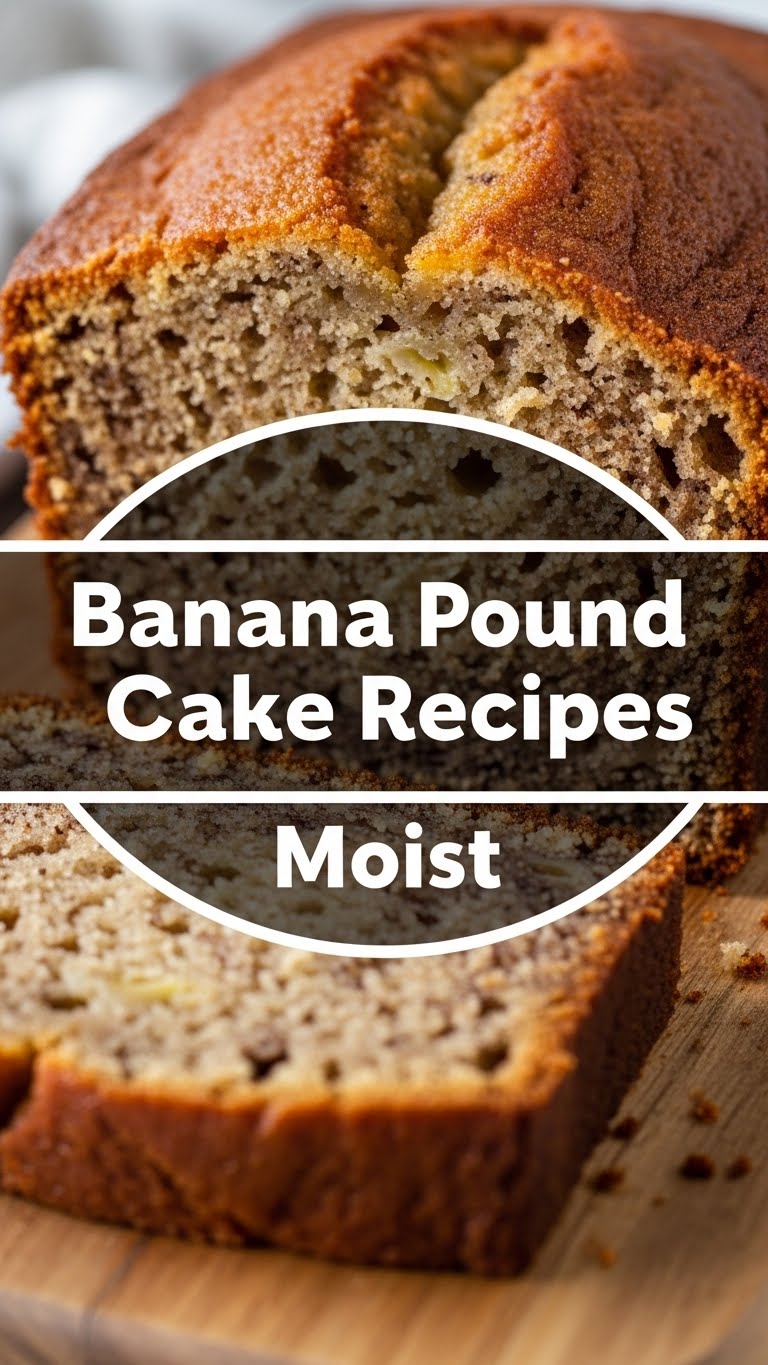
This isn’t just *any* banana cake; it’s a **MOIST** banana pound cake. We’re talking melt-in-your-mouth, perfect-with-coffee, makes-you-want-to-snooze-happily kind of moist. And the best part? It’s pretty much idiot-proof. Seriously, it’s so straightforward, even your cat could probably follow along (if it had opposable thumbs, which, thankfully, it doesn’t). It uses up those overripe bananas you were about to guilt-trip yourself for wasting, and it delivers maximum flavor for minimal effort. Win-win-win!
Ingredients You’ll Need (The Good Stuff)
Gather your troops! These are the heroes of our moist cake saga.
- Unsalted Butter (1 cup / 2 sticks), softened: Please, for the love of all that is holy, make sure it’s soft. Don’t even *think* about using cold butter unless you enjoy an arm workout and lumpy batter.
- Granulated Sugar (1 ¾ cups): For that sweet, sweet bliss. No substitutes for this much-needed sweetness.
- Large Eggs (3), at room temperature: Room temp is key! They emulsify better and lead to a smoother batter. Trust me on this one.
- Vanilla Extract (1 ½ teaspoons): The good stuff. Don’t skimp here; it’s the soul of the cake.
- All-Purpose Flour (2 cups): The backbone of any good cake. Make sure it’s leveled, not packed.
- Baking Soda (1 teaspoon): Our little leavening friend, helping things get nice and fluffy.
- Salt (½ teaspoon): Just a pinch to balance the sweetness and elevate all the other flavors. Crucial, IMO.
- Ripe Bananas (3-4 medium), mashed: The star! The spottier, the better. No green guys allowed, they won’t bring the flavor we need.
- Buttermilk (½ cup): This is our secret weapon for **mega moisture** and a tender crumb. If you don’t have buttermilk, scroll down to the “Alternatives” section – I got you.
Step-by-Step Instructions (Let’s Bake!)
Time to get your chef’s hat on (or at least your favorite apron that hides flour dust).
- Preheat & Prep: Get that oven nice and toasty to 350°F (175°C). Grease and flour a 9×5 inch loaf pan. Or, for an easier life, use baking spray with flour. Your future self will thank you.
- Cream It Good: In a large bowl (or stand mixer), cream together the softened butter and granulated sugar until it’s light, fluffy, and looks like a cloud. This usually takes 3-5 minutes.
- Egg-cellent Additions: Beat in the eggs, one at a time, mixing well after each addition. Then, stir in the vanilla extract. Scrape down the sides of the bowl to make sure everything’s incorporated.
- Dry Mix Magic: In a separate medium bowl, whisk together the all-purpose flour, baking soda, and salt. Give it a good whisk to distribute everything evenly.
- Banana Bash: Mash your ripe bananas in another small bowl. A few small lumps are totally fine; they add character!
- Alternate Attack: With your mixer on low speed, gradually add the dry ingredients to the wet ingredients, alternating with the buttermilk. Start and end with the dry ingredients. Do not overmix! Stop as soon as everything is just combined.
- Fold in the Stars: Gently fold in your mashed bananas. Again, be gentle. Overmixing develops gluten, which leads to tough cake (and nobody wants tough cake).
- Into the Pan It Goes: Pour the batter into your prepared loaf pan. Give it a little wiggle to spread evenly.
- Bake Away: Bake for 60-70 minutes, or until a wooden skewer or toothpick inserted into the center comes out clean or with a few moist crumbs attached. If it’s browning too fast, you can loosely tent it with foil.
- Cool Down: Let the cake cool in the pan for about 10-15 minutes before carefully inverting it onto a wire rack to cool completely. Patience is a virtue here; it helps the cake set properly.
Common Mistakes to Avoid (Don’t Mess This Up!)
We’ve all been there. Here’s how not to be *that* baker (even if you were last week, no worries!).
- Overmixing: This is the arch-nemesis of tender cake. As soon as the ingredients are combined, STOP. Seriously.
- Cold Ingredients: We talked about it, but it bears repeating: **Room temp is your BFF** for butter and eggs. It makes a HUGE difference in texture.
- Not Mashing Bananas Enough (or Too Much): A few lumps of banana are divine; a smoothie-like consistency for your bananas isn’t ideal for texture. Don’t pulverize them.
- Opening the Oven Door Constantly: Resist the urge! Peeking equals temperature drops, which can lead to a sunken or deflated cake. Trust the process and your timer.
- Not Greasing the Pan Properly: Unless you want your beautiful cake to become one with the pan forever, grease and flour (or use baking spray with flour) thoroughly.
Alternatives & Substitutions (Feeling Fancy or Just Out of Stuff?)
Life happens, and sometimes you don’t have exactly what the recipe calls for. Fear not!
- No Buttermilk? No Problem! Measure ½ cup of regular milk, then stir in ½ tablespoon of lemon juice or white vinegar. Let it sit for 5 minutes. Voila! Instant buttermilk.
- Mix-Ins Mania: Chocolate chips (duh!), chopped walnuts, pecans, or even a sprinkle of shredded coconut would be fantastic additions. Just don’t overload the batter, or it might struggle to bake evenly.
- Spice It Up: A pinch of cinnamon or nutmeg (or both!) can add a wonderful warmth to your banana pound cake.
- Glaze Craze: For a simple glaze, whisk together ½ cup powdered sugar with 1-2 tablespoons of milk (or lemon juice for a zesty kick) until smooth. Drizzle over the cooled cake.
- Flour Power: You *can* substitute a portion of the all-purpose flour with whole wheat flour for a healthier twist, but expect a slightly denser crumb. For ultimate moistness, stick to AP.
FAQ (Burning Questions, Hopefully Not Your Cake, Answered!)
Got questions? I’ve got (casual) answers.
- My bananas aren’t super ripe, help! Don’t despair! Place unpeeled bananas on a baking sheet and bake at 300°F (150°C) for 15-20 minutes, or until the peels are shiny black. Let them cool, then mash. Magic!
- Can I use oil instead of butter? You *can*, and it might even make it a tiny bit moister, but butter gives that rich, classic pound cake flavor that oil just can’t replicate. Why hurt your soul like that?
- How long does this moist banana pound cake keep? **Wrapped tightly in plastic wrap at room temp, it’s glorious for 3-4 days.** In the fridge, it’ll last up to a week. It also freezes beautifully for up to 3 months (wrap it extra well!).
- Why is my cake dry? What did I do wrong? Oh no! Common culprits are overbaking (check early with that skewer!), overmixing the batter, or not using room-temperature ingredients. Don’t worry, even master bakers have off days.
- Can I make this as muffins? Absolutely! Divide the batter into a greased muffin tin. Bake for about 20-25 minutes, or until a toothpick comes out clean. Hello, mini banana cakes!
Final Thoughts (You Did It! Now Go Eat Cake!)
See? Not so scary, right? You’ve just transformed some humble, spotty bananas into a moist, dreamy pound cake masterpiece. Go on, pat yourself on the back, you culinary genius. You tackled those bananas, you conquered the oven, and now you have a delicious reward. Share it (or don’t, I won’t tell). Enjoy every single bite. You’ve earned it! Now go forth and spread that banana-y joy!


