So you’re staring at those spotty bananas on your counter, wondering if they’re still edible or if they’ve officially entered the ‘fruit zombie’ phase, huh? Don’t toss ’em! We’re about to turn those sad, overripe fellas into pure, unadulterated comfort: the kind of banana nut bread that makes you want to snuggle up with a warm drink and forget all your troubles.
Why This Recipe is Awesome
Let’s be real, life is complicated enough without a recipe that demands a chef’s hat and a culinary degree. This banana nut bread recipe? It’s the chill friend who tells you it’s okay to wear sweatpants all day. It’s super forgiving, practically bakes itself, and smells so good while it’s in the oven that your neighbors might just “accidentally” wander over.
Seriously, it’s pretty much **idiot-proof**. If I can whip this up without setting off the smoke alarm (which is a pretty regular occurrence, not gonna lie), you’re golden. Plus, it’s the perfect excuse to use up those bananas that are past their prime, preventing food waste and creating pure joy. Win-win!
Ingredients You’ll Need
Gather ’round, my fellow kitchen adventurers! Here’s the treasure map to deliciousness:
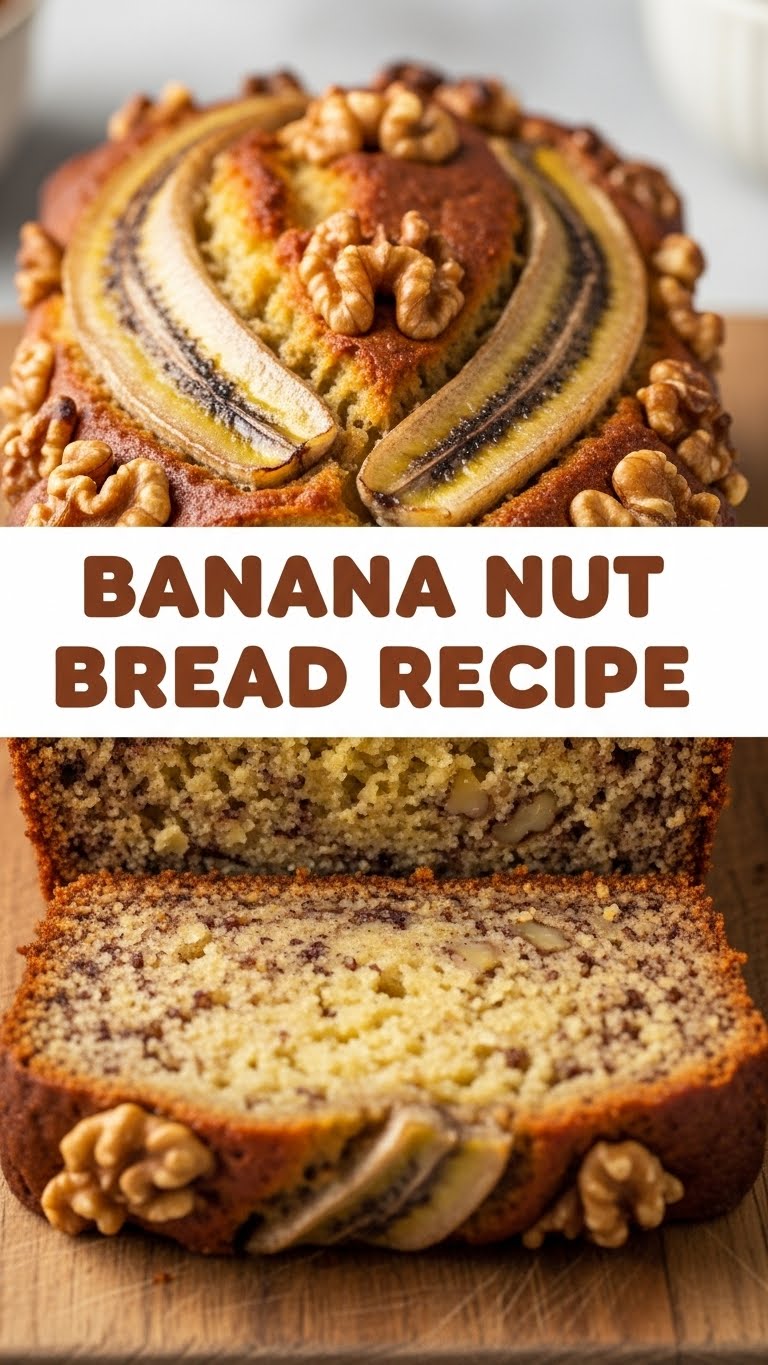
- Overripe Bananas (3-4 medium): The spottier, the better – think leopard print, but for fruit. Seriously, don’t skimp on the ripeness, that’s where all the flavor lives!
- All-Purpose Flour (1 ½ cups): The basic stuff. No need for fancy flours unless you’re feeling extra.
- Granulated Sugar (¾ cup): For that sweet, sweet goodness. Don’t skimp, unless you like sad, bland bread.
- Unsalted Butter (½ cup, melted): Because everything’s better with butter, amirite? Melting it is key here.
- Large Egg (1): Just one, for binding. Don’t overthink it.
- Baking Soda (1 teaspoon): Our little lift-off agent. Makes things light and fluffy.
- Salt (½ teaspoon): A tiny pinch, but super important for balancing the sweetness and waking up all those flavors.
- Vanilla Extract (1 teaspoon): Because vanilla makes everything taste a little more like a warm hug.
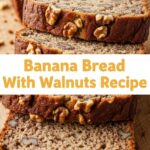
- Chopped Nuts (½ cup, walnuts or pecans): The “nut” in banana nut bread! Or omit if you’re a nut-hater, no judgment.
Step-by-Step Instructions
- Preheat & Prep: First things first, get that oven screaming hot to 350°F (175°C). Grab a standard loaf pan (9×5 inches usually) and give it a good grease and flour, or line it with parchment paper. **Don’t skip this step!** Your future self will thank you when the bread slides right out.
- Mash ‘Em Up: In a medium bowl, peel and mash those gorgeous, spotty bananas with a fork. A few lumps are totally okay, even encouraged! Adds character, you know?
- Wet Wonders: To your mashed bananas, add the melted butter, granulated sugar, egg, and vanilla extract. Give it a good stir until everything is nicely combined.
- Dry Mix Magic: In a separate, larger bowl, whisk together your flour, baking soda, and salt. Make sure it’s all mixed evenly so you don’t get any surprise pockets of salt or baking soda later.
- Combine Forces: Now, for the critical step: gradually add your wet banana mixture to your dry ingredients. **Mix until *just* combined.** Seriously, stop as soon as there are no more streaks of flour. Overmixing is the enemy of tender banana bread, turning it tough and chewy.
- Nutty Addition (Optional): If you’re using nuts, gently fold them in now. Don’t go crazy, just a few stirs will do.
- Bake It Off: Pour your glorious batter into the prepared loaf pan. Pop it into your preheated oven and bake for about **50-60 minutes**. How do you know it’s done? A toothpick inserted into the center should come out clean, maybe with a few moist crumbs, but no wet batter.
- Cool Down: Once baked, let your banana bread hang out in the loaf pan for about 10 minutes. This helps it firm up. Then, carefully transfer it to a wire rack to cool completely. Or, if you’re impatient like me, slice off an end while it’s still warm. IMO, warm banana bread is peak deliciousness.
Common Mistakes to Avoid
- Using Under-ripe Bananas: Those bright yellow guys? They’re not ready for their star turn. You need brown spots, soft texture, and a sweet smell. Otherwise, your bread will lack that signature banana flavor and moisture.
- Overmixing the Batter: I mentioned it, but it bears repeating! Once the flour is just incorporated, put the spoon down. Overmixing develops the gluten too much, leading to a tough, dense loaf instead of light and tender.
- Not Greasing the Pan Properly: Want your beautiful bread to stick and crumble when you try to get it out? Didn’t think so. Grease it generously, or use parchment paper. Trust me on this one.
- Opening the Oven Door Too Much: Resist the urge to peek every five minutes! Each time you open the door, the oven temperature drops, which can affect the bread’s rise and overall texture.
- Cutting It Too Soon: Patience, grasshopper! Letting it cool slightly in the pan and then on a rack allows the structure to set. Hot bread tends to crumble more easily when sliced.
Alternatives & Substitutions
Feeling creative? Or just missing an ingredient? No worries, we can totally adapt!
- No Nuts? No Problem! If nuts aren’t your jam (or if someone in the house has an allergy), just leave them out! Or, if you want another mix-in, consider adding **chocolate chips (½ to ¾ cup)**. I mean, who doesn’t love chocolate? White chocolate chips are also a glorious choice.
- Butter Substitute: You could use a neutral-flavored oil (like vegetable or canola) instead of melted butter. However, **butter adds so much richness and flavor**, so if you have it, use it!
- Sugar Switch-Up: For a deeper, slightly more molasses-y flavor, try swapping out half or all of the granulated sugar for brown sugar. It gives a lovely moist texture too!
- Spice It Up: A dash of cinnamon (½ teaspoon) or a pinch of nutmeg can add a wonderful warm note to your banana bread.
FAQ (Frequently Asked Questions)
Got questions? I’ve got answers (and probably a joke or two).
Can I use less sugar? My dentist gives me the stink eye.
Sure, you can reduce the granulated sugar by about ¼ cup, but remember the bananas themselves are sweet! Give it a try and see if you like the less sweet version. It’s your bread, your rules!
My bread came out dry, what happened?
Oh no! This usually points to one of two culprits: **overmixing the batter** (which makes it tough) or **overbaking** (which dries it out). Next time, mix until *just* combined and pull it out as soon as that toothpick comes clean. You want moist crumbs, not a bone-dry stick.
How do I store this deliciousness?
Keep your banana bread in an airtight container at room temperature for up to 2-3 days. For longer storage, wrap it tightly in plastic wrap and then foil, and freeze for up to 3 months. Future you will seriously thank present you for that!
Can I add chocolate chips instead of nuts?
OMG, YES! Why are you even asking? Do it! A cup of semi-sweet chocolate chips is a divine addition. Go wild!
What if my bananas aren’t super ripe?
If you’re in a pinch and your bananas are only slightly speckled, you can try a hack: place them unpeeled on a baking sheet and bake at 300°F (150°C) for 15-20 minutes until they’re black and soft. Let them cool, then proceed. **FYI**, this darkens the skin and intensifies the sweetness. Or, you know, just wait. Patience is a virtue, especially for good banana bread.
Final Thoughts
So there you have it, your ticket to banana bread glory! Easy, delicious, and a fantastic way to turn those “almost compost” bananas into something truly special. Go on, impress your friends, your family, or just your hungry self with this little slice of heaven.
You’ve basically transformed potential food waste into pure culinary gold. Pat yourself on the back, chef! Now go make some magic (and maybe a cup of coffee to go with it).
