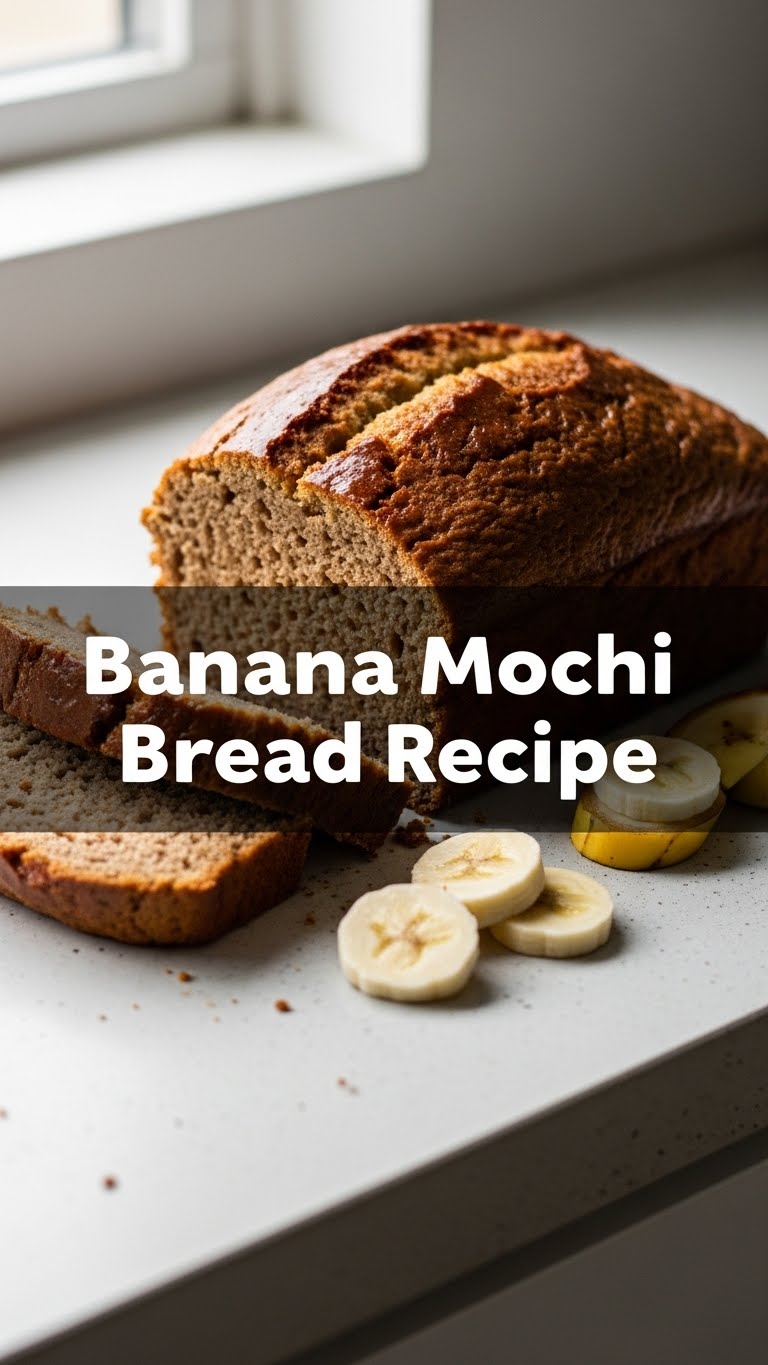
So, you’re staring at those spotty bananas on your counter, feeling a twinge of guilt, and simultaneously craving something that’s both comforting and a little bit *extra*? You, my friend, are in the perfect place. We’re about to turn those over-achieving bananas into a chewy, dreamy, absolutely addictive Banana Mochi Bread. Think banana bread’s cool, effortlessly chic cousin who also happens to be super fun at parties. Yeah, that good.
Why This Recipe is Awesome
Let’s be real, life’s too short for complicated recipes unless they involve fire and a fancy chef’s hat. This one? It’s the opposite. It’s for those days when you want to feel like a domestic goddess without, you know, actually putting in goddess-level effort. Here’s why you’re gonna love it:
- It’s basically a magic trick: Transform sad, forgotten bananas into a moist, chewy, banana-y delight.
- **Seriously idiot-proof.** Even I, a person who once set off the smoke detector making toast, can nail this.
- That texture! Oh my god, the texture. Thanks to the mochi flour, it’s got this incredible chewiness that traditional banana bread can only dream of.
- Minimal clean-up, maximum deliciousness. What’s not to love?
Ingredients You’ll Need
Gather ’round, my fellow kitchen adventurers! Here’s your treasure map of ingredients. Don’t worry, nothing too obscure.
- **3-4 Very Ripe Bananas**: We’re talking “almost compost” brown. The browner, the sweeter, the better. Trust me on this.
- **1 ½ cups Mochi Flour** (also known as Glutinous Rice Flour): This is the MVP! It’s the secret to that amazing chew. FYI, despite the name, it’s naturally gluten-free!
- **¾ cup Granulated Sugar**: For sweetness, obvs. Adjust if your bananas are nuclear-level sweet.
- **2 large Eggs**: The binders of our delicious universe.
- **½ cup Melted Butter** (or coconut oil/vegetable oil): For moisture and richness. Butter makes everything better, IMO.
- **½ cup Milk** (dairy or non-dairy like coconut milk for extra flair!): Adds to the moistness.
- **1 teaspoon Baking Powder**: Helps our bread puff up and not be a dense brick.
- **½ teaspoon Salt**: A tiny pinch to make all those other flavors pop.
- **1 teaspoon Vanilla Extract** (optional, but highly recommended): Because vanilla just makes everything feel fancy.
Step-by-Step Instructions
Okay, put on your favorite apron (or don’t, I won’t tell), and let’s get baking!
- **Preheat Power-Up!** Crank that oven to **350°F (175°C)**. Grease and flour (or line with parchment paper) an 8×8 inch square baking pan or a loaf pan. We want no sticking business here.
- **Banana Bash Time!** In a large bowl, mash those ridiculously ripe bananas with a fork. You want them mostly smooth, but a few lumps are totally fine. Adds character, right?
- **Wet Ingredients Unite!** To your mashed bananas, add the eggs, melted butter (or oil), milk, and vanilla extract. Whisk ’em all together until they’re well combined. Think creamy, dreamy liquid gold.
- **Dry Team Assembles!** In a separate medium bowl, whisk together the mochi flour, sugar, baking powder, and salt. Make sure there are no lumpy surprises.
- **The Grand Fusion!** Pour the dry ingredients into the wet ingredients. Now, with a spatula or wooden spoon, gently mix them until *just* combined. **Don’t overmix!** A few streaks of flour are okay. Overmixing is the enemy of chewiness.
- **Pan It Up!** Pour your glorious batter into your prepared baking pan. Give it a gentle tap or shake to settle evenly.
- **Bake Off!** Slide that pan into your preheated oven. Bake for about **45-55 minutes** (for a square pan) or **55-65 minutes** (for a loaf pan). It’s ready when the edges are golden brown and a toothpick inserted into the center comes out clean.
- **Cool Down, Hot Stuff!** Once baked, take it out of the oven and let it cool in the pan for about 10-15 minutes. **Seriously, resist the urge to cut it immediately!** Mochi bread benefits from cooling to firm up that amazing texture. Then, transfer it to a wire rack to cool completely before slicing and devouring.
Common Mistakes to Avoid
Even though this recipe is chill, a few pitfalls can turn your chewy dreams into dense disappointments. Learn from my past errors!
- **Using not-so-ripe bananas:** This is probably the biggest rookie mistake. Green or yellow bananas won’t give you the sweetness or flavor you need. You want spots. Lots of spots.
- **Overmixing the batter:** I cannot stress this enough! Mixing too much develops any gluten (even if minimal in mochi flour) and makes for a tough, rather than chewy, bread. Mix until just combined, a few lumps are fine!
- **Not preheating your oven:** Thinking you can just shove it in and hope for the best? Nah, fam. A properly preheated oven ensures even baking from the get-go.
- **Cutting it too soon:** I know, the aroma is intoxicating. But please, **let it cool!** Cutting hot mochi bread can result in a gummy, sticky mess that’s hard to handle.
Alternatives & Substitutions
Feeling adventurous? Or maybe you just ran out of something? No worries, we’ve got options!
- **Oil vs. Butter**: Melted butter gives a richer flavor, but vegetable oil or coconut oil (for a subtle tropical vibe!) work just as well.
- **Milk**: Any milk will do! Dairy, almond, soy, or even oat milk are perfectly fine. Coconut milk, however, really complements the mochi flour and banana flavor. Just sayin’.
- **Add-ins**: This bread loves company! Stir in a handful of **chocolate chips** (because, duh), chopped walnuts or pecans, shredded coconut, or a dash of cinnamon or nutmeg for extra warmth.
- **Sweeteners**: If you want to experiment, you could try brown sugar for a deeper molasses note, or even a mix of white and brown sugar.
FAQ (Frequently Asked Questions)
Got questions? I’ve got (casual) answers!
Can I use regular all-purpose flour instead of mochi flour?
Well, technically you *can*, but then you’re just making regular banana bread, not banana mochi bread! The mochi flour is what gives it that signature chewy, bouncy texture. So, for this recipe, **stick with the mochi flour** if you want the real deal!
My bananas aren’t super ripe. Can I still use them?
You *can*, but it won’t be as sweet or intensely banana-flavored. For a quick ripeness hack, you can bake them in their skins at 300°F (150°C) for 15-20 minutes until black and shiny. Let them cool before mashing!
How should I store this amazing bread?
Keep it in an airtight container at room temperature for up to 3 days. If you want it to last longer (unlikely, let’s be real), pop it in the fridge for up to a week. You can even freeze slices for a quick future treat!
Can I make muffins instead of a loaf?
Absolutely! Just divide the batter into a greased muffin tin. Baking time will be shorter, around 20-30 minutes. Keep an eye on them!
Is this recipe gluten-free?
Yes! Mochi flour (glutinous rice flour) is naturally gluten-free. Just double-check your other ingredients (like vanilla extract) to ensure they’re certified gluten-free if cross-contamination is a concern for you.
Final Thoughts
See? Told you it was easy. You just created a masterpiece of chewy, banana-y goodness that’s probably already making your kitchen smell divine. Go ahead, cut yourself a fat slice (or three). You’ve earned it, you culinary wizard! Now go impress someone – or just yourself – with your new baking prowess. Enjoy every single squishy, delightful bite!


